
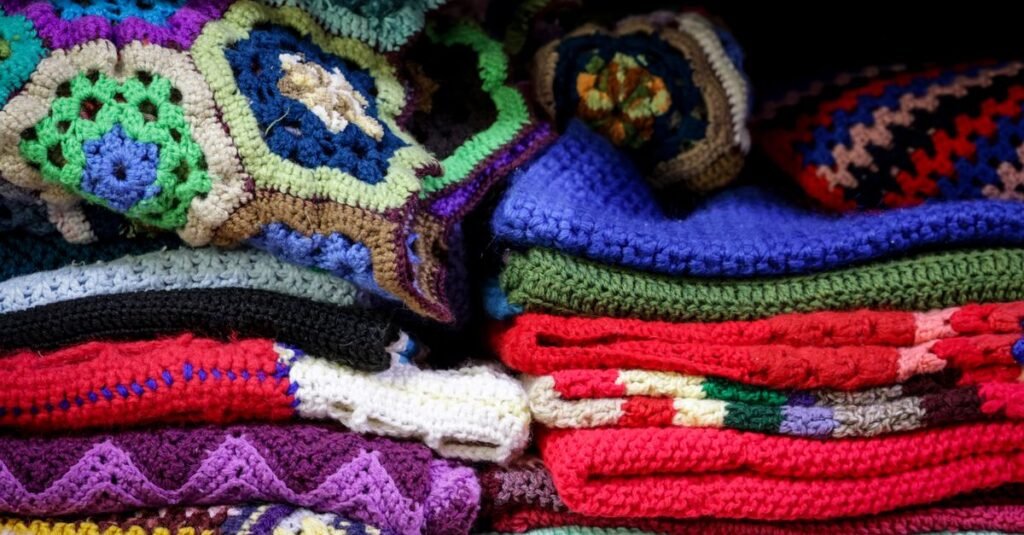
If you’re considering your first granny square crochet pattern—perhaps a classic crochet blanket pattern or a stylish vest—you’re in the right place. This practical guide covers the basic stitches, materials, beginner-friendly planning tips, and essential troubleshooting so you can confidently start (and finish!) your own granny-square blanket, vest, or project. Discover how yarn, hook, and fiber choices shape your result, how to avoid common mistakes, and how to pick a pattern you’ll actually complete.
Key Takeaways
- Master the core stitches and use simple tools to set yourself up for a successful granny-square project.
- Yarn weight, fiber type, and hook size all impact the look, feel, and durability of your blanket or vest.
- Avoid common beginner mistakes by using stitch markers, counting stitches, and choosing clear, photo-supported PDF patterns.
- What a beginner needs to know first — basic stitches, tools, and materials
- How yarn weight, fiber type and hook size change the finished granny-square
- Common beginner mistakes with granny squares — causes and fixes
- Joining granny squares — simplest, neatest methods for beginners
- Realistic time expectations and difficulty — choosing your first granny-square project
- Finishing techniques that make granny-square projects look professional
- Downloadable granny-square patterns and projects ideal for beginners
- Practical tips and warnings often missing from free granny-square tutorials
- Frequently Asked Questions
What a beginner needs to know first — basic stitches, tools, and materials
Before beginning your first granny square crochet pattern, give yourself a solid foundation: practice the key stitches, gather the right materials, and keep things simple and consistent. This makes both the learning and making process smoother from the first loop to the last seam.
- Six fundamental stitches: The core stitches every beginner should try are:
- Chain stitch (ch): forms the foundation of nearly every project
- Single crochet (sc)
- Slip stitch (sl st)
- Half-double crochet (hdc)
- Double crochet (dc): often the main stitch in classic granny squares
- Treble crochet (tr)
- According to Lion Brand, learning these stitches (in roughly this order) will cover most beginner projects, especially classic grannies and beginner blankets.
- Essential tools:
- Crochet hooks – for beginners, a 5.0mm (H-8) hook works well with medium/worsted (#4) yarn, offering good stitch visibility (source).
- Yarn needle (for weaving in ends/seams)
- Sharp scissors
- Stitch markers – crucial for tracking your place, especially in rounds
- Yarn starter kit: Stick to a light, smooth, medium (worsted/#4) or aran yarn and match it with a recommended hook. Solid colors (rather than variegated) help beginners spot stitches more easily. Avoid very fuzzy, dark, or textured yarns for your first project.
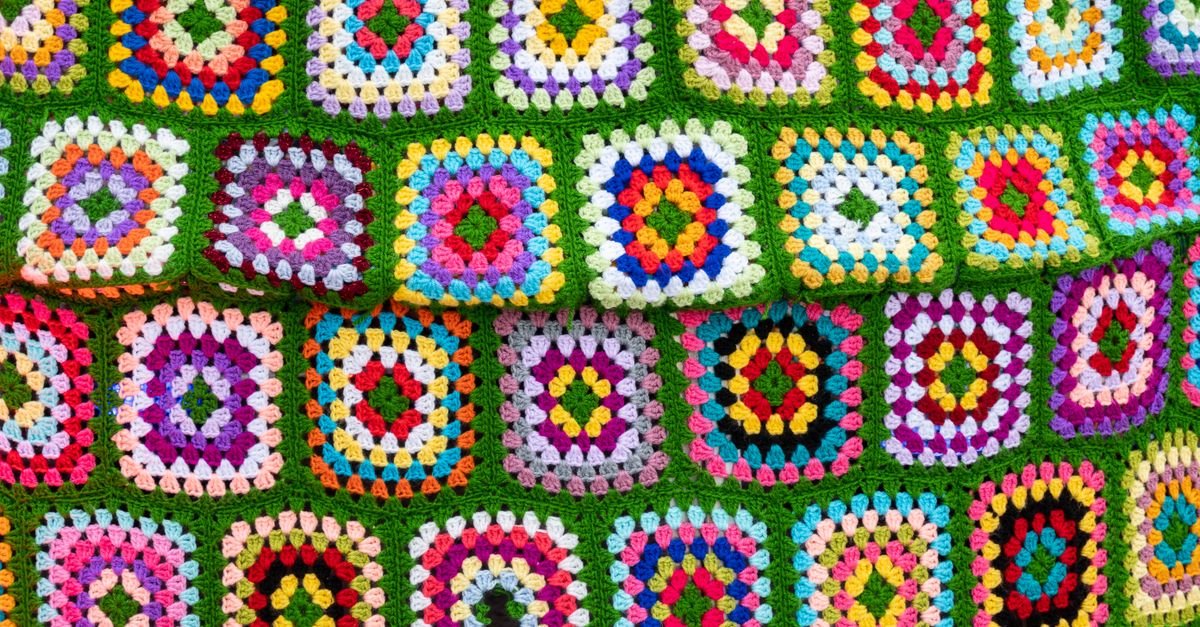
If you’d like more practice, our guide to easy crochet projects for beginners breaks down simple ideas to build your skills step-by-step.
How yarn weight, fiber type and hook size change the finished granny-square
The materials you choose don’t just affect your first stitches—they determine the coziness, drape, warmth, and even durability of your finished granny-square blanket or vest.
Yarn weight (thickness)
- Worsted/Medium (#4): The universal favorite for beginners. Offers clear stitches, is widely available, and works for both blankets and vests (Lion Brand). Good middle ground for drape and structure.
- Aran/Heavy Worsted: Slightly thicker; makes warmer, chunkier blankets and garments. May be less drapey for wearables, but very cozy for throws and lapghans (source).
- Bulky/Super Bulky: Quick to work and gives a thick, warm finish, but can be harder for beginners to control. Usually for chunky, heavy throws or statement garments.
Fiber type
- Natural fibers: Wool or cotton offer breathability, softness, and good stitch definition. Cotton tends to feel cool and shows stitches clearly; wool is warmer and can have slight stretch (source).
- Synthetics: Acrylic yarn is easy-care (machine washable in many cases), affordable, and widely available. It tends to feel slightly less “drapey” and can be a bit less soft, but is a favorite for first projects and kids’ blankets.
Hook size
- A larger hook creates a looser, more open fabric—great for airy shawls or drapey vests. A smaller hook makes the fabric denser and firmer, suited for structured blankets.
- Always match your hook size to your yarn’s label or as your pattern suggests. Keeping both the yarn weight and hook size consistent across practice swatches helps isolate tension or gauge issues (source).
| Goal | Yarn Weight/Fiber | Hook Size (Suggest.) | Result |
|---|---|---|---|
| Blanket (warm & cozy) | Worsted (#4) or Aran | H-8 (5.0mm) or as label | Soft, versatile, easy to join squares |
| Vest (drapey) | Worsted or cotton blend | H-8 (5.0mm) or slightly larger | Lightweight, flexible structure |
Practical tip: Change only one variable (yarn or hook) at a time when troubleshooting fabric feel or gauge.
Common beginner mistakes with granny squares — causes and fixes
Granny squares are accessible, but they present a few traps even for careful beginners. Knowing exactly what can go wrong—and how to avoid it—saves frustration and wasted yarn.
- Losing track of the start of a round or row.
Cause: Working in the round often looks similar from one round to the next—without a marker, it’s easy to join in the wrong place.
Fix: Use stitch markers to mark the start of each round. Move the marker up as you go. - Miscounting or skipping stitches—leading to uneven shapes.
Cause: Chains and clusters can be tricky to track, especially in a classic granny square.
Fix: Count stitches out loud, or tally them at the end of each round. Place markers at both the first and last stitches if needed (Lion Brand). - Inconsistent edges—blankets widen or narrow unintentionally.
Cause: Mistaking the edge stitches or misreading the turning chain.
Fix: Regularly check the edge stitch count every row or round, and mark the row start. - Skipping gauge checks when changing yarns or hooks.
Cause: Different yarn or hook can drastically alter size and drape.
Fix: Swatch a small square with intended yarn and hook first, even for “easy” patterns. - Seaming issues—gaps or puckering at joins.
Cause: Inconsistent stitch insertion or unmatched tension between squares.
Fix: Practice joining swatches, use consistent insertion points, and check that all squares finish the same size before joining.
Joining granny squares — simplest, neatest methods for beginners
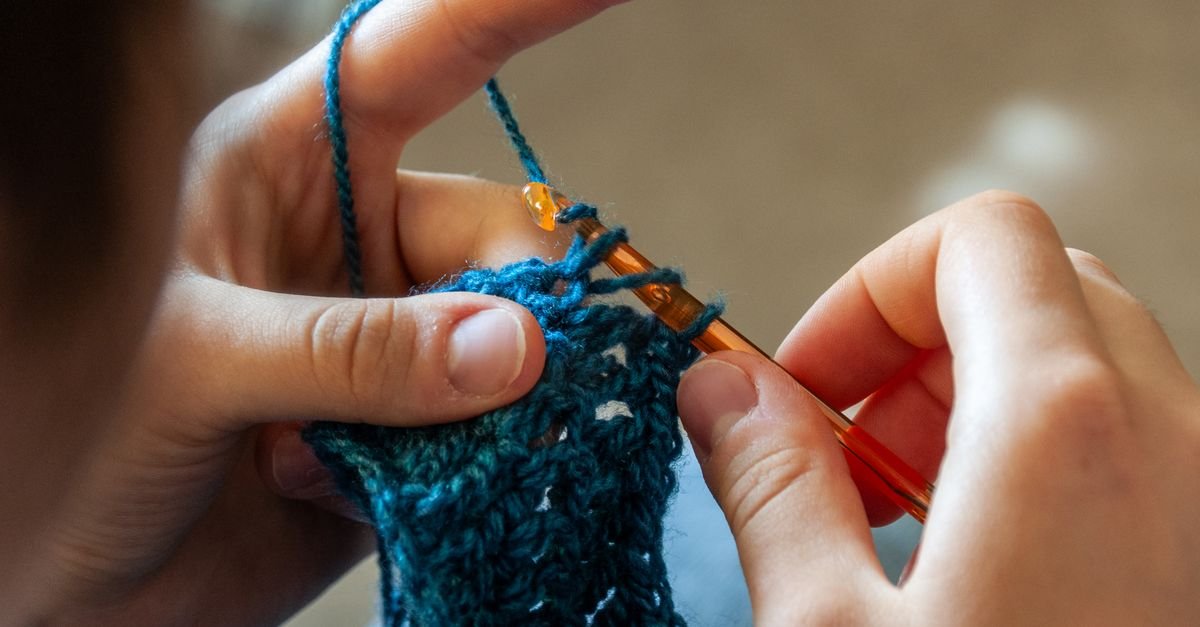
Finishing a stack of granny squares into a true blanket, vest, or pillow is a proud moment. There are several easy joining methods (all beginner-friendly) to connect your squares cleanly and securely. The best method depends on your preferred look and how much structure you want.
1. Slip-stitch join (crochet)
How it works: Hold two squares together, insert your hook through both edges, and slip stitch along the seam. This forms a visible ridge and is quick for blankets.
Best for: Blankets or projects where a stand-out join is embraced. Also lets you add a contrasting color for emphasis.
2. Whip stitch (sewn with yarn needle)
How it works: Place the wrong sides together and sew a simple overcast stitch through the outer loops. This method is easy and gives a fairly flat seam.
Best for: Most projects, especially when you want a low-profile join. Also works for vests or garments where you want less bulk.
3. Join-as-you-go (crocheted at the last round)
How it works: When working the final round of your granny square, replace parts of it with slip stitches or single crochet into a neighboring finished square. This allows you to join squares as you make them, saving a lot of assembly later.
Best for: Confident beginners or anyone wanting less seaming at the end. Produces a clean, integrated look.
- Practice joining with two or three swatches before committing to the full project. This helps keep tension even and lets you pick your favorite seam appearance.
- For vests and garments: Consider a flatter seam (like whip stitch) so the join doesn’t rub or bulk underarm or shoulder areas.
Tip: Avoid changing joining styles mid-project for a more consistent finished look. If unsure, check if your chosen pattern recommends a particular joining technique.
Realistic time expectations and difficulty — choosing your first granny-square project
It’s easy to dream of a giant crochet blanket pattern or a dramatic vest, but your first project should match your available time and skill level. Setting reasonable expectations improves your odds of success and keeps things enjoyable.
- Granny squares build skill in small increments. Many beginners find one square “doable,” but assembling dozens for a large blanket may be challenging without experience (Lion Brand).
- Blanket size multiplies effort. A baby blanket, lapghan, or small throw will let you practice all core skills (joining, finishing, edge work) without the risk of burnout.
- Vests and garments add new skills. A simple granny square vest can be a great first wearable—but look for patterns with minimal shaping and clear, labeled sizes.
- Pattern skill level matters. Pick patterns that are marked “beginner” and include step-by-step photos or an optional video (see next section for sources).
- Yarn yardage planning: Follow your pattern for a yardage estimate. It’s best to buy a little more than listed, and check that skeins are all from the same dye lot for consistent color (source).
Looking for an easy first pattern? Explore our picks for beginner granny-square projects for more ideas and inspiration.
Finishing techniques that make granny-square projects look professional
Proper finishing transforms a homemade granny square project into something beautiful and long-lasting. These final touches matter—don’t skip them!
Blocking
Blocking means shaping your completed squares to a uniform size and neatening edges before joining, usually by lightly wetting or steaming and pinning the pieces flat. Natural fibers like wool and cotton often respond best to wet or steam blocking. Acrylic yarn may require gentle steaming—avoid direct, prolonged heat which could damage some synthetics.
Borders
- Simple borders: Single crochet or double crochet borders are great for beginners. They help frame and flatten edge seams and hide slight unevenness.
- Decorative borders: As you gain confidence, try shell, picot, or scalloped edges for more flair.
Weaving in ends & securing seams
- Use a yarn needle to weave in all tails securely, working each end back and forth under existing stitches. This prevents unravelling after washing or wear.
- Double check joined seams. Gently tug at joins before blocking; redo any loose or gapping seams for a professional finish.
For more on professional finishing, see our guide to choosing a crochet blanket pattern and finishing techniques (if you’re planning a blanket).
Downloadable granny-square patterns and projects ideal for beginners
The right pattern makes all the difference, especially for first-time projects. Here’s what to look for in a beginner-friendly downloadable PDF:
- Clear stitch glossary: Patterns should state if instructions use US or UK crochet terms at the very top. This helps you follow directions without confusion (source).
- Step-by-step photos: Photos for key steps, or a linked video supplement, are invaluable for visual learners and troubleshooting.
- Yardage and materials list: Good patterns specify what yarn weight, fiber, and hook size are needed, plus an estimated yardage. When in doubt, buy extra!
- Beginner projects to consider:
- Small throws, lapghans, and baby blankets (manageable number of squares, quick sense of achievement)
- Simple vests with minimal shaping; look for “side tie” or “boxy” construction (e.g., Granny Stitch Side Tie Vest PDF Pattern)
- Accessories: bags, pillows, scarves using only 1-4 squares
For inspiration, browse our downloadable granny-square patterns:
Practical tips and warnings often missing from free granny-square tutorials
- Check US vs UK crochet terms: Stitch names aren’t always universal! Always scan the pattern’s header for terminology before starting.
- Use stitch markers for every round or panel: They’re the single best tool for avoiding lost places and edge mistakes.
- Buy extra yarn and track dye lots: Yarn color can vary between skeins; buying a little more than estimated and matching dye lots helps ensure an even finish.
- Test joins and finishing with scraps first: Don’t practice on your main project—use leftover swatches to try out seam styles and blocking.
- Don’t rely solely on videos: Video tutorials are helpful, but always read the full written pattern; they usually have important notes and tips not included in video form.
Frequently Asked Questions
What basic stitches do I need to learn before attempting a granny square crochet pattern?
The essential stitches are chain (ch), single crochet (sc), slip stitch (sl st), half-double crochet (hdc), double crochet (dc), and treble crochet (tr). Most granny squares use chain and double crochet as their main stitches.
Which yarn weight and hook size are best for a first granny-square blanket?
Start with a medium/worsted (#4) yarn and a matching hook size, often 5.0mm (H-8), as these make it easier to see stitches and handle yarn comfortably. Check your chosen pattern and yarn label for recommendations.
How do I avoid my granny-square blanket getting wider or narrower along the edges?
Consistently count your stitches at the end of each row or round. Use stitch markers to identify row or round starts and carefully place your stitches in edge chains.
What is the easiest way to join granny squares for a neat blanket or vest?
Beginner-friendly joining methods include slip-stitch join (crochet) and whip stitch (sewing with a yarn needle). Practice on two swatches to see which seam you prefer before assembling your main project.
How much yarn should I buy for a granny-square blanket or vest?
Check your PDF pattern for yardage estimates and buy a little extra. It’s best to match dye lots if using multiple skeins to keep color consistent.
Should I use US or UK crochet terms when following a pattern?
Always use the terms specified in your chosen pattern and double check before starting. US and UK stitch names differ, so following the correct terminology is important for accurate results.
If you’re ready to start your next handmade project, browse TwirlBloom’s crochet PDF patterns for more inspiration.
