If you’re searching for a practical guide to making autumn decor using a crochet pumpkin pattern, you’re in the right place. This resource brings together expert advice on yarn and hook choices (including how chunky yarns change the game), the essential stitches and techniques for classic pumpkin shapes, construction methods, key troubleshooting tips, and stepwise questions to help you pick a downloadable PDF pattern you can actually finish. If you’ve ever found yourself confused by patterns, unsure about which materials to use for small or chunky pumpkins, or just want to avoid beginner frustrations, this is your thorough roadmap from inspiration to finished pumpkin.
Key Takeaways
- Mastering a few basic stitches, gauge, and pattern reading will boost your success with any crochet pumpkin pattern.
- Yarn weight and construction methods dramatically affect the look, size, and difficulty of your pumpkin project—chunky yarn is faster and fluffier, fine yarn shows more detail.
- Selecting the right downloadable PDF pattern is about checking terminology, skill level, construction method, and clear step photos.
- What you should know before starting a crochet pumpkin pattern
- Essential stitches and techniques for pumpkin shapes (with quick practice tips)
- Choosing yarn, weight and hook: small vs. large pumpkins (including chunky yarn)
- Construction methods: in-the-round vs flat rectangle and gather — pros and cons for beginners
- Common beginner mistakes and how to troubleshoot them
- Time and project planning: what to expect (relative guidance, not fixed hours)
- Finishing touches: stems, leaves and embellishments by skill level
- What’s often missing from top pumpkin pattern posts — what readers really need
- How to choose a downloadable crochet PDF pumpkin pattern that fits your skill level
- Frequently Asked Questions
What you should know before starting a crochet pumpkin pattern
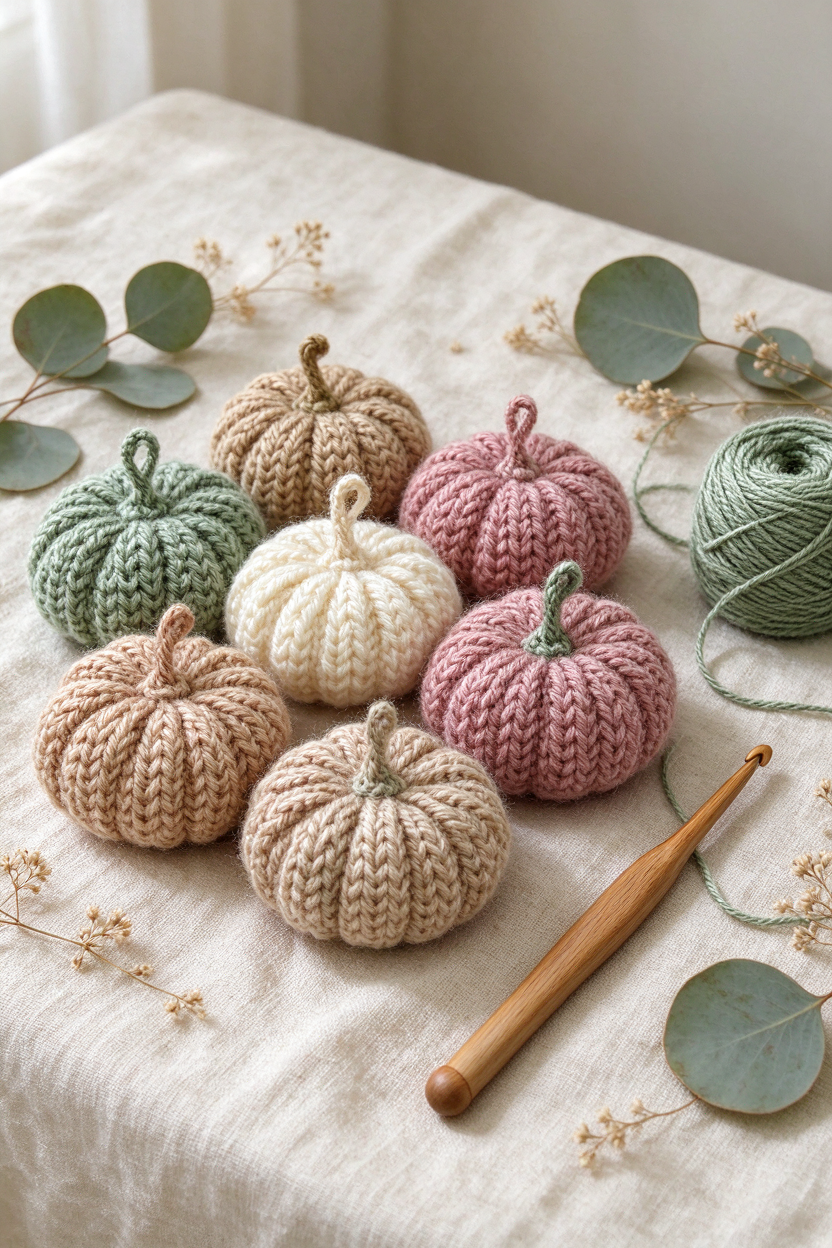
Before picking any crochet pumpkin pattern, it’s worth spending a little time on a few key skills that make the difference between a smooth project and one that ends up in the “maybe later” basket. Even easy or free crochet pumpkin pattern for beginners usually expect you to know a handful of stitches and how to read patterns. Here’s what you need to prepare:
- Essential stitches: Foundation chain (“ch”), slip stitch (“sl st”), single crochet (US “sc”, UK “dc”), half-double crochet (“hdc” US), double crochet (“dc” US), treble (“tr” US), turning chains, and how to do simple increases and decreases.
- Reading patterns, terminology & notes: Always check if your pattern is using US or UK terms; this changes what a “double crochet” means. The Notes section often holds crucial information about yarn, hook, gauge and other steps—don’t skip it.
- Gauge swatch & stitch counting: Even in small projects, making a quick swatch to ensure your stitches match the pattern’s tension saves trouble later (especially for fitting tops and bottoms together or avoiding a lopsided pumpkin).
- Basic tools checklist: Yarn (see section below), appropriately sized hook, tapestry or yarn needle for sewing, stitch markers for keeping count, stuffing (for 3D pumpkins), and scissors. Optional: row counter, removable marker, or safety pins.
If you need a refresher on these stitches or pattern reading, you might appreciate our beginner crochet guide or this focused step-by-step crochet stitches resource.
Essential stitches and techniques for pumpkin shapes (with quick practice tips)
Most crochet pumpkin patterns are deliberately simple—think rows or rounds made from just one or two beginner stitches. Still, the stitches you choose and the shaping techniques you use will affect how your finished pumpkin looks and holds together:
- Common stitches for pumpkins:
- Single crochet (sc): Used for tight, dense pumpkins and amigurumi. Results in a firm, structured fabric that holds shape well—ideal for small crochet pumpkin pattern styles.
- Half-double crochet (hdc) and double crochet (dc): Make for taller stitches. These give pumpkins a looser drape and can speed up your rows, which is handy for larger or chunky yarn pumpkins.
- Slip stitch (sl st): Often used for joining or creating subtle ridges.
- Magic ring (also called magic circle): The preferred starting method for in-the-round pumpkins and amigurumi, creating a neatly closed top.
- Shaping techniques:
- Increases and decreases: Used to expand or contract your pumpkin as you go—practice adding two stitches into one, or combining two stitches together.
- Gathering for shaping: Many flat rectangle pumpkins are finished by running a length of yarn through one or both edges and pulling tight to gather (cinch) the top and bottom, then sewing them shut.
Quick practice exercise: Before launching into your pattern, make a small swatch with your chosen stitch (e.g., 8–10 rows of single or half-double crochet), and try shaping a semicircle with increases/decreases, or a magic ring if you want to work in the round. This will help you recognize mistakes before they show up in your project.
Choosing yarn, weight and hook: small vs. large pumpkins (including chunky yarn)
The look, feel, and speed of your pumpkin depend heavily on your yarn and hook choices. Here’s how to make selections that match your vision—and skill level:
- Yarn weight and hook size:
- Lighter yarn (DK, light worsted) with smaller hooks creates a tight, defined pumpkin—especially suitable for amigurumi-style or small pumpkins that show stitch detail well.
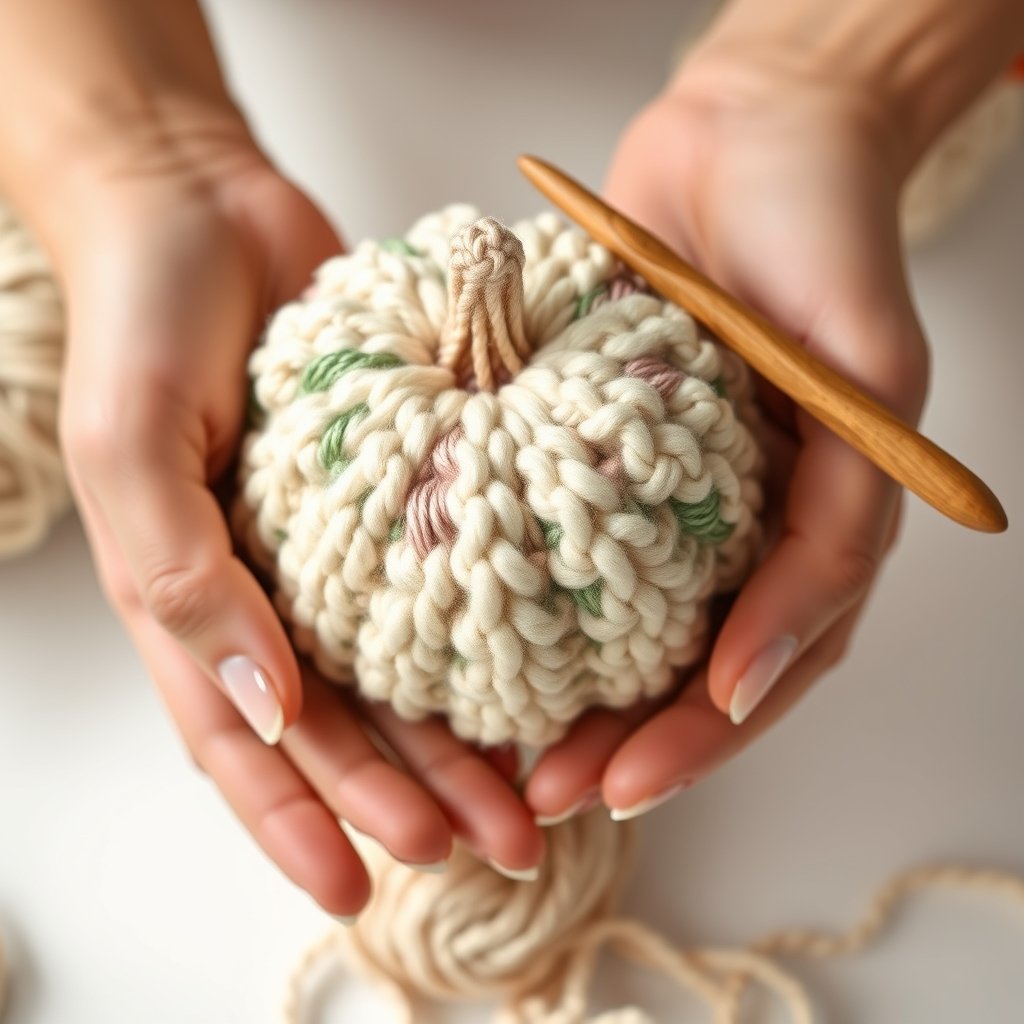
- Chunky/super bulky yarn with larger hooks produces bigger, squishier, plush pumpkins. These build up fast and are the “go-to” for a chunky yarn crochet pumpkin pattern or when you want a looser, loopy look.
- Fibre content:
- Cotton: Creates a firm, crisp look—best for defined stitches and pumpkins that need to stand up on their own.
- Wool or acrylic: Softer, more forgiving, and gives a squishy feel—great for plush and huggable pumpkins.
- Avoid novelty, fuzzy, or very dark/variegated yarn: Hard to see stitches and track your work, especially for beginners.
- Tips for beginners: Pick smooth, light-coloured yarn so you can clearly see your stitches. Chunky yarn offers quick wins if you want a big result with less time and are comfortable with looser tension.
- Stuffing vs. working flat: Small or amigurumi pumpkins are usually stuffed and worked in the round. Larger, chunky pumpkins made from rectangles are often stuffed just before seaming and gathering the ends.
More on fibre and yarn selection for beginners is discussed by LoveCrafts (source).
Construction methods: in-the-round vs flat rectangle and gather — pros and cons for beginners
Most pumpkin patterns use one of two main construction methods. Which method you choose can affect not just the look but also the ease of the project and what skills you’ll use:
| Method | How It Works | Pros | Cons | Best For |
|---|---|---|---|---|
| In-the-round (amigurumi) | Start with a magic ring, work in continuous spirals or joined rounds, increasing and then decreasing to form a closed 3D shape. |
|
|
Small, toy-style pumpkins |
| Flat rectangle + gather | Work a flat rectangle in rows, seam the short ends together, gather one or both open ends to create pumpkin shape and stuff. |
|
|
Chunky, decorative, or oversized pumpkins |
If you enjoy amigurumi or want a tiny, defined pumpkin, try in-the-round methods. If you prefer working in rows, want to use up chunky yarn, or want an oversized pumpkin, rectangles are your friend. See this example for the rectangle-gather method.
Common beginner mistakes and how to troubleshoot them
Even with a free crochet pumpkin pattern for beginners, certain errors creep up for nearly everyone starting out. Here are the most common slip-ups—and how to fix them:
- Misreading US vs UK crochet terms: Always check the pattern header; if in doubt, compare the abbreviations used. “Single crochet” does not exist in UK terms, and “double crochet” means something different in each system.
- Counting errors: Missing or miscounting the turning chain, accidentally skipping or adding stitches—use stitch markers and recount at the end of each row or round.
- Skipping the gauge swatch: Especially with different yarn weights, your pumpkin might end up wonky or not close neatly. Make a test swatch and adjust your hook if needed.
- Hiding mistakes with dark/fluffy yarn: Avoid using black, very dark, or fluffy novelty yarns until you are more comfortable with stitch recognition.
- Assuming the pattern is wrong: Double-check basics—gauge, hook, and pattern terminology—before blaming the pattern writer.
For more troubleshooting, check out guides from Lion Brand Yarn.

Time and project planning: what to expect (relative guidance, not fixed hours)
Everyone wants to know: “How long will my pumpkin take?” The truth is, speed depends on your choices and experience. Here’s what affects your timetable:
- Chunky yarn + big hook: Projects work up much faster but may require more stuffing and fiddly sewing for neatness.
- Small yarn + fine hook (amigurumi): Takes longer, but results in more detailed, firmer pumpkins—satisfying if you enjoy precision.
- Construction method: Flat rectangles with chunky yarn are generally quicker than small, in-the-round pumpkins in finer yarns.
- Practice first: Try making a swatch or a miniature version to build confidence and estimate time investment.
- Beginners: Plan on spreading your project over a few short sessions, especially for finishing and embellishments.
Remember, there are no prizes for speed—take time to enjoy the process and experiment.
Finishing touches: stems, leaves and embellishments by skill level
Personalizing your pumpkin is one of the best parts. Here’s how you can add finishing flourishes, organized so you don’t get in over your head:
- For beginners:
- Wrap a pipe cleaner or short stick with brown yarn for a quick stem.
- Cut and sew simple felt leaves, or use a running stitch around the pumpkin’s grooves for detail.
- Hide seams by sewing neatly with your yarn tail.
- Intermediate options:
- Crochet a small cylinder for the stem or a spiral for the tendril (check that your pattern or a separate tutorial matches your stitch skills).
- Try surface slip-stitching for veins on leaves or pumpkin detail.
- Advanced:
- Create appliqué leaves and textured panels with bobble stitches or clusters.
- Make sets in different sizes for a decorative arrangement.
Choose finishing touches that fit your current skills, and don’t be afraid to keep it simple on your first try.
What’s often missing from top pumpkin pattern posts — what readers really need
Many high-ranking free pattern posts gloss over a few issues that frustrated beginners often face. Here’s how to confidently fill the gaps:
- Explicit US/UK terminology call-out: Always confirm which terms are used before you begin. If the header isn’t clear, proceed with caution or use a guide to compare abbreviations.
- Visual troubleshooting: Step photos or short videos on stitch counting, stuffing, evenly gathering top/bottom, and recognizing missed stitches. Seek patterns that include these or supplement your pattern with a video search.
- Skill level checklists: Aim for patterns that list required stitches up front, clarify the construction method (“in the round” vs “rectangle + gather”), and specify yarn types.
- Yarn substitution notes: If the pattern lists a specific yarn, compare thickness and feel with what’s available locally. Pick similar smooth, non-fuzzy yarn for best results.
- Simple printable checklist: Before you even stitch, write out your own mini checklist: “Pattern header checked? Stitches required? Yarn/hook ready? Gauge swatch made?”
The more you prepare on these fundamentals, the higher your chance of a pumpkin you’ll love to display.
How to choose a downloadable crochet PDF pumpkin pattern that fits your skill level
With so many choices, picking a pattern you’ll actually finish and enjoy is crucial. Here’s a practical checklist for selecting a PDF (free or paid) that works for your needs:
- Check the pattern header: Confirm if it uses US or UK terms and mark your intended size if multiple sizes are offered.
- Review skill level and required stitches: Is “beginner” clearly stated? Are you familiar with every stitch required? If not, prep with a stitch tutorial first.
- Assess the construction method: Is it in the round (requires magic ring and careful stitch management), or a flat rectangle (good for chunky yarn and faster results)?
- Gauge and yarn guidance: Reliable patterns give at least a “gauge square” and suggest yarn type/weight. If these are missing, proceed with caution and be ready to adjust.
- Look for stepwise visuals: Choose patterns with high-quality step photos, troubleshooting notes, or links to a matching video.
- Printable format: For PDFs, make sure there’s a print-friendly version that’s easy to follow without the need for a laptop/tablet.
- Red flags: Avoid patterns that omit stitch counts, lack construction explanation, or use unclear abbreviations without a legend.
Once you’ve found a pattern that ticks these boxes, gather your supplies, and enjoy the process—seasonal decor made by hand is always more rewarding!
If you’re ready to make your own pumpkin decor, browse TwirlBloom’s crochet PDF patterns to discover new seasonal and chunky pumpkin patterns.
Frequently Asked Questions
What basic stitches do I need to know to crochet a pumpkin?
Most crochet pumpkin patterns use foundation chain, slip stitch, single crochet (US), half-double crochet, and double crochet. Some may include basic increases, decreases, and turning chains.
How does using chunky yarn change the look and time to make a pumpkin?
Chunky yarn produces larger, softer, and more plush pumpkins that work up much faster, though stitches are more visible and shaping can be less precise.
What’s the difference between US and UK crochet terms and how does that affect pumpkin patterns?
US and UK terms use the same stitch names for different stitches. For example, US single crochet is the same as UK double crochet. Always check your pattern’s terminology before starting.
Should I crochet pumpkins flat and gather or work them in the round?
Both methods are popular. Working flat and gathering is easier for confident beginners and chunky yarns; working in the round is used for smaller, firmer pumpkins that require careful stitch counting.
How do I fix a pumpkin that looks lopsided or too loose?
Check your stitch count, redo your gauge swatch, and make sure you’re stuffing evenly without overfilling. Adjust your hook size if needed.
How can I tell if a downloadable PDF pattern matches my skill level?
Look for patterns that state the required stitches, provide clear skill level guidance, construction method details, and step photos. If you’re unsure about any step, review a stitch or technique guide first.