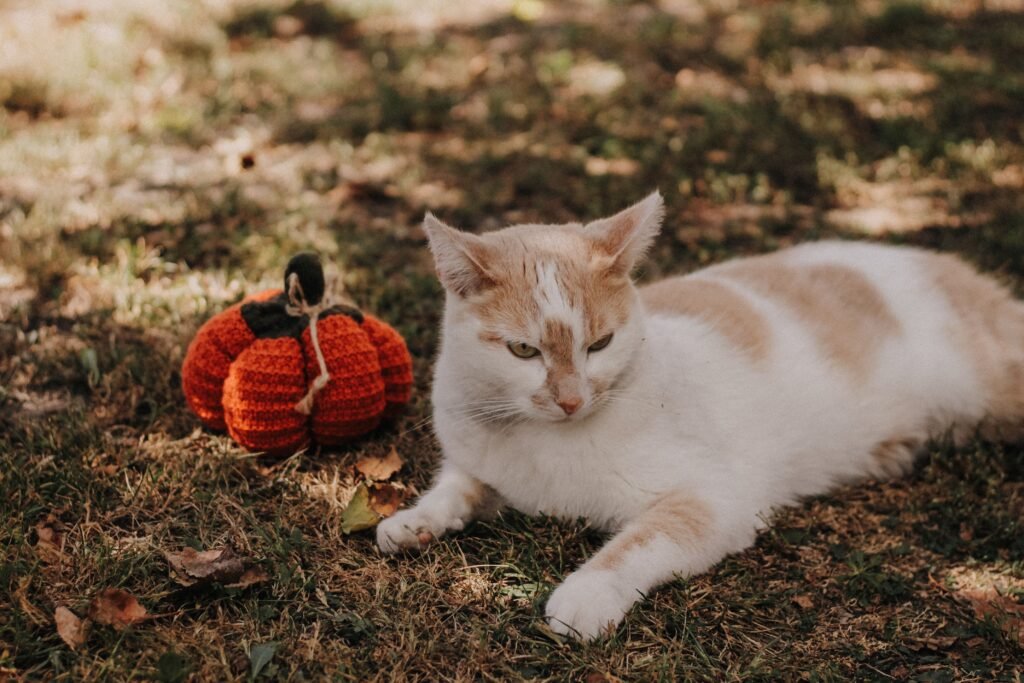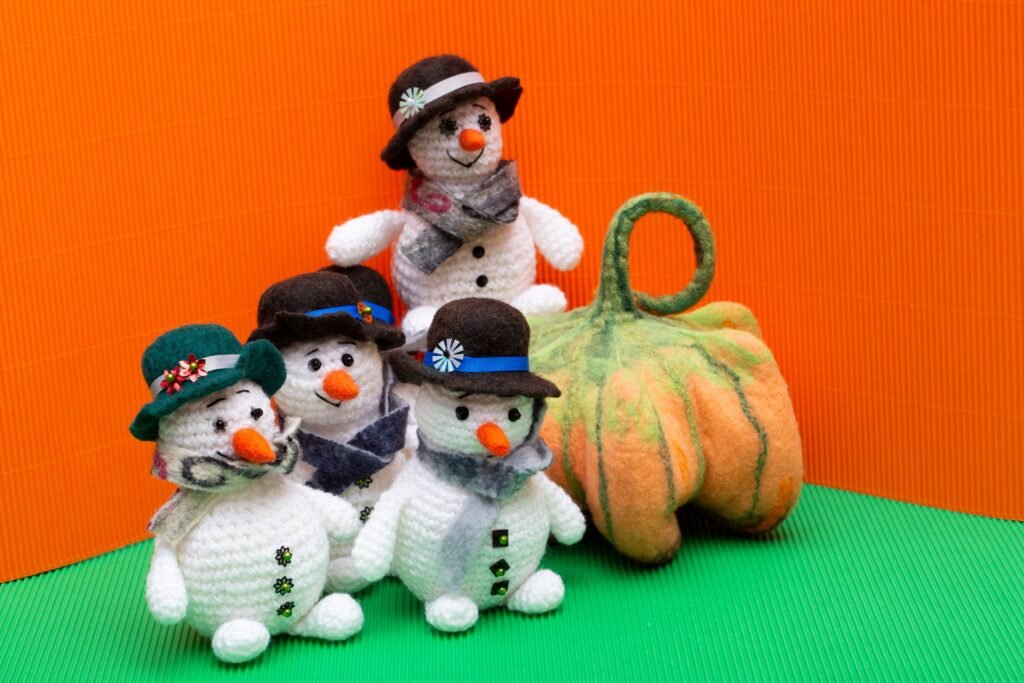
Crocheting your own pumpkins is a rewarding way to add warm, handmade touches to your autumn décor. If you’re looking up a crochet pumpkin pattern and want to actually finish with a neat, well-shaped pumpkin—whether for your table, mantel, or as a cute keychain—this guide will help you pick the right supplies, understand the basic stitches and techniques, prevent common mishaps, and confidently follow any free or paid pumpkin pattern you choose.
Key Takeaways
- Pick yarn and hook sizes based on your pumpkin style—mini, standard, or chunky—to avoid frustration and get the look you want.
- Most pumpkin patterns use just a few beginner stitches; knowing how to work in the round and cinch your piece is key.
- Attention to tension, stuffing, and finishing details transforms a handmade pumpkin from lumpy to polished.
- Essential materials & tools for crochet pumpkins
- Beginner-friendly stitches & techniques used in pumpkin patterns
- Common beginner mistakes and how to prevent or fix them
- How construction differs: small vs chunky crochet pumpkins
- Choosing yarns for look, durability and shape
- Factors that influence final size and how to customize your pumpkin
- Finishing techniques for a polished pumpkin
- Practical troubleshooting and tips often missing from free patterns
- Frequently Asked Questions
Essential materials & tools for crochet pumpkins
Before you begin any crochet pumpkin pattern, getting the right tools and materials makes a big difference in both the process and your finished pumpkin. Here’s what you’ll need, plus some explanation to help you match your supplies to your intended pumpkin style:
- Yarn:
- Mini/keychain pumpkins – small crochet pumpkin pattern: Designers often use lighter weight yarns (like DK/light worsted or cotton) for tiny, crisp pumpkins. Many free keychain patterns use cotton worked double-stranded for plumpness (LoveCrafts).
- Standard table-top pumpkins: Crochet patterns frequently use aran or worsted weight yarn; cotton or acrylic blends are common for good stitch definition.
- Chunky/floor pumpkins – chunky yarn crochet pumpkin pattern: Super-chunky or bulky wool-blend yarn produces a squishy, oversized look. Soft, thick yarn is especially good for plush, decorative pumpkins (LoveCrafts).
- Crochet hook: Always size your hook to your chosen yarn, not just the pattern photo. According to LoveCrafts, typical ranges are:
- DK/light worsted: roughly 3.5–4.5 mm
- Aran/worsted: around 5–5.5 mm
- Chunky/super-chunky: 6 mm and up
Tip: Aluminium hooks work quickly and are smooth, while wood or bamboo hooks grip the yarn and can be easier for newer crocheters.
- Other essentials to gather:
- Long tapestry or doll needle (for sewing closed and shaping the pumpkin sections—called lobes)
- Sharp scissors
- Stuffing/fibre fill (polyester or cotton; not too much or too little—the amount changes the shape)
- Stitch markers (to mark rounds and avoid losing your place)
- Optional: Keychain ring, if making a mini pumpkin charm

Having the right supplies on hand before you begin streamlines the making process and reduces the chance of supply-related frustration.
Beginner-friendly stitches & techniques used in pumpkin patterns
Almost every free crochet pumpkin pattern for beginners will use a handful of core skills. Here’s what to review before you start:
- Basic stitches:
- Chain (ch): The foundation of almost every crochet project.
- Slip stitch (sl st): For joining rounds or finishing edges.
- Single crochet (sc): Tight, sturdy stitches ideal for shaping stuffed pumpkins.
Some pumpkin crochet patterns may also include double crochet (dc) for tall stitches or faster progress.
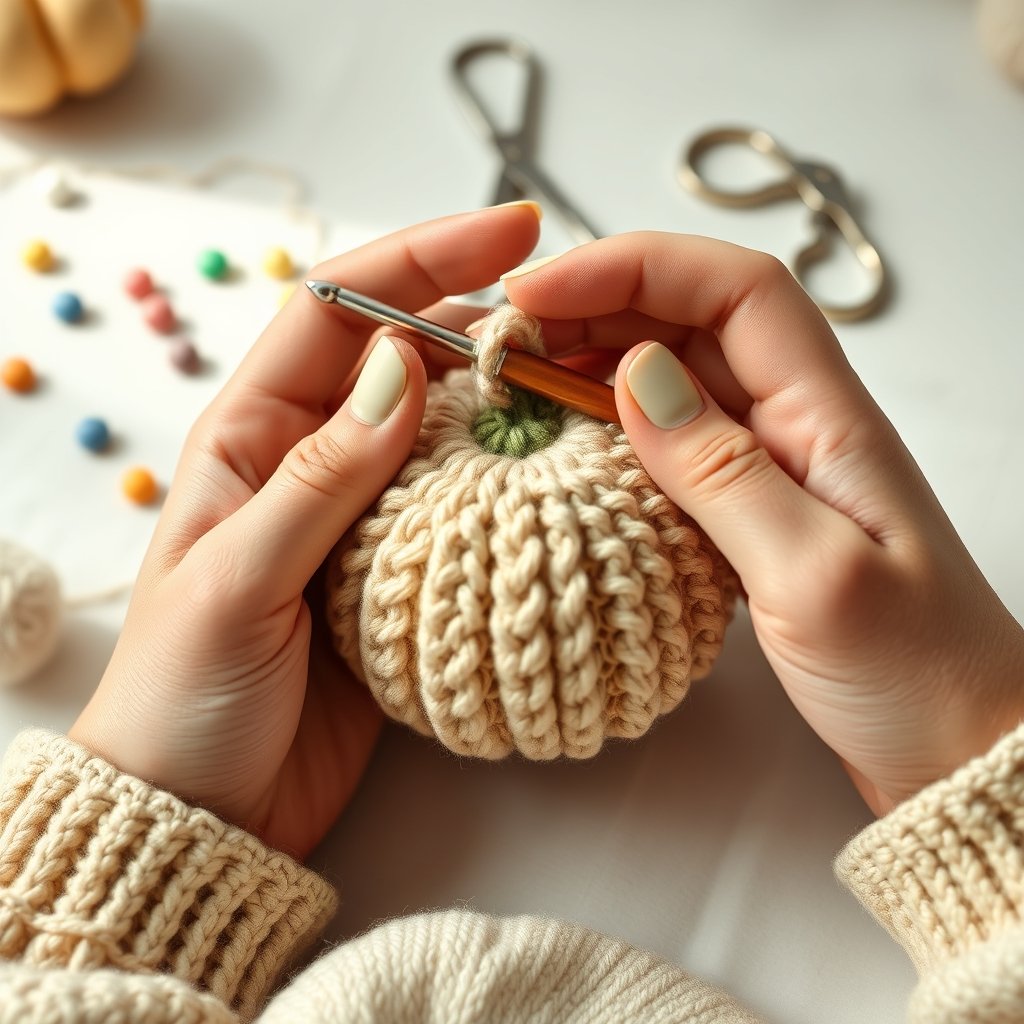
- Foundations & shaping: Most patterns begin with a magic circle (sometimes called a magic ring)—a clever starting technique that lets you cinch the pumpkin’s bottom closed tightly. You’ll usually work “in the round,” meaning in a spiral rather than rows.
- Ribbing and texture: Many pumpkin designs create ribbed sections (pumpkin “lobes”) by gathering or cinching the finished piece with a tapestry needle. Some patterns may use surface crochet or simple bobble/puff stitches to add texture (LoveCrafts).
- Learning resources:
- See the LoveCrafts step-by-step stitch guide for close-up written and video tutorials on chain, slip stitch, single crochet and working in the round.
- For a full beginner walkthrough, TwirlBloom’s beginner crochet guide covers foundational skill-building.
Checking that you’re comfortable with these stitches will make most pumpkin patterns approachable—and if you hit an unfamiliar term, pausing to look it up beforehand can prevent frustration later.
Common beginner mistakes and how to prevent or fix them
Even with a simple small crochet pumpkin pattern, beginners can get tripped up by a few recurring issues. When trying any free crochet pumpkin pattern for beginners, stay alert for the following:
- Inconsistent tension: If your stitches are sometimes tight, sometimes loose, your pumpkin may bulge or slump oddly. Take time to make a test swatch and keep a relaxed, even hand as you crochet.
- Mismatched yarn and hook: Using a hook that’s the wrong size for your yarn can result in a dense, hard-to-stuff pumpkin (too small) or floppy, open stitches (too big). Double-check that your hook suits your yarn weight and intended firmness (LoveCrafts).
- Overstuffing or understuffing: Too much stuffing can stretch out your stitches, while too little makes a flat pumpkin. Add stuffing a bit at a time and check the shape as you go.
- Losing rounds or stitch count: When working in rounds, it’s easy to miss the start or end of each round. Use a removable stitch marker to mark your first stitch of each round.
- Messy finishing: Rushing the last step—like weaving in ends or closing the top securely—may result in unravelling or visible knots. Take the time to thread your needle carefully and pull the yarn through securely for a neat finish.
If you encounter any of these issues, stop and reassess before moving to the next step. Being a bit fussy here pays off in a far more polished result.
How construction differs: small vs chunky crochet pumpkins
The construction method you use will depend on the size and style of pumpkin you want to create. Here’s a quick guide:
| Feature | Small/Keychain Pumpkins | Chunky/Tabletop Pumpkins |
|---|---|---|
| Yarn & Hook | Lightweight yarn, smaller hook (e.g., DK or cotton, often double-stranded for density) | Chunky/super-chunky yarn, large hook (6 mm or larger typical) |
| Construction | Tight rounds or small flat pieces (appliques/keychains) | Works up quickly in the round, sometimes as large panels seamed into a pumpkin shape |
| Shape Details | Crisp stitch definition, firm structure | Plush, squishy, often with pronounced ribbing |
| Finishing Touches | May include keychain hardware or two-strand technique | Robust, big stems and bold ribs; suitable for décor and play |
Choosing the construction approach that matches your vision ensures that your project works up smoothly—and the yarn/hook guidance above helps you select the tools you’ll need.
Choosing yarns for look, durability and shape
The yarn you pick for your crochet pumpkin affects everything from its shape to its longevity. Here’s how to weigh your options:
- Fiber type:
- Cotton: Offers crisp stitch definition and a neat finish; great for small pumpkins and keychains.
- Wool or wool blends: Adds a cozy, plush feel—excellent for chunky yarn crochet pumpkin patterns and plush home décor.
- Acrylic/acrylic blends: Washable and durable, these are a practical choice for displays that see frequent handling.
- Texture: Smooth yarns will clearly show off surface details and ribs. Fuzzy or novelty yarns can give a “cozy” effect but may mask stitch patterns.
- Color:
- Classic pumpkins go for orange hues, but try white (“ghost pumpkins”), rich greens, or variegated yarn for playful effects.
- Choose a high-contrast color for stems and leaves to enhance the realistic effect.
- Practicality: If your pumpkin might be used as a toy or handled often, opt for soft, machine-washable yarn to make care easier.
Browsing pattern galleries—such as the LoveCrafts pumpkin pattern collection—can help you visualize how different yarns affect the final pumpkin’s look and feel.
Factors that influence final size and how to customize your pumpkin
If you want a pumpkin that’s smaller or larger than the pattern photo, here’s what actually controls finished size and how to adjust your approach safely:
- Yarn weight and hook size: Thicker yarn and a larger hook will produce a larger pumpkin with the same number of stitches; thinner yarn and a smaller hook will make it smaller.
- Tension/gauge: Tighter stitches create a firmer, smaller pumpkin; looser stitches result in a bigger or floppier pumpkin. Making a small test swatch lets you check shape before committing.
- Stitch count and round repeats: Some patterns let you add or remove rounds to increase or reduce height, but changing stitch counts should be done with care if you’re not sure how it will affect shaping.
- Stuffing: Packing in more stuffing can make a project seem larger, but over-stuffing stretches stitches. Shape as you go and pause often to check the effect.
Beginner tip: If you want to substitute yarn or adjust hook size to customize your pumpkin, experiment on a small swatch first. Unless you’re comfortable reading and rewriting patterns, avoid changing stitch counts or shaping instructions unless the pattern says it’s adjustable.

Finishing techniques for a polished pumpkin
The difference between a “just finished” and a display-ready pumpkin is all in the finishing. Here’s how to make your project look its best:
- Stuffing:
- Add fibre fill gradually, using small tufts rather than big clumps.
- Shape the pumpkin lobes as you stuff—don’t overfill, or you’ll lose the ribbing!
- Cinching/gathering lobes:
- Thread a long strand of yarn through the center with a tapestry needle, pulling it snug around the pumpkin to create ribbed sections (the classic pumpkin look). You may run the yarn through the body several times for pronounced ridges.
- Creating the stem and leaves:
- Crochet a simple stem, or wrap contrasting yarn around the base and secure it with neat stitches. For leaves, you can freehand with green yarn or look up small leaf/applique patterns.
- Try a brown or green for realism, or choose bold colors for a decorative accent.
- Attaching hardware:
- If your pumpkin is intended as a keychain or bag charm, securely attach a metal ring through the top when closing your final round.
- Weaving in ends:
- Use the tapestry needle to embed all yarn ends neatly inside the pumpkin so they do not show or unravel. For extra tidy results, work ends into the central core.
- Blocking or shaping (optional):
- For some yarns, light steaming or hand shaping can refine the pumpkin’s silhouette; always check the yarn label for care advice.
Neat finishing steps are often what separate a basic first try from an heirloom-worthy autumn accent!
If you’d like pumpkins with confidence-building, detailed instructions in a range of sizes and styles, you’re welcome to explore TwirlBloom PDF pumpkin patterns—from mini keychains to big, chunky decor pieces, all as downloadable PDFs.
Practical troubleshooting and tips often missing from free patterns
Many free crochet pumpkin patterns focus on basic instructions but skip the details that help beginners troubleshoot. Here are a few helpful additions—use or look for these when picking your next pattern:
- Visual step support: Patterns with progress photos or video demonstrations—especially for magic circle foundation, cinching, and closing—make complex steps much easier to master. If your pattern lacks visuals, search online for a video demo of the technique before starting.
- Clear supplies list with alternatives: A good pattern lists yarn weight and recommended hook, and may suggest alternatives (e.g., “You can substitute worsted acrylic if you don’t have aran cotton”). If subbing yarn, use a similar weight and fiber type for the most reliable results.
- Stitch marker placement: Some patterns don’t make it clear when or where to use stitch markers. Place one at the first stitch of your round—this tiny step can save hours if you get interrupted mid-project.
- Troubleshooting checklist:
- Is your pumpkin coming out flat? Try adding more stuffing or checking for missed increases.
- Do the lobes not show? Cinch more firmly or work more passes around the body.
- Not matching the photo? Double-check your yarn/hook match and review your tension (too loose or tight can change shape dramatically).
- Care advice: If your pumpkin will be handled/played with, opt for yarn and stuffing that can be cleaned easily, and secure all attachments well to prevent accidents.
When choosing a new pumpkin pattern—especially a free one—glancing through the instructions to spot these details can help you avoid roadblocks and finish with a project you’re proud of.
Frequently Asked Questions
What basic stitches do I need to know to make a beginner-friendly crochet pumpkin?
Most crochet pumpkin patterns use the chain, slip stitch, and single crochet stitches. Some also use double crochet or simple texture stitches for details.
Which yarn weights are commonly used for small keychain pumpkins versus chunky tabletop pumpkins?
Small pumpkin patterns often use lightweight or DK yarn (sometimes held double) for firmness and detail, while chunky pumpkin patterns usually call for bulky or super-chunky yarn to create large, plush forms.
How do I make the ribbed lobes on a crochet pumpkin?
The ribbed effect is typically created by threading yarn around the pumpkin with a tapestry needle after stuffing and cinching it tightly in several places to form the classic lobed sections.
What’s the best way to stuff a crochet pumpkin so it keeps a round shape?
Add stuffing gradually in small amounts, shaping the pumpkin as you go, and avoid both over- and under-stuffing. Use your hands to mold the shape before fully closing.
Can I use scrap yarn or mix different yarns to make a pumpkin?
Yes, using similar-weight yarn scraps or holding two strands together works well for small pumpkins. Just keep in mind that different fibers and weights may affect the final shape and structure.
How can I safely add a stem or keychain hardware to my finished pumpkin?
Crocheted or wrapped yarn stems can be sewn securely with a tapestry needle. For keychains, attach the ring through the center with strong stitching before closing the top.
In summary: The key to a successful pumpkin is picking the right materials for your style, understanding the simple stitches used in most pumpkin crochet patterns, and giving care to tension, stuffing, and shaping. With a little planning and patience, your handmade pumpkin will be a cozy highlight of your home or an appreciated gift.
If you’re ready to pick your next autumn project, explore TwirlBloom PDF crochet patterns for pumpkins and more, all as instant downloads for your handmade home.