If you want to make a meaningful and reusable holiday countdown, a crochet advent calendar is a rewarding, photo-friendly project. This guide explains the best crochet advent calendar pocket options for confident beginners, compares pocket shapes and construction, recommends yarns and practical techniques for sturdiness, curates genuinely easy free pattern options, and shares pro finishing and storage advice so your calendar looks and lasts beautifully year after year.
Key Takeaways
- Simple rectangles, bags, or mini stockings make the easiest and most durable reusable pockets for a crochet advent calendar.
- Cotton DK and worsted acrylic yarns, matched with a slightly smaller hook, give pockets the crispness and longevity to hold treats year after year.
- Testing one pocket before making all 24, reinforcing seams, and careful finishing massively improve results and avoid common frustrations.
- Practical pocket shapes and sizes for crochet advent calendars
- How pockets are typically constructed (methods beginners should know)
- Essential stitches and techniques beginners should master first
- Yarn and hook recommendations for a durable, neat reusable calendar
- Common beginner mistakes and how to prevent them
- Attachment and display methods: pros and cons
- Free beginner-friendly crochet advent calendar patterns and what makes them accessible
- Personalizing your advent calendar while staying beginner-friendly
- Practical finishing, labeling and storage tips often missing from tutorials
- Frequently Asked Questions
Practical pocket shapes and sizes for crochet advent calendars
The heart of any crochet advent calendar lies in its pockets. The best reusable pockets balance visual charm, ease of construction, and practical strength—an ideal fit for confident beginners looking to finish a set and reuse it every holiday season.
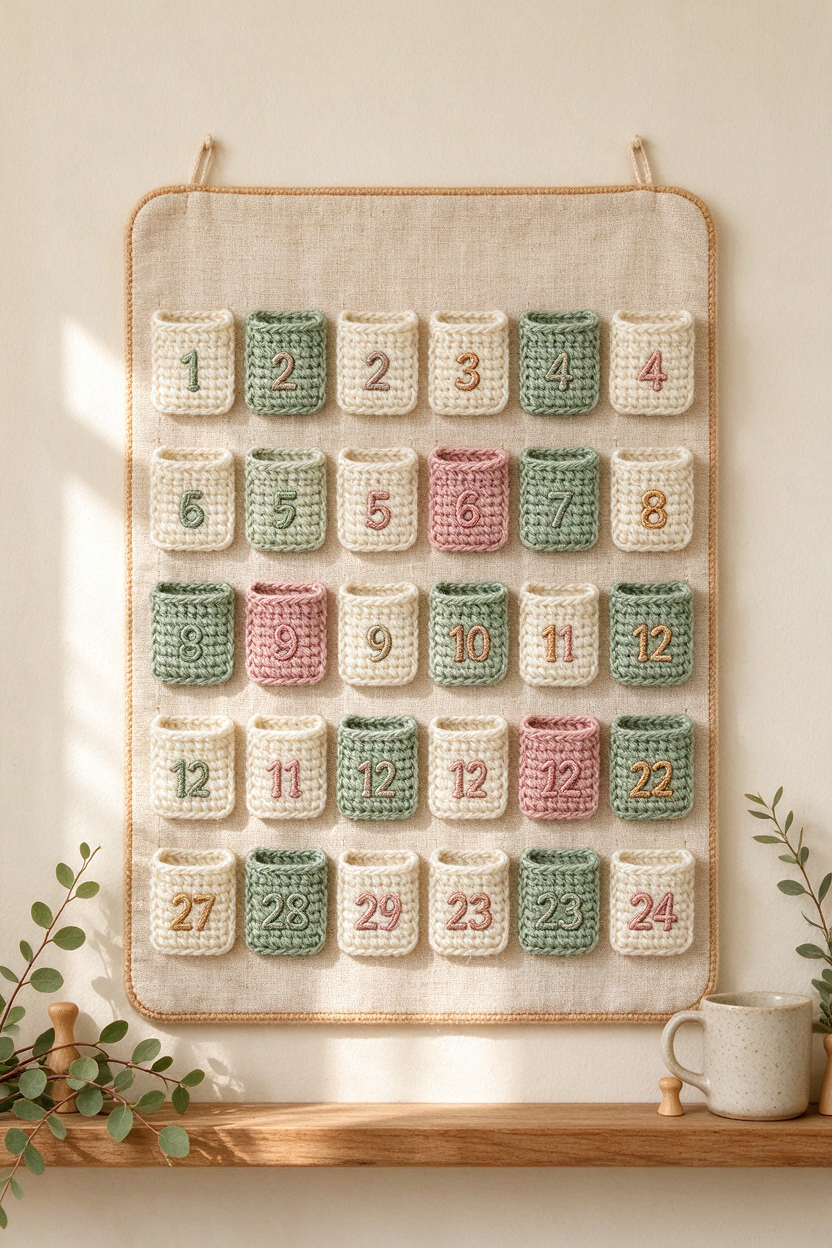
- Rectangles or squares: The most popular and beginner-friendly option. Crochet in flat rows (typically using double crochet), then attach to a backing.
- Mini bags or pouches: Made in the round or as simple rectangles folded and seamed. These work well if you want to hold slightly bulkier gifts or toys.
- Mini stockings, booties, or mitts: A festive favorite often worked in rounds. Usually a bit more shaping and sewing but still approachable for beginners confident with basic increases and decreases.
How to choose pocket shape and size:
- What will you put in the pockets? For slips of paper, sweets, or small flat gifts, single-layer rectangles are simple and quick. For chunky treats, bags or pouches offer more space.
- How sturdy do you need them? Double-layer rectangles (two layers stitched together) or pouches with reinforced bases will last longer and sag less with age or heavier fillings.
- How much time do you have? Repeating the same shape 24 times makes assembly and finishing easier. Choose a pocket shape you enjoy making.
Tip: Before committing to all 24, crochet and fill a sample pocket with your chosen treat/gift. Adjust size if needed, and check that the fabric feels firm and not floppy.
How pockets are typically constructed (methods beginners should know)
Once you’ve decided on your pocket shape, it pays to understand common construction options so you can pick the best match for your skills and the calendar’s planned use.
- Flat squares/rectangles sewn onto a backing: Crochet each pocket, then whipstitch or mattress stitch onto a backing panel or fabric board. Strong, structured, and easy for those comfortable with seaming.
Reinforce for reusable calendars by using double-layer pockets or tight seams. - Bags and pouches worked in the round: Make a small bag by joining rounds (great for mini gifts or larger treats). Finish with a simple drawstring or flap. Attach with sturdy yarn or thread.
- Mini stockings/booties: Usually made amigurumi-style in rounds and seamed closed. String as a garland, sew to a backing, or hang individually.
Numbering strategies:
- Embroider numbers directly onto pockets using scrap yarn or embroidery floss.
- Use crocheted number appliqués or small sewn tags.
- Attach removable tags for variation year to year.
Choose the numbering method that feels most comfortable—embroidery is often the simplest for first-time calendar makers.
Essential stitches and techniques beginners should master first
Are you ready for an easy crochet advent calendar for beginners? If you’ve successfully made a basic granny square or a small crochet toy (amigurumi), you already have the core skills needed. Here’s a checklist to make sure:
- Double crochet (dc): The main stitch for most pocket fabric and common in beginner patterns. See our beginner stitches guide for a step-by-step refresher.
- Single crochet (sc): Used for finishing edges, seaming, or firm pocket borders.
- Basic increases and decreases: Especially for booties, stockings, or shapes with curves (e.g., invisible decreases in amigurumi).
- Magic ring/start: Useful for any pockets or pouches made in the round.
- Simple surface embroidery: For adding numbers or small detail. Embroider a number on a practice swatch to get comfortable.
How to practice: Make a small rectangle or pouch, seam it into a pocket, and embroider one number before moving on to the full calendar. Practice blocking (see how to block crochet) for neat edges if desired.
Yarn and hook recommendations for a durable, neat reusable calendar
The right yarn and hook combination is critical for creating reusable crochet advent calendar pockets that stay neat and strong year after year.
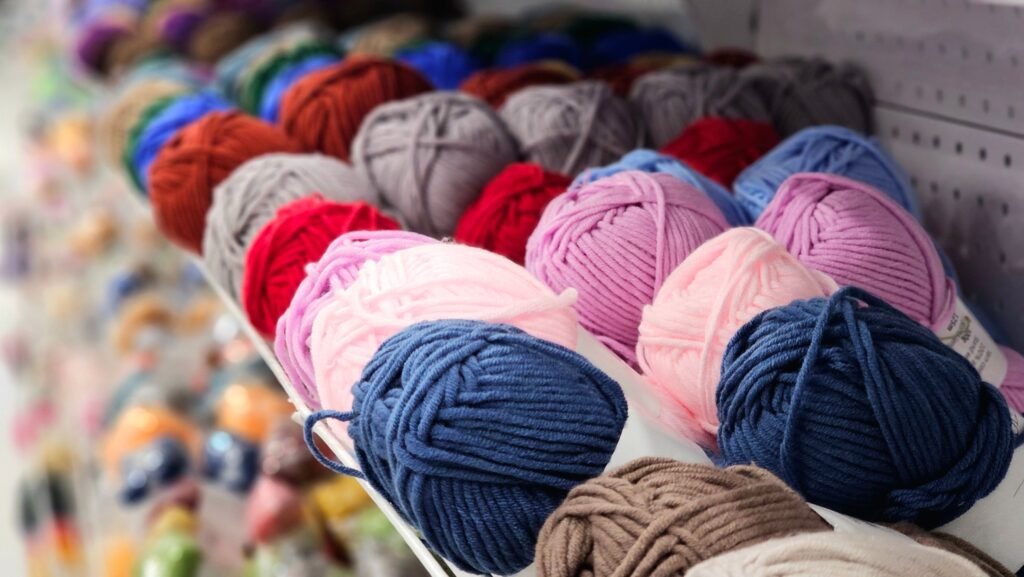
- Cotton DK: Best for crisp, low-stretch pockets and clear embroidery. Holds its shape even when filled and is less likely to sag or pill (see LoveCrafts’s source roundup).
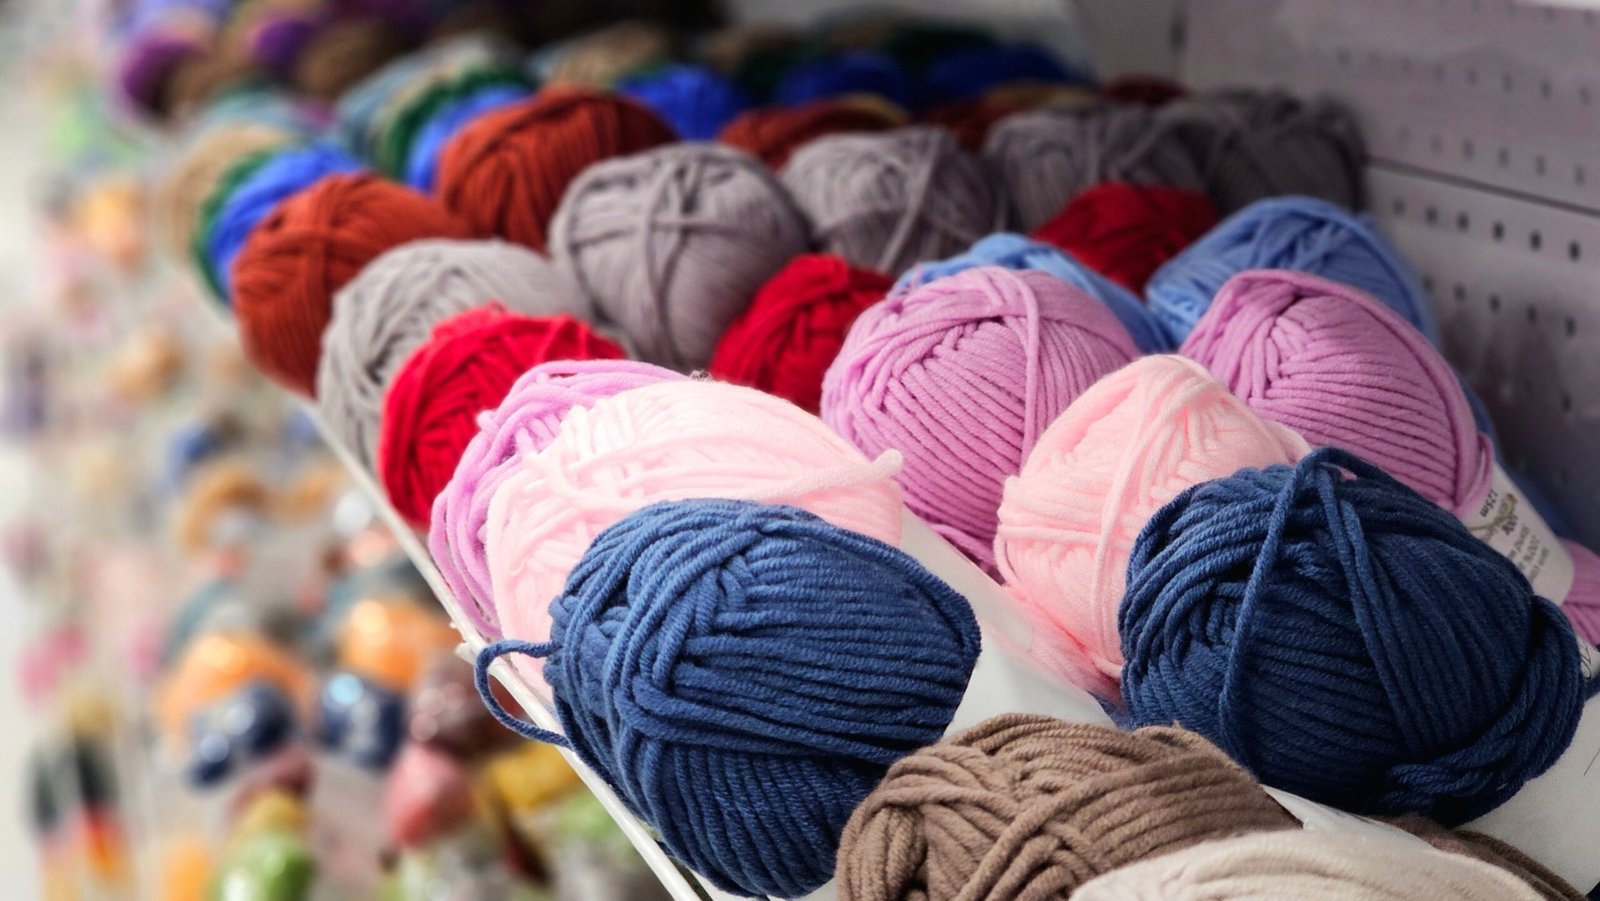
- Aran/worsted acrylic: Faster to work up, easier care (machine washable), and a great way to use up yarn scraps. Strong enough for light treats and candy, especially if worked with a slightly tighter tension.
- Accent yarns: Add small amounts of metallic, sparkle, or fluffy yarn for trims, braids, or stars—keep to detailing only to prevent sagging.
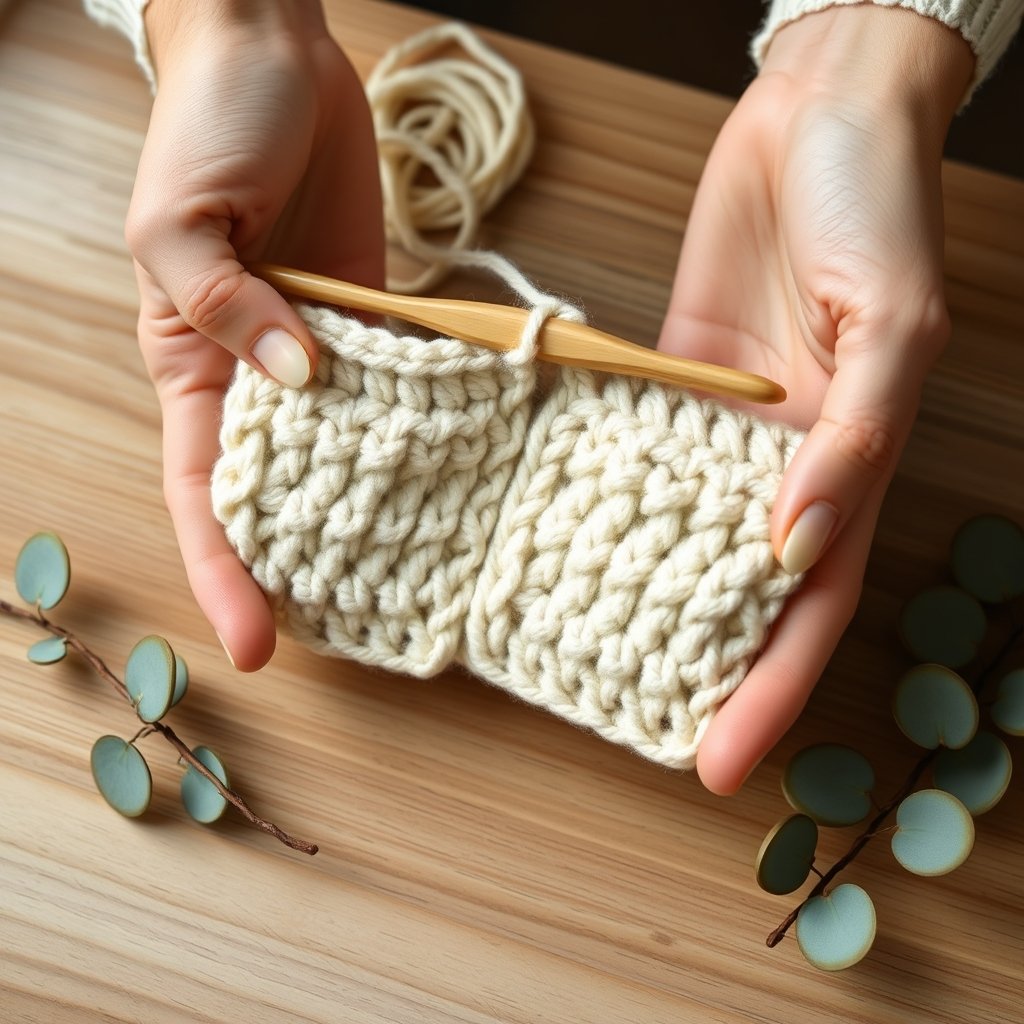
Hook sizing tips: For neat, firm pockets, it’s a common practice to use a hook slightly smaller than what the yarn label suggests. This creates a denser, more durable fabric, especially helpful for pockets that will be used year after year. (E.g., a H-8 / 5 mm hook is typical for worsted weight—the Crochet.com hook size chart explains more.)
Always test your yarn and hook combination—make a small sample, fill it with your planned treat, and check for sagging before stitching all 24.
Common beginner mistakes and how to prevent them
- Pockets too loose or stretchy: Use a smaller hook, firm up your tension, or select cotton DK. Consider double layers for pockets holding heavier or bulkier items.
- Pocket size doesn’t fit contents: Always test at least one finished pocket with your planned filling before making the set.
- Pockets droop or come loose from backing: Reinforce your seams, use strong sewing thread or yarn for attachment, and avoid overfilling.
- Inconsistent tension or uneven pockets: Make a swatch, practice a few pockets, and block if desired for neatness and sizing consistency.
A few extra minutes spent testing your materials and reinforcing joins can dramatically improve the finished look and long-term use of your calendar.
Attachment and display methods: pros and cons
Your crochet advent calendar can be finished in several ways—choose the display method that matches your space, visual preference, and how sturdy you want the project to be.
| Display Method | Pros | Cons |
|---|---|---|
| Hanging panel (sewn pockets on backing) | Tidy, structured, wallsafe, supports double-layer pockets, easy to store flat | More sewing/assembly, backing needed, heavier when filled |
| Garland (string of bags/booties) | Decorative, portable, easy to hang anywhere, fewer structural rules | Less structure, lightweight items only, needs loops/ties |
| Individual wall pockets | Flexible placement, can rearrange or group by recipient | Multiple attachment points needed, numbering more scattered |
| Board/stand | Portable, can reuse pegboards or display shelves | Extra supplies or shelf space needed; pockets must attach securely |
Note: Heavier pockets, or those filled with toys, need reinforced seams and a backing that won’t bend. Garlands are a festive choice if pockets are light and you want to use less assembly time.
Free beginner-friendly crochet advent calendar patterns and what makes them accessible
If you’re searching for a free crochet advent calendar pattern that’s genuinely suited to beginners, look for:
- Simple, repeated shapes: Easy rectangles, pouches, or stockings you’ll repeat 24 times.
- Clear instructions and stitch lists: Prefer patterns that specify which stitches and finishing techniques are needed (look for patterns tagged “beginner” or “easy”).
- Photo tutorials or step-by-step images: Great for visual learners, photo guides help spot stitch placement, seaming, and numbering details.
- Modular construction: If the pockets are all the same, you can batch-make them and assemble as you go.
Vetted free crochet advent calendar patterns & roundups:
- Little Doolally’s Mini Gift Bags — a simple option for storing small treats. Originally highlighted as a free and approachable pattern in LoveCrafts’s pattern roundup.
- Mini Booties/Stockings by Kippers Ning — free pattern for charming mini “boots” or stockings in a garland style.
- General free advent calendar collections at LoveCrafts and Yarnspirations — search within for basic bags, pouches or rectangles suitable for first projects.
Before starting any pattern, read the skill level notes, recommended yarn weight, and construction details to make sure the pattern matches what you’re comfortable with.
Personalizing your advent calendar while staying beginner-friendly
Once you’ve mastered the basics, small creative details will make your crochet advent calendar feel uniquely “yours”—without adding unnecessary complexity.
- Colors: Choose 2–3 main colors plus a single accent shade for numbering or borders. Keep the palette simple to avoid planning overload. Use color contrasts for pocket numbers so they stand out easily.
- Embellishments: Sew on tiny pom-poms, simple applique stars, or add a little metallic yarn as a border or bow. Embroider numbers in a favorite color or use felt initials for family personalization.
- Family touches: Resize a few pockets for favorite treats (one larger pocket for each child’s favorite sweet, for instance). You can also color code pockets per family member with different shades.
- Keep it simple: Add all embellishments and numbers after assembling the main calendar to prevent confusion or complicated sewing during construction.
Practical finishing, labeling and storage tips often missing from tutorials
Many tutorials stop at assembly—but it’s the finishing touches and good storage habits that keep your advent calendar photo-ready for years to come.
- Finishing checklist:
- Test-fit each pocket with its planned contents and adjust if needed
- Block pockets and panels for sharper edges and easier seaming (see how to block crochet)
- Reinforce every seam and attachment point—double stitch corners for strength
- Only finish numbering or embellishments after the main assembly for less fiddly work
- Arrange pockets in layout before sewing/gluing to ensure visual balance
- Labeling tips: For long-term durability, use embroidered numbers or sewn felt/label tags. Place numbers at the top or side so they aren’t hidden by the calendar’s contents.
- Storage: Keep the calendar flat or in a breathable, labeled bag. Store loose embellishments or numbers in a small zip bag with the calendar. If the calendar is washable, test-wash a spare swatch first to ensure colors don’t bleed or yarn doesn’t warp.
- Troubleshooting quick fixes: If a pocket sags, you can add a few reinforcing stitches along the joint. Lost embellishments can be re-sewn or swapped with a button/pom-pom. Broken loops can be rebuilt with leftover yarn in a matching or contrasting color.
Frequently Asked Questions
What pocket shape is the easiest for a beginner to crochet and assemble?
Simple rectangles or squares are the easiest to crochet and sew onto a backing. They use basic stitches and are quick to repeat for the whole calendar.
Which stitches should I practice before attempting an advent calendar project?
Be comfortable with double crochet for pocket fabric, single crochet for joining/edging, basic increases and decreases, magic ring for starting rounds, and simple embroidery for numbering.
What yarn types are best for a reusable advent calendar that won’t sag?
Cotton DK yarn creates sturdy, firm pockets that resist stretching. Aran/worsted acrylic yarn is also popular for speed and easy care, especially when used with a slightly smaller hook for dense, strong fabric.
How should I attach pockets to a backing so they don’t droop over time?
Use strong sewing thread or matching yarn and reinforce seams at each corner. Consider double-layer pockets or adding a second row of joining stitches for extra durability.
Are there free patterns suitable for making 24 identical pockets quickly?
Yes, patterns like Little Doolally’s mini gift bags and Kippers Ning’s mini bootie/stocking are designed for repeating the same simple shape. Search free pattern roundups on trusted sites for these options.
How can I number pockets so the numbers stay neat through repeated use?
Embroider numbers with sturdy cotton yarn or floss, or sew on felt or crocheted number tags. Place numbers where they won’t be hidden by the pocket contents.
If you’re ready to start your next holiday crochet project, Browse Crochet PDF Patterns and find downloadable calendards and pocket sets you can start today.