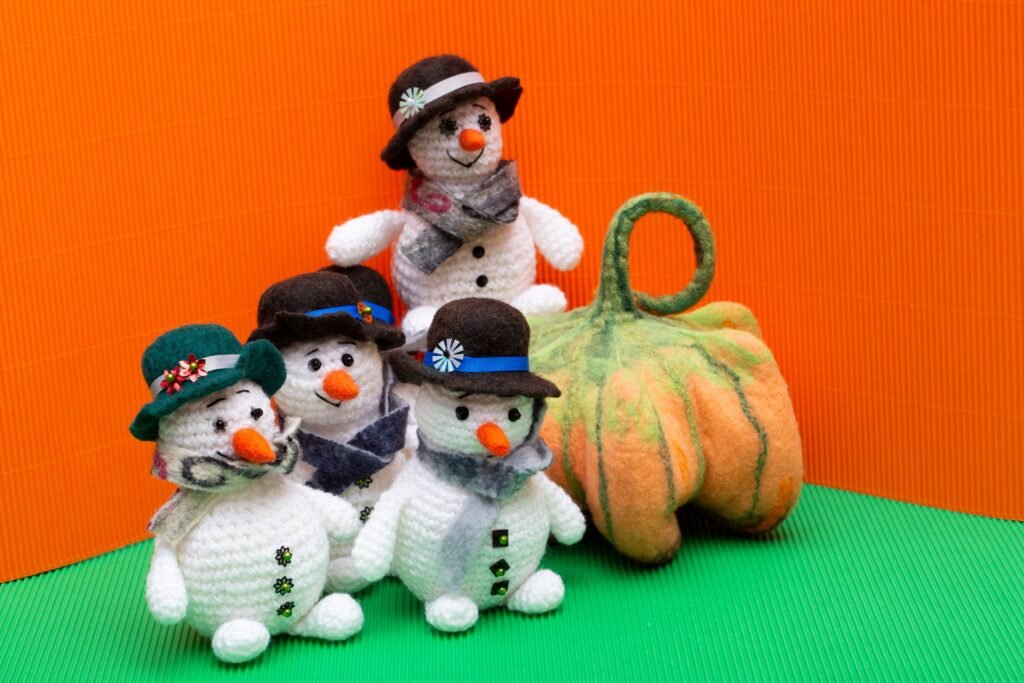
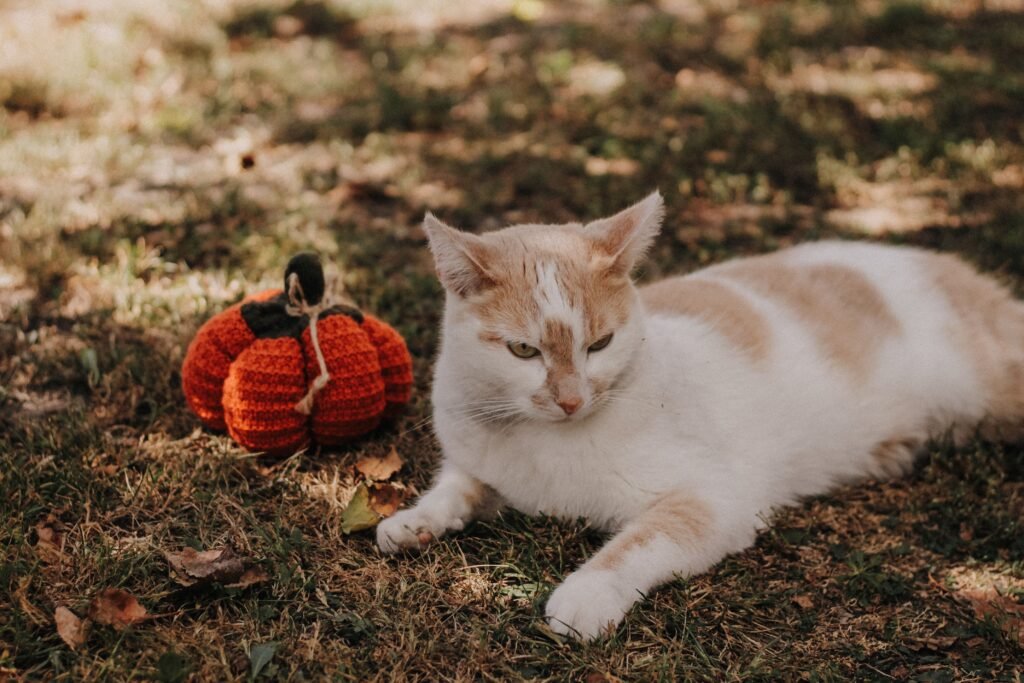
If you’re searching for a crochet pumpkin pattern for autumn decorating, you’ve probably noticed that there are dozens of styles, yarn choices, and difficulty levels out there. This detailed guide will help you compare the most common types of crochet pumpkin patterns, understand what skills and materials you’ll need, and avoid classic beginner mistakes—so you can confidently choose and complete a pumpkin project you’ll love, no matter your experience level.
Key Takeaways
- Crochet pumpkin patterns range from tiny appliqués to oversized pouffes; choose your style and size based on where you want to display your pumpkin.
- Most free crochet pumpkin patterns for beginners require only basic stitches and simple construction, but yarn weight and finishing methods affect the final look and feel.
- Practice tension, stuffing, and cinching to avoid common pitfalls—plus, check pattern skill level and materials before starting for a smoother project.
- Common types of crochet pumpkin patterns (what you’ll see online)
- What skill level is required (which basics you should already know)
- Yarn weights and types: small vs. chunky pumpkins and visual/practical differences
- Construction methods and finishing techniques
- Common beginner mistakes and troubleshooting tips
- Realistic tools, time, and materials checklist for beginners
- Complementary and frequently searched patterns to combine with pumpkins
- How to choose the right crochet pumpkin pattern (practical decision checklist)
- Where to find reliable free beginner crochet pumpkin patterns
- Frequently Asked Questions
Common types of crochet pumpkin patterns (what you’ll see online)
Most crochet pumpkin patterns fit into one of a few main categories, each suiting a different project goal or décor idea:
- Small amigurumi pumpkins and appliqués: These mini pumpkins are often used as coasters, motifs, or little toys. They are made as closed balls or flat rounds and are great for garlands or quick seasonal accents.
Typical keywords: small crochet pumpkin pattern, appliqué, coaster, ornament - Medium decorative pumpkins (tabletop décor): These are the classic ribbed pumpkins you’ll see on mantels and dining tables. They’re usually worked in rond and cinched to create the ribbed “lobes.”
- Oversized pumpkins and pouffes: Using chunky or super-chunky yarn, these pumpkins can double as floor cushions or even playful pouffes—suitable for a cozy autumn nook or kids’ rooms.
- Variations: Includes knobby/textured pumpkins (using bobbles or popcorn stitches for bumps), pumpkin-stitched buntings, or pumpkin-shaped cushions and pillow covers. Some patterns create fun garlands with flat or mini pumpkins.
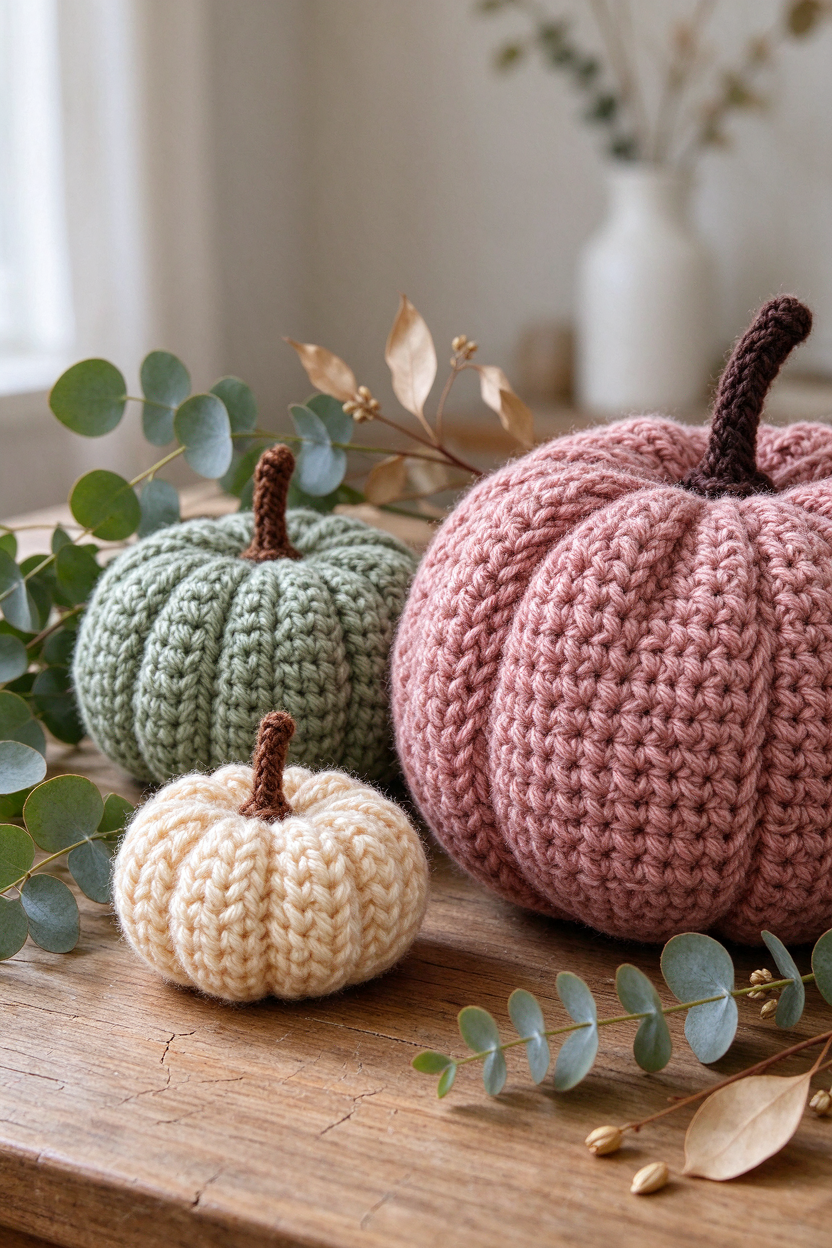
If you know where your pumpkin will go—a garland, the centre of your table, a cozy corner—you’ll be able to focus your pattern search much more effectively.
What skill level is required (which basics you should already know)
Nearly all free crochet pumpkin patterns for beginners are classified as Level 1–Beginner or Level 2–Easy. Here’s what you should expect and be able to do before diving in:
- Basic foundation: Comfortable with chain stitch, single crochet, working in the round, simple increases (adding stitches in one place), and simple decreases (combining stitches to reduce the count).
- Slip stitch: Used for joining rounds or finishing edges.
- Working in the round: Most pumpkins start with a magic circle or a tight chain loop as the foundation.
- Basic finishing skills: Stuffing, cinching yarn tightly, and sewing or crocheting a simple stem to finish.
Patterns labeled “Easy” or “Beginner+” might introduce extra shaping for the ribs or simple texture (such as back-loop-only rounds or basic bobbles), but they still focus on the most approachable crochet stitches. If you’re not comfortable with these, try practicing them using a simple swatch first. For an overview of beginner crochet skills, see our complete beginner introduction to crochet.
Yarn weights and types: small vs. chunky pumpkins and visual/practical differences
Your yarn choice is one of the biggest factors affecting your pumpkin’s final look, size, and how quickly it comes together. Here’s how weight impacts your project:
- Standard or small pumpkins: Most classic patterns recommend Aran (medium) weight, or suggest using double-stranded DK yarn for a similar effect. These weights are common for tightly finished, small-to-medium pumpkins and work especially well for those new to 3D crochet.
- Chunky and super-chunky pumpkins: Bulky (#5) or super bulky (#6) yarns are recommended for oversized, sculptural pumpkins and floor pouffes. Using thicker yarn gives dramatic ribbing and a plush texture, plus your project will work up faster.
- Small pumpkin and garland pumpkins: Light yarns (like double-knit or even lighter) can be used for mini pumpkins, garlands, or coasters. The result is more delicate and compact, great for decorating small spaces or making clusters in different sizes.
- Fiber types: Acrylic and wool blends are common in these patterns, especially for chunky styles. Consider what you have in your stash—just note that using a yarn much lighter or heavier than the pattern expects will change your finished size significantly (source).
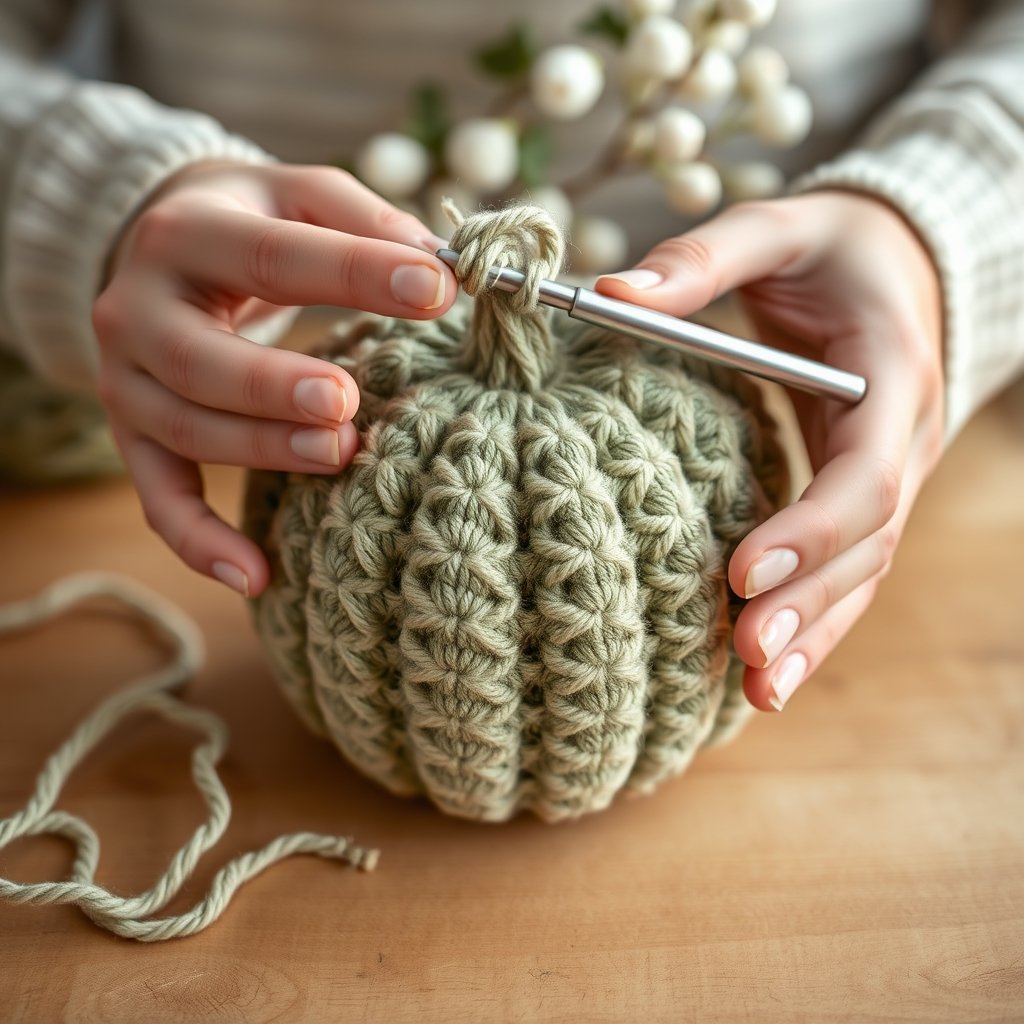
| Yarn Weight | Best For | Visual Look | Typical Use |
|---|---|---|---|
| Double-knitting (DK), Lightweight | Tiny pumpkins, garlands, appliqués | Delicate, tightly stitched, detailed | Ornaments, bunting, small clusters |
| Aran / Medium (Worsted #4) | Standard pumpkins (beginner projects) | Smooth, “classic” pumpkin look | Tabletop décor, small clusters |
| Bulky (#5) / Super Bulky (#6) | Oversized pumpkins and pouffes | Chunky, sculptural, strong ribbing | Floor cushions, statement décor |
Still not sure? Patterns often mention if they can be adapted for different yarn weights, but it’s always safest to start with the recommended weight, especially as a beginner (source).
Construction methods and finishing techniques
Crochet pumpkin construction falls into a few common approaches. Recognizing which method your chosen pattern uses can help you judge if you’re ready for it and anticipate what extra steps you’ll need.
- In the round (amigurumi method): Most pumpkins start with a magic circle or chain, then are worked in continuous rounds. You increase to expand, then decrease to close, creating a ball that you’ll later stuff and cinch to shape the pumpkin’s lobes.
- Flat panel (seamed sides): Some patterns use two flat circles or an oval panel, which are then seamed together and stuffed. This is less common, but used in some appliqué and cushion cover patterns.
- Textured or segmented ribbing: To create the classic pumpkin “lobes,” most patterns use cinching (gathering the ball with a length of yarn), or they work certain rounds in the back loop only for defined ridges. Some advanced patterns introduce bobbles or surface slip-stitch for texture, but these are still accessible to adventurous beginners.
Learn more about working in the round in our step-by-step guide to crochet stitches. - Stuffing and stem finishing: After crocheting, you’ll stuff the pumpkin gradually and attach a crocheted or sewn stem. Optional extras are leaves, curly vines, or surface details for extra personality (source).
Common beginner mistakes and troubleshooting tips
Even the simplest crochet pumpkin pattern can trip you up if you hit common hurdles. Here are the mistakes beginners most often make—and how to solve them:
- Tension troubles: Crochet that’s too loose can cause gapping, while overly tight stitches are hard to work and stuff. Try making a small swatch first to test your tension. Adjust as needed so the fabric is firm but the hook still moves easily.
- Stuffing issues: Overstuffing can distort the pumpkin’s shape or even stretch the stitches until stuffing shows through. It’s better to add small clumps gradually and check shape as you go.
- Cinching errors: An uneven or weak cinch (the process of drawing the pumpkin’s base and top together to create lobes) can flatten the shape or make the segments disappear. Double-check your cinch is snug; move filling around and cinch again if needed (source).
- Yarn mismatch: Using a dramatically lighter or heavier yarn than the pattern expects will change the finished size and look. Either follow the recommended yarn weight or look for patterns that specify their adaptability for different thicknesses.
Realistic tools, time, and materials checklist for beginners
Before you start your pumpkin, review this practical checklist—no deep technical jargon, just the essentials:
- Yarn: Quantity depends on your desired pumpkin size, but most beginner patterns use a spare ball or a small leftover skein; check that your yarn matches the pattern recommendation.
- Crochet hook: Follow the pattern’s suggestion for hook size to achieve the correct tension—do not guess.
(More help: our crochet patterns for beginners guide) - Stuffing: Synthetic fiberfill is standard; add in small amounts to avoid lumps or bulges.
- Yarn/tapestry needle: For sewing up, weaving in ends, and cinching lobes.
- Scissors
- Stitch markers (optional): Helpful for marking the start of rounds.
Time expectations: Mini-pumpkins or appliqués can sometimes be completed in about 20 minutes, according to some pattern sources (source). Most small to medium pumpkins are made in an evening, while super-chunky pouffes will take longer but work up faster than you might expect due to the thick yarn.
If you’re feeling uncertain, start first with a small, free crochet pumpkin pattern for beginners to build confidence with rounds and cinching before tackling a chunky yarn pumpkin pattern.
Complementary and frequently searched patterns to combine with pumpkins
Once you’ve picked your main pumpkin, extend your seasonal décor or gift-making with these popular add-ons—many of which use the same basic techniques:
- Stems and leaves: Many designers provide small add-on patterns to make your pumpkin more realistic, or you can use leftover yarn to improvise simple leaves or a curly vine.
- Pumpkin garlands/bunting: String several small crochet pumpkins as bunting for mantels or windows.
- Pumpkin clusters (graduated sizes): Arrange mini, small, and chunky pumpkins together as a cozy table centerpiece.
- Pumpkin cushions and pouffes: Larger patterns expand the same basic idea into huggable pillows and playful floor cushions. Consider a pumpkin pillow for a vibrant autumn sofa update.
- Themed toys: Cat-in-a-pumpkin or other Halloween-themed projects reuse core skills in a playful way (source).
How to choose the right crochet pumpkin pattern (practical decision checklist)
Feeling overwhelmed by pattern options? Use this quick checklist to narrow down your best crochet pumpkin pattern for your needs:
- Decide your pumpkin’s purpose: Will it be a garland (go small and light), tabletop accent (medium/Aran or worsted-weight), or pouffe/floor cushion (chunky or super-chunky)?
- Match the skill level: If you know only basic stitches, stick to patterns marked Beginner or Beginner+—these use single crochet, chain stitches, and minimal shaping.
- Check yarn requirements: Look for patterns that list a recommended yarn weight; if they suggest “double DK” or “bulky,” you have flexibility, but always expect your pumpkin size to change with yarn choice.
- Photo or video support: Beginners may find patterns with step-by-step photos or video tutorials more reassuring; many reputable pattern libraries now filter by these features.
- Review finishing details: Decide if you prefer a smooth or textured pumpkin, a crocheted or sewn stem, and any extras like leaves or vines.
This process should help you quickly spot which crochet pumpkin pattern matches your goals and resources—so you start your project with confidence, not confusion.
Where to find reliable free beginner crochet pumpkin patterns
With so many crochet patterns online, finding a reliable free pumpkin pattern for beginners means checking a few key things:
- Filter by skill level: Search pattern libraries or major yarn brand sites using their “Beginner” or “Easy” filters for the most approachable results (source).
- Look for support: Patterns that provide step-by-step photos or video tutorials can be easier for first-time pumpkin makers to follow.
- Examine pattern images: Photos that clearly show the finished size and shape help set realistic expectations before you even open the PDF.
If you’re curious about other beginner-appropriate crochet projects, see our quick list of easy crochet ideas.
Frequently Asked Questions
What basic stitches do I need to know for a crochet pumpkin pattern for beginners?
Most beginner pumpkin patterns use chain stitch, single crochet, slip stitch, and simple increases and decreases, plus working in the round. These foundation skills are all that’s needed for many popular free patterns.
Can I use chunky yarn to make a small pumpkin, or will it be too big?
Chunky yarn creates a larger pumpkin by default; if you want a small pumpkin look, stick to standard or DK weight, or follow a pattern intended for chunky yarn but worked at a reduced size. Always check the pattern for yarn recommendations.
How do I make ribbed pumpkin lobes?
Most patterns create lobes by cinching the stuffed pumpkin with yarn to indent the sides. Some also use surface techniques, like back-loop-only stitches or surface slip stitch, to define ridges.
How much stuffing should I use for my pumpkin?
Add small amounts of stuffing gradually to avoid lumps or distortion. Overstuffing can stretch stitches or cause uneven shaping—stop when the pumpkin is just full but still pliable for cinching.
Are there free pumpkin patterns suitable for absolute beginners with video tutorials?
Many major yarn brands and pattern libraries offer free beginner pumpkin patterns with photo or video support. Use their skill-level filters and preview images to find the most accessible patterns.
What is the easiest pumpkin project to practice working in the round?
A tiny amigurumi-style pumpkin or flat pumpkin motif is often best to practice rounds, increases, and cinching; these projects focus on repetition and basic stitches without complex shaping.
If you’re ready for your next handmade creation, browse TwirlBloom’s crochet PDF patterns for more inspiration.