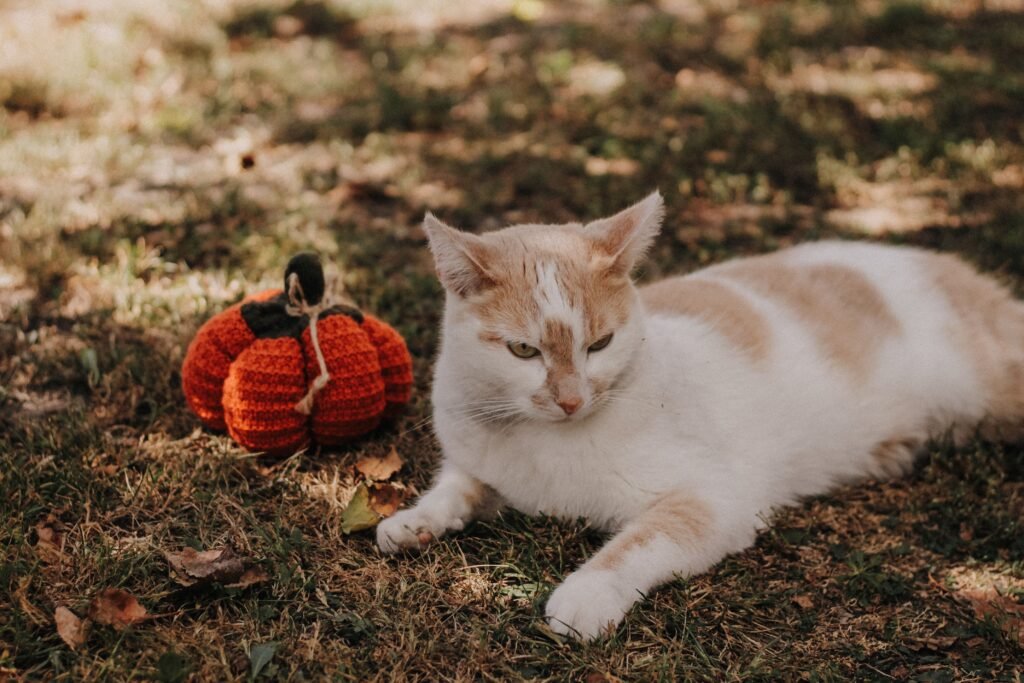
A crochet pumpkin pattern is one of the coziest and most approachable ways to add handmade autumn flair to your home or gifts. This practical guide will walk you through the essential skills and tools you need, the most common mistakes (and how to fix them), how to select yarn and hook sizes for your ideal result, different construction methods for small or chunky pumpkins, finishing tips overlooked by free tutorials, and where to find beginner-friendly downloadable crochet patterns. Whether you want to make your first pumpkin or upgrade your approach for more consistent results, you’ll be able to confidently create festive crochet pumpkins for your seasonal decor.
Key Takeaways
- Mastering a handful of basic stitches and working in the round unlocks nearly every crochet pumpkin pattern (even beginner ones).
- Choosing yarn weight and hook size impacts your pumpkin’s size, shape, texture, and project speed—chunky yarn makes larger, faster pumpkins, while regular weight allows more detail.
- Consistent stuffing, careful cinching with a tapestry needle, and neat finishing touches turn a basic pumpkin into a polished seasonal decoration.
- Essential crochet skills and stitches for a successful crochet pumpkin pattern
- Most common beginner mistakes when following free crochet pumpkin patterns — and how to avoid them
- How yarn choices (chunky vs regular) change the look, feel, and difficulty of a crochet pumpkin
- Hook size guidance for small and chunky crochet pumpkins (how to think about hook choice)
- Construction methods for small, large, and chunky pumpkins — differences, pros, and cons
- Finishing techniques to create realistic, durable, and visually appealing pumpkins
- Practical tips, safety warnings, and common details missing from free patterns
- Where to find beginner-friendly downloadable crochet pumpkin PDF patterns and why PDFs can be better than web-only tutorials
- Frequently Asked Questions
Essential crochet skills and stitches for a successful crochet pumpkin pattern
Crochet pumpkins may look impressive, but most patterns use only a small set of stitches—even a free crochet pumpkin pattern for beginners will typically call for the following:
- Working in the round: Fundamental for shaping the pumpkin. You’ll either work continuous or joined rounds, depending on the design.
- Magic ring (sometimes called “magic circle”): A method for tightly closing the starting point so there’s no hole at your pumpkin’s base.
- Basic stitches:
- Chain (ch) – the foundation of nearly all crochet patterns.
- Slip stitch (sl st) – for joining rounds or closing parts of your work.
- Single crochet (sc, US) — or double crochet (dc, UK). Patterns may use either term; always check which system your pattern uses. Most pumpkins favor the denser single crochet stitch for a sturdy fabric.
- Increase and decrease (commonly written as “inc” and “dec” or “sc2tog”) – to shape the pumpkin and adjust diameter.
Being comfortable with these techniques allows you to follow almost any beginner-friendly pumpkin pattern. If you’re new to working in the round or using a magic ring, take a moment to practice—these are especially important for seamless pumpkin shapes and stuffing that doesn’t leak out.
You’ll also need a few simple tools:
- Stitch markers (to track your round beginnings and keep segmenting even)
- A long tapestry or doll needle (crucial for cinching the pumpkin into segments)
- Crochet hook in the size recommended by your pattern or yarn
- Soft stuffing (polyfill or similar)
- Optional: small scissors, pins, extra yarn for stems or leaves
If you want support while building these skills, check out TwirlBloom’s step-by-step crochet stitches guide or our complete crochet beginner’s guide.
Most common beginner mistakes when following free crochet pumpkin patterns — and how to avoid them
Even the best free crochet pumpkin pattern for beginners can leave out small but crucial advice. Here’s where many new makers go astray, and how to troubleshoot:
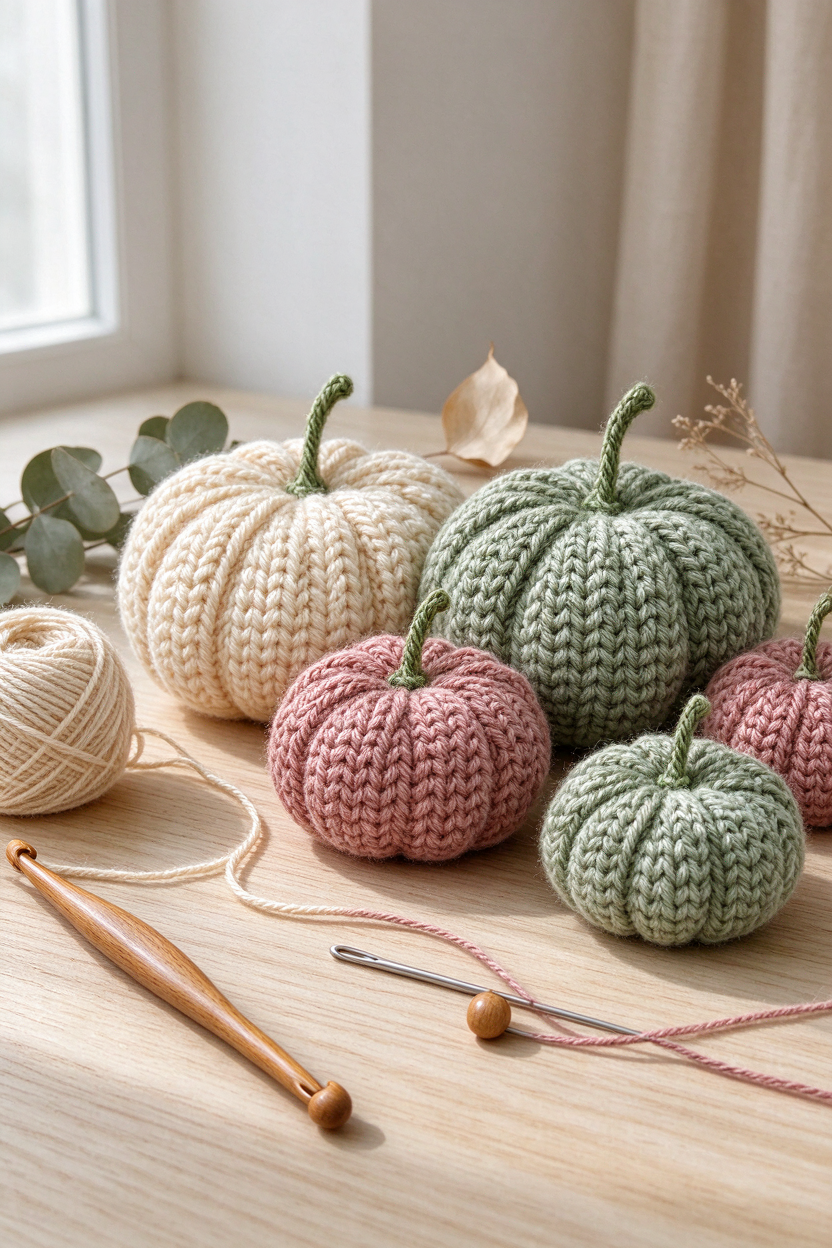
- Uneven or loose cinching: The “pumpkin” look depends on firm, evenly spaced passes of yarn through the stuffed ball or cylinder. If your ribs barely show, try marking where each pass should go with pins or stitch markers and pull each segment with steady, even force.
Tip: Using a long tapestry or doll needle is much easier and neater than using a hook for this step (source). - Losing your place in the round: Without using stitch markers or tracking your turning chain, it’s easy to add or drop stitches—which can distort your pumpkin’s shape. Mark the start of each round, especially if you’re working in continuous rounds.
- Under- or over-stuffing: Understuffed pumpkins collapse when cinched; overstuffed ones can become lumpy or too rigid. Start with firmer stuffing than feels “right” (stuffing compresses about 15–20% when cinched; source).
- Using the wrong threading tool: Passing the gathering yarn with a hook often leads to snagging or off-center cinching. A tapestry or doll needle is much more accurate and beginner-proof.
- Mismatched hook size: Too small and your fabric will curl or feel hard; too large and stuffing pokes through. If your project is curling or feels loose, check that your hook matches the recommended size for your chosen yarn and pattern.
- Skipping the turning chain or not counting stitches: Especially in rectangle-based pumpkins, missing the turning chain can make your edges slope or the shape unintentionally narrow. Always count your stitches!
How yarn choices (chunky vs regular) change the look, feel, and difficulty of a crochet pumpkin
Your choice of yarn weight transforms both the process and the outcome:
| Yarn Type | Look & Feel | Speed | Suitability | Difficulty |
|---|---|---|---|---|
| Chunky/Super-chunky | Large, plush, bold ribs; cuddly or statement decor | Fast (fewer stitches to finish) | Great for large pumpkins, plush toys, or max visual impact | Lower—hides minor mistakes due to fuzzy/thick texture; easier for some beginners |
| Regular/DK/Aran/Worsted | Smaller, more detailed; defined stitches and ribs | Slower (more rows/rounds needed) | Ideal for small crochet pumpkin patterns, garlands, or detailed amigurumi pumpkins | Medium—requires more control and consistent stitch tension |
Real pattern examples: The “Bumpy Pumpkin” uses a chunky yarn and a 5mm hook for beginner-friendly speed and plushness (source), while smaller pumpkins use a DK or worsted yarn for refined, decorative detail (source).
Should you stick exactly to your pattern’s yarn recommendation?
If you want a pumpkin that matches the photo in size and appearance, match both the yarn weight and hook size. If you substitute, know that:
- Chunky yarn + larger hook usually means bigger/faster pumpkin, but sometimes less shape definition.
- Regular yarn + smaller hook = smaller pumpkin, but more visible stitch detail and sometimes more difficulty controlling tension.
If in doubt, make a small swatch first to test the feel and look, and always check your pattern’s notes on yarn substitution.
Hook size guidance for small and chunky crochet pumpkins (how to think about hook choice)
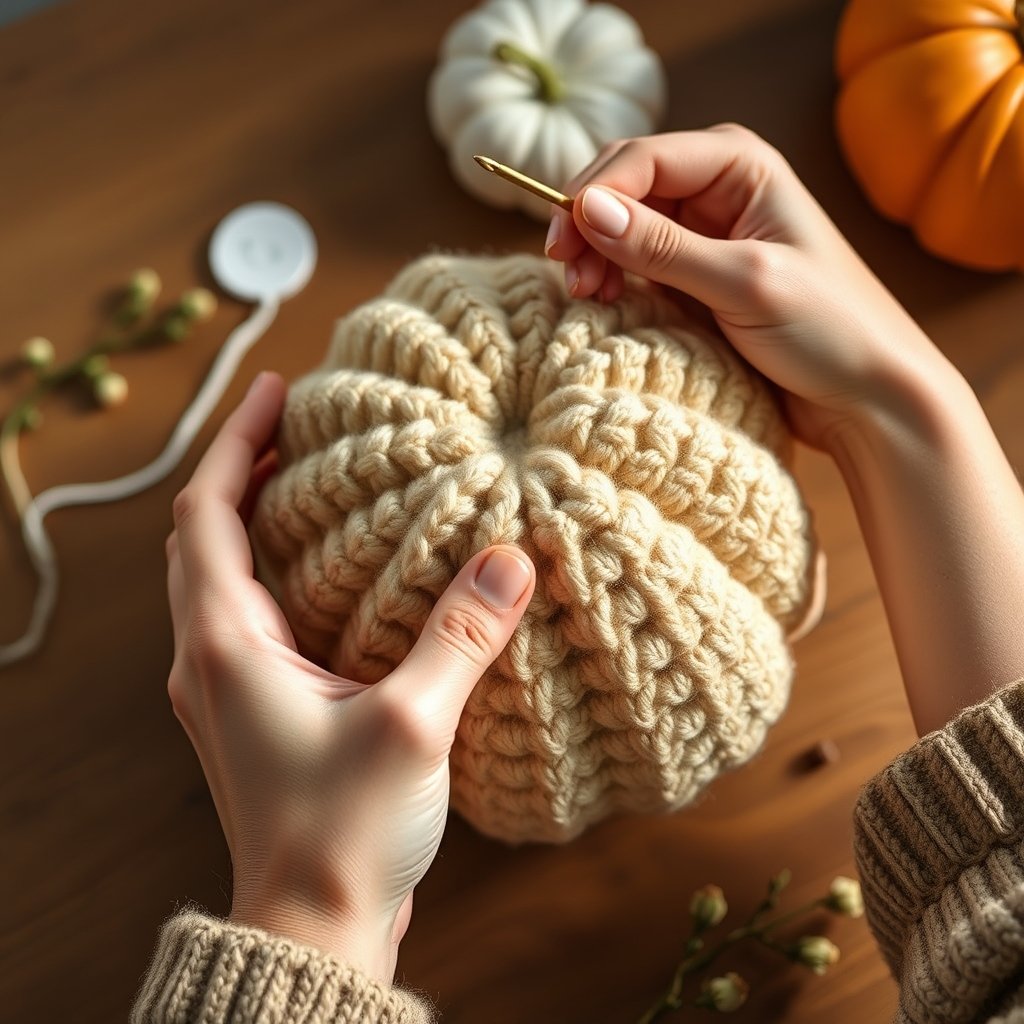
Hook size is one of the most common places beginner crocheters accidentally go off track, especially with a small crochet pumpkin pattern or when using chunky yarn.
- Larger hooks: Produce looser, more flexible fabric; the pumpkin will be larger and may be softer, but can let stuffing peek through if too large for the yarn.
- Smaller hooks: Create denser, tighter fabric—essential for small or amigurumi-style pumpkins so stuffing stays put and the shape is crisp; if the hook is too small, your work may curl or feel hard.
Always check your pattern’s recommendation and intended gauge. For example, the “Huggable Pumpkin” pattern uses a 10mm hook with super-chunky yarn (source), but the “Bumpy Pumpkin” uses a 5mm hook with another chunky yarn (source). There’s no universal right answer: it varies by yarn thickness and pattern construction.
How to substitute:
- If you choose a different yarn, use the hook size you’d typically match to that yarn, and test a sample round for tightness and curl before making the whole pumpkin.
- If your fabric is curling: try a larger hook.
If your fabric is loose or stuffing shows: try a smaller hook.
If you want more guidance, see our step-by-step crochet stitch guide for hook and yarn basics.
Construction methods for small, large, and chunky pumpkins — differences, pros, and cons
There’s more than one way to make a crochet pumpkin—and each method has tradeoffs. Choose the one that fits your preferred size, speed, and texture.
- Worked in the round (“amigurumi-style”): Start with a magic ring, add increases for width, then decreases for tapering; stuff, close, and cinch.
- Pros: Seamless, classic look; best for rounded pumpkins; ribs created by cinching at the end.
- Cons: Requires comfort working in the round and tracking stitch count.
- Rectangle folded and gathered: Crochet a long rectangle (often in rows), seam the sides, then gather top and bottom. Cinch into segments.
- Pros: No need to work in the round; consistent stitch size; easy to scale up for chunky yarn.
- Cons: Visible seam unless joined invisibly; may need more passes when cinching to shape.
- Tunisian or textured pumpkins: Specialty patterns may use bobble stitches or Tunisian crochet for a bumpy surface or unique ribbing (source).
- Pros: Rich texture and visual interest; can create realistic or whimsical effects.
- Cons: Slightly more advanced techniques; may not suit absolute beginners.
Choose round/amigurumi for small or classic pumpkins, rectangles with chunky yarn for fast, plush decor, and bobbled or Tunisian for surface interest or advanced results.
Finishing techniques to create realistic, durable, and visually appealing pumpkins
Your finishing steps can make the difference between a beginner-looking sphere and a display-ready pumpkin. Here’s a checklist to follow:
- Segmenting/cinching: Mark segment locations evenly before starting; make 6–8 firm passes with a tapestry or doll needle, pulling each snug. Even tension creates smooth, defined ribs (source).
- Stuffing: Stuff more firmly than you think—cinching compresses the filling. After cinching, add more stuffing through the top if the shape collapses.
- Stems, leaves, tendrils: Stitch these pieces securely to the top (or bottom, if desired). For toys or heavy use, double back through the attachment for extra strength.
- Securing ends and seams: Weave in all ends with a tapestry needle. Reinforce any joins, and—for fabric pumpkins—consider gently blocking before assembly for a smoother shape.
- Optional display tips: If your pumpkin needs stability, consider inserting a small (safe) weight or cardboard disc at the base before stuffing, especially for large table decor.
Practical tips, safety warnings, and common details missing from free patterns
Many free crochet pumpkin patterns assume a certain level of background knowledge. For best results and safety, keep in mind:
- Child safety: If your pumpkin may be used as a toy, avoid small safety eyes or decorative beads that could detach. Instead, embroider features and double-knot all attached pieces securely.
- Stuffing advice: Most patterns don’t specify exactly how much or how firmly to stuff. Start with a firm fill, then test compression by pinching; add more as needed after cinching.
- Tool selection: Use a tapestry or doll needle for cinching; a crochet hook isn’t precise enough and can distort the stuffing or yarn.
- Counting tips: Always track your rounds or rows with markers or a notebook. Loss of shape often traces back to missed stitches or turning chains.
- Quick troubleshooting:
- If your pumpkin base is curling, switch to a larger hook or ease your tension.
- If segmenting ribs don’t show, tighten your cinching passes and adjust stuffing.
- If stuffing is lumpy, pull it out and re-fluff before trying again.
For in-depth guidance on reading beginner crochet patterns, see our beginner’s guide to crochet patterns.
Where to find beginner-friendly downloadable crochet pumpkin PDF patterns and why PDFs can be better than web-only tutorials
When choosing a crochet pumpkin pattern, opting for a downloadable PDF can make your experience much smoother—especially as a beginner. Here’s why:
- Consistent, printable formatting: PDFs are easy to read, print, and mark up. No need to scroll through ads or lose your place.
- Step-by-step clarity: Downloadable crochet patterns often include clearly defined abbreviations, a full materials list, and progress photos or diagrams (when noted in the pattern listing).
- Offline access: You can work anywhere without relying on your phone or internet connection.
- Multiple size options: Paid PDFs may offer more variations (mini, large, chunky) than short free tutorials.
What to look for in a PDF pumpkin pattern:
- Explicit skill level (Beginner, Confident Beginner, etc.)
- Full list of yarn and hook requirements
- Stitch abbreviations and terminology clarification (US/UK)
- Photos, diagrams, or schematics (if you prefer visual guidance)
- Pattern preview or sample page to check clarity
Many designers (including TwirlBloom) offer downloadable PDF crochet pumpkin patterns. You can browse Crochet PDF Patterns in TwirlBloom’s shop and check each pattern’s notes for specific recommendations on yarn, hook size, and included support.
Frequently Asked Questions
What basic crochet stitches do I need to know to make a crochet pumpkin pattern?
You’ll typically need to know the magic ring, chain, slip stitch, single crochet (US) or double crochet (UK), and basic increases/decreases.
How tightly should I stuff my crochet pumpkin before cinching?
Stuff more firmly than you think is necessary—about 15–20% firmer—as stuffing compresses noticeably when you cinch to form the pumpkin’s ribs.
Can I use chunky yarn to make a small crochet pumpkin?
You can, but the pumpkin will appear more plush and rounded. To keep it truly small, reduce the number of stitches or rounds, but follow your pattern’s guidance for substitutions when possible.
Why aren’t the ribs showing after I cinch my pumpkin and how can I fix it?
The most common reasons are loose cinching or under-stuffing. Try tightening each segment pass with steady tension and ensure your pumpkin is well-stuffed before cinching.
What tools are better for passing the gathering thread — a hook or a tapestry/doll needle?
A tapestry or doll needle is strongly preferred for passing the gathering thread neatly and evenly through a stuffed pumpkin.
Are downloadable PDF patterns worth buying compared with free web tutorials?
Downloadable PDF patterns can be clearer, easier to print, and offer consistent step-by-step formatting and offline access—making them a practical choice for many crocheters.
Finishing your own crochet pumpkin is both satisfying and genuinely approachable for beginners, provided you choose simple, pattern-backed stitches and pay extra attention to cinching, stuffing, and finishing details. If you’re ready to start or want more pattern options, explore Crochet PDF Patterns in the TwirlBloom shop for creative, downloadable inspiration.