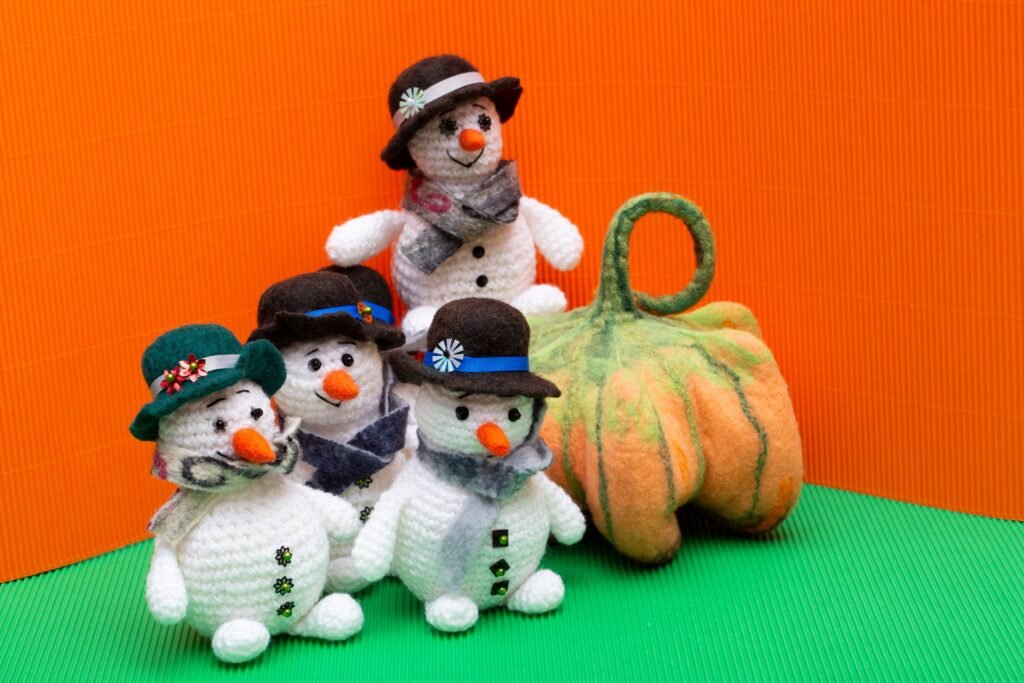
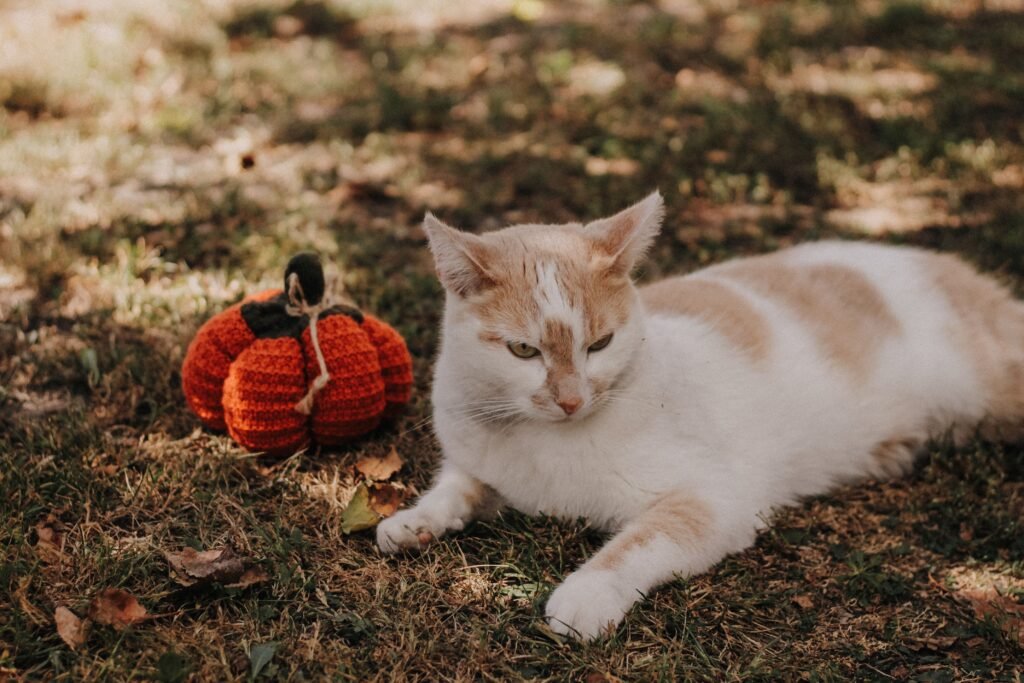
If you’re looking for a genuinely useful crochet pumpkin pattern guide—one that helps you choose the right material, understand construction methods, and finish pumpkins that look great and last through the season—you’re in the right place. This article explains, in practical steps, how to select yarns and hooks for small, chunky, or classic pumpkins, what skills you need, common beginner mistakes, and where to find truly beginner-friendly free crochet pumpkin patterns. You’ll also get a ready-to-print “Pumpkin Prep” checklist to set yourself up for success the first time.
Key Takeaways
- Picking the right pumpkin size and yarn weight makes crocheting easier and matches your seasonal goals—from mini-garlands to statement floor pumpkins.
- Confident beginners can succeed with most pumpkin patterns using just a handful of stitches and basic techniques like stuffing and cinching.
- Paying attention to pattern notes and using a printable prep checklist helps reduce mistakes, uneven ribs, and stuffing issues common to first-time pumpkin projects.
- What you’ll make — pumpkin types and finished uses
- Essential materials and tools (yarn types, stuffing, needles, hooks)
- Basic stitches and techniques beginners need
- Common construction methods and how they affect shape and difficulty
- Troubleshooting, tips and common beginner mistakes
- Time, complexity and what to expect by yarn weight
- Personalizing pumpkins — stems, leaves, tendrils, and color options
- Where to find truly beginner-friendly free patterns and what to look for
- Practical downloads and resources to include with the article
- Frequently Asked Questions
What you’ll make — pumpkin types and finished uses
The world of crochet pumpkin patterns offers more variety than you might expect. Deciding what type of pumpkin you want to make will shape all your next choices, from yarn and hook to required skills. Here’s a quick overview of popular types:
- Mini pumpkins & garlands (small crochet pumpkin pattern): Typically made using DK/light worsted yarn and a smaller hook for a palm-sized finish. Great for stringing together as a seasonal garland, adding to wreaths, or using as table accents and coasters.
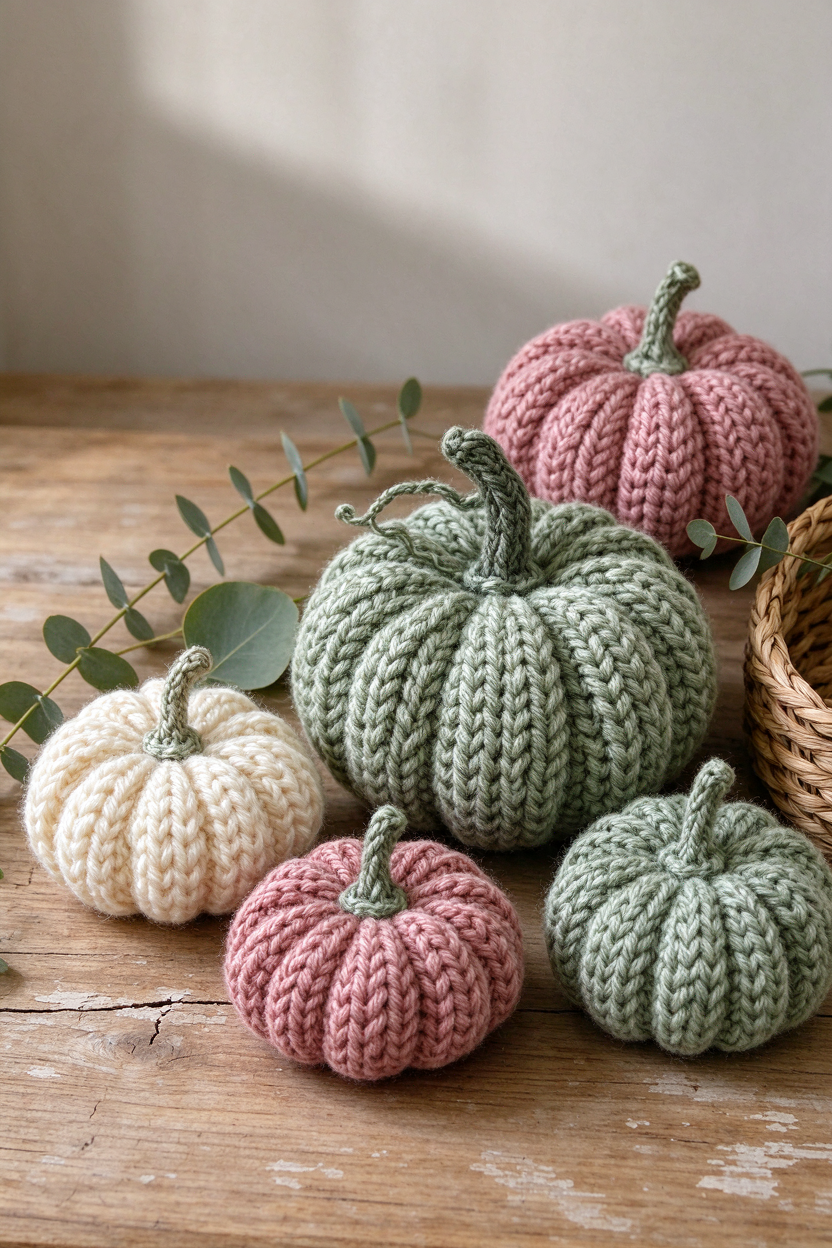
- Classic centerpiece pumpkins: Standard aran or worsted-weight yarn, usually with a 4 mm hook, produces medium pumpkins ideal for tables, desk décor, or small gifts.
- Chunky and huggable pumpkins (chunky yarn crochet pumpkin pattern): Oversized, squishy pumpkins use chunky or super-chunky yarn (and much bigger hooks—sometimes 10 mm or larger). These make excellent statement pieces, soft toys for kids, or even floor poufs.
- Floor/display pumpkins: The largest (and fastest to work up) are often constructed from rectangles using super-chunky yarn, making them perfect for porches or entryways.
Skill levels for these projects generally range from absolute beginner (rectangle/gather patterns) to confident beginner (amigurumi-like round construction), so start with a size and method that match your comfort and display goals.
Essential materials and tools (yarn types, stuffing, needles, hooks)
Gathering the right supplies is essential for a smooth experience. Below, you’ll find a practical checklist and practical advice on choosing your yarn, hook, and essential notions, all based on accurate, source-supported guidelines (LoveCrafts, Lion Brand).
Materials & tool checklist
- Yarn: Choose based on desired pumpkin size:
- DK or light worsted for mini pumpkins and garlands
- Aran/worsted for standard tabletop pumpkins
- Chunky/super-chunky for huggable or floor pumpkins
- Cotton/tweed yarns for firmer, more structured pumpkins with crisp stitch definition
- Crochet hook(s):
- 3.5 mm hook for tighter DK fabric (supports detailed small pumpkin shapes)
- 4 mm hook often used with aran/worsted yarns
- For chunky/super-chunky, follow pattern, sometimes a 10 mm (as in Paintbox Super Chunky pumpkin patterns)
Always check your pattern’s recommendations—gauge and yarn can vary between brands and patterns.
- Stuffing: Soft polyester fiberfill works well. Don’t overstuff, especially with open stitches—see the troubleshooting section for details.
- Tapestry/darning needle: For seaming and especially for “cinching” the pumpkin into segments.
- Scissors
- Stitch marker(s): Especially if working in continuous rounds.
Tip: If you want a printable checklist with these items plus a beginner skills list, see the resources section below.
Yarn & hook selection: pros, cons, and effects
| Yarn Weight | Best Uses | Common Hook Size* | Effect |
|---|---|---|---|
| DK / light worsted | Mini pumpkins, garlands | ~3.5 mm | Firmer, neat, holds petite shape |
| Aran / worsted | Tabletop & medium pumpkins | ~4 mm | Balance of speed, squish & structure |
| Chunky / super-chunky | Huggable, statement pumpkins | One or two sizes down from ball band; e.g. 10 mm for some patterns | Fastest to work up, extra-plush, hides small mistakes, but can be heavy |
| Cotton/tweed/wool blends | Any size; focus on definition | Follow pattern | Holds shape; tweed adds visual texture |
*Check your chosen pattern. Adjust hook size if your stitches are too loose, as stuffing should not leak.
Basic stitches and techniques beginners need
Most free crochet pumpkin patterns for beginners require only basic stitches and a small set of techniques—even the larger or chunkier versions. Here’s what to know and practice:
- Core stitches (used in most beginner pumpkin patterns):
- Chain (ch) — building foundation or joining rounds
- Single crochet (sc) — primary stitch for structure
- Slip stitch (sl st) — for joining and subtle shaping
- Half double crochet (hdc) — sometimes used for texture
- Double crochet (dc), treble (tr) — occasionally for taller stitches or patterns with ridges
See TwirlBloom’s step-by-step stitch guide for tutorials on these basics.
- Essential techniques:
- Working in rounds (for ball/cylinder pumpkins)
- Magic ring or chain-joined circle to begin projects with a closed bottom
- Increasing and decreasing to shape the pumpkin
- Seaming or joining (especially for rectangle/gather methods)
- Stuffing
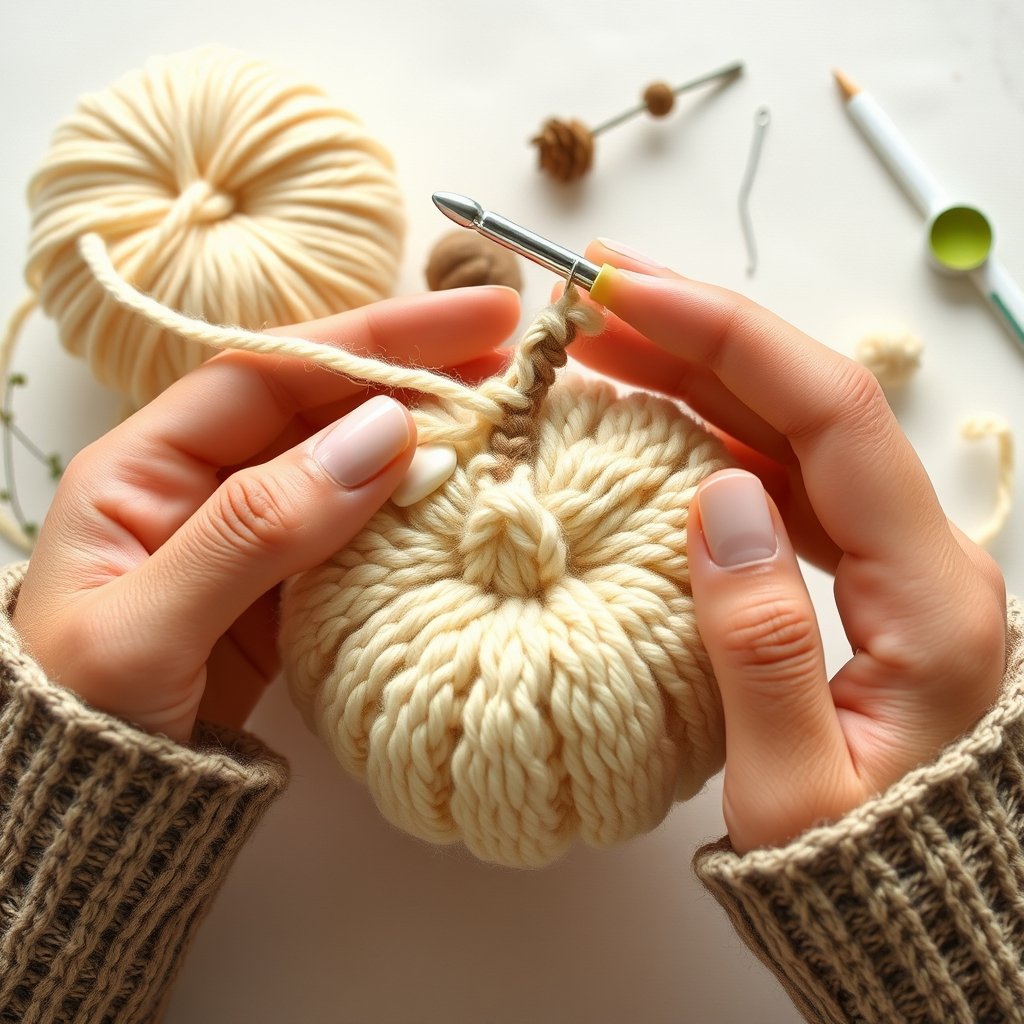
- Cinching/ribbing the pumpkin: threading a long yarn strand through the center, several times, to create neat sections
Skill-level mapping:
- Absolute beginner: Chain, single crochet, slip stitch
- Confident beginner: Working in the round, increases and decreases, magic ring
- With a little practice: Gathering/closing, cinching, surface embroidery/ribs
Common construction methods and how they affect shape and difficulty
There are a few main ways to construct a pumpkin, each suited to certain yarns and different levels of comfort with crocheting in the round or sewing seams.
- Worked in the round (amigurumi style):
- How it works: Crochet a squat cylinder or sphere, stuff, close, and then cinch with a yarn strand to create pumpkin “ribs.”
- Benefits: Smooth, seamless finish and compact shape. Good for mini and classic pumpkins. Requires some confidence in working in rounds and increases/decreases.
- Rectangle/gather method:
- How it works: Crochet a plain rectangle, fold, whipstitch/join the sides to form a tube, gather both ends, stuff, then cinch for ribs (example).
- Benefits: Extra beginner-friendly; easy to scale up (excellent for chunky yarn); minimal shaping knowledge needed.
- Segment-by-segment/panel method:
- How it works: Crochet several shaped panels, seam together, then stuff and finish. Often used for large, ribbed pumpkins.
- Benefits: Crisp, defined ribs and high customization. Slightly more sewing skill needed.
- Ribbing & surface shaping:
- Worked in as you go: Crocheting into back loops or using post stitches to form built-in ridges.
- Added after: Surface slip stitch, embroidery, or wrap techniques for “ribs.”
Most free pumpkin patterns for beginners are either round (amigurumi) or rectangle/gather, especially when working with chunky yarn for fast results.
Troubleshooting, tips and common beginner mistakes
Even the simplest crochet pumpkin patterns have a learning curve. Here are the most common pitfalls and how to avoid them:
- Stuffing problems: Overstuffing can stretch stitches and create “lumps” or worse—stuffing can leak through open stitches, especially with soft or loosely spun yarns. Use just enough to fill out the shape; press gently and add more if the pumpkin “sinks.”
- Loose stitches/tension: If you can see stuffing poking through, go down a hook size or try a denser yarn, especially with chunky/super-chunky choices.
- Wonky or uneven ribs: Cinching the pumpkin with a long yarn strand (using a darning needle) is the beginner’s friend—pull the thread through the center from bottom to top, spacing your segments as evenly as possible. If some are uneven, gently adjust with your hands before weaving in the final end.
- Visible seams: On rectangle/gather pumpkins, try seaming inside out first, then flipping it before stuffing. Any visible seams can usually be hidden with surface slip stitches or a whip stitch in matching yarn.
- Ignoring pattern notes: Many beginners miss key details by skipping a pattern’s skill level, finished size, or how “gathered” the top and bottom should be. Read those notes first (Lion Brand pattern advice).
Quick tip: Many mistakes can be avoided by preparing with a simple checklist of required supplies and stitches to practice (download link coming below).
Time, complexity and what to expect by yarn weight
How fast will you finish your pumpkin? That depends mostly on your yarn weight, pattern complexity, and your comfort with the techniques:
- Chunky/super-chunky pumpkins: Bigger hooks, fewer rows, and fast coverage mean projects come together more quickly. These are the best choice for bold, seasonal décor or beginner-friendly floor pumpkins. Chunky yarn is forgiving of small mistakes, but can be awkward for very small hands.
- DK/aran/worsted pumpkins: Smaller hooks and finer yarn require a few more rows and slightly more attention to tension, but produce pumpkins that are neat, structured, and ideal for table or desk display.
- General guidance: Choose a yarn and hook size that you enjoy working with and that matches your project goal (see the “Pumpkin Prep” chart in our resource section).
- Cotton, tweed, or wool: These yarns offer firm structure and crisp stitches, but cotton in particular is less forgiving on tension—great for display pumpkins, not ideal for cuddly versions.
Before you start, always check your pattern’s recommendations for yarn, hook, and any special notes about difficulty or shaping.
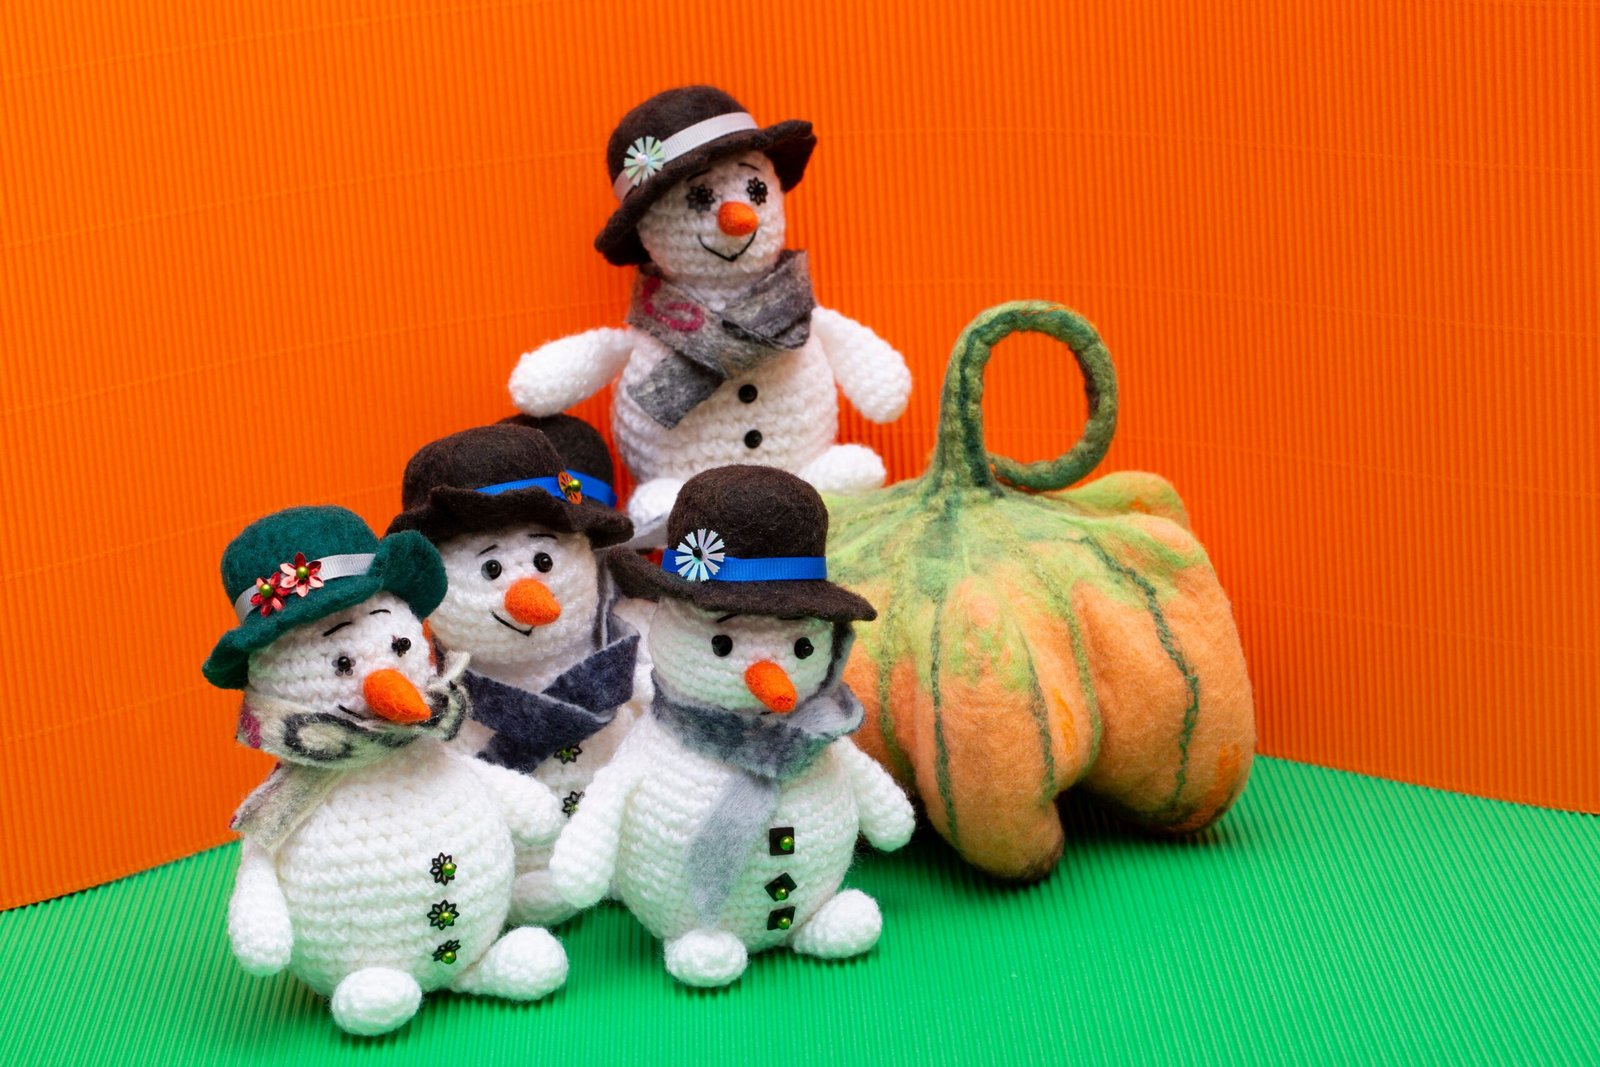
Personalizing pumpkins — stems, leaves, tendrils, and color options
Adding stems, leaves, and colorwork turns a simple crochet pumpkin pattern into a unique, gift-worthy decoration. Here’s how beginners can start personalizing:
- Stems: The simplest is a rolled or crocheted tube (sc or hdc), stitched on top. You can also wrap brown or green yarn into a fat bundle and sew it in place firmly.
- Leaves: A small leaf can be crocheted with just chains and single crochets—many patterns include a few variations. Sew these in place after finishing the main pumpkin.
- Tendrils: Chain a length, then slip stitch back down for an easy curly vine. Attach near the stem.
- Color choices: Orange is classic, but white, green, teal, and even variegated or tweed yarns give a modern or whimsical twist.
- Stripes & texture: Change color every row or two for stripes or use textured yarns for extra visual interest.
- Finishing touches: Weave in tails carefully, block gently if your pumpkin needs reshaping, and consider adding safety eyes or stitched pumpkin faces for a playful look.
Most personalizations can be added after the pumpkin is completed, requiring only basic sewing and a little creativity.
Where to find truly beginner-friendly free patterns and what to look for
Not all free crochet pumpkin patterns for beginners are created equal. Here’s how to spot those that offer the most practical support—and what red flags to avoid:
- A good beginner pattern includes:
- Clear materials list with specific yarn weight, hook size range, and stuffing guidance
- Skill level or “suitable for beginners” note
- Construction overview—amigurumi, rectangle, or panel method flagged up front
- Step-by-step instructions, ideally with photos (or at least a few process images)
- Notes/abbreviations and finished size
- Common red flags:
- Missing or generic materials and gauge section
- No mention of how to cinch or close the pumpkin
- Lack of any skill level or photo support for steps
- Recommended sources:
- Major yarn companies and pattern hubs, such as LoveCrafts Pumpkin Crochet Patterns and the Lion Brand stitch guide, both of which regularly curate genuinely beginner-friendly patterns.
- Downloadable patterns that provide abbreviated “notes” sections and photos.
Always read the notes section first before starting (Lion Brand source).
Practical downloads and resources to include with the article
Being well-prepared reduces the chance of errors and boosts your confidence—especially on your first pumpkin. Get the right resources:
-
“Pumpkin Prep” printable checklist:
- Materials: List your chosen yarn, hook, stuffing, tapestry needle, scissors, and stitch marker.
- Skills to practice: Chain, single crochet, (optionally) magic ring, basic seaming, stuffing technique, cinching with a darning needle.
- Notes: Space for recording gauge if your pattern recommends one.
-
Quick yarn-weight-to-project chart:
- DK –> small pumpkins & garlands
- Worsted/aran –> medium centerpieces
- Chunky/super-chunky –> huggable or floor pumpkins
- Always check pattern for exact recommendations
-
Step tutorials and resources:
- See step-by-step tutorials for chain, single crochet, and the magic ring
- Not sure how to cinch for pumpkin ribs? LoveCrafts’ compilation includes several free patterns with photo steps.
-
Find more patterns:
- Browse Crochet PDF Patterns from TwirlBloom (includes a variety of downloadable projects for different skill levels and seasonal decor).
Frequently Asked Questions
What basic stitches do I need to know to crochet a beginner pumpkin?
The most common stitches are chain (ch), single crochet (sc), and slip stitch (sl st)—these make up almost all beginner pumpkin patterns. Some patterns use half double crochet (hdc), double crochet (dc), or treble (tr) for texture or ribs. Most techniques beyond these are simple and covered in the construction section of each pattern.
What yarn and hook should I use for a small tabletop pumpkin versus a chunky floor pumpkin?
For small tabletop pumpkins, use DK weight yarn and a hook around 3.5 mm for a tight, neat fabric. For chunky or floor pumpkins, use a super-chunky yarn with a much larger hook (such as 10 mm), as recommended by your specific pattern. Always check the pattern for exact yarn and hook recommendations.
How do you make the pumpkin ribs look even and neat?
After stuffing and closing your pumpkin, use a tapestry or darning needle to thread a long strand of yarn from the bottom through the center to the top several times, pulling snugly each time to form segments. Space the ribs evenly and adjust gently by hand before weaving in the final end.
Can I use cotton or tweed yarn for pumpkins — how will that change the result?
Yes, cotton and tweed yarns make firmer, more structured pumpkins with crisp stitch definition and visual texture. Cotton can be less forgiving of uneven tension, and tweed adds decorative flecks. Both are great for display pumpkins and table centerpieces.
Where can I find free, beginner-friendly crochet pumpkin patterns that include photos or PDFs?
Check curated pattern sections at major yarn sites like LoveCrafts and Lion Brand. Look for patterns that clearly list materials, skill level, construction method, and include either process photos or downloadable instructions.
Is chunky yarn better for beginners or for faster pumpkins?
Chunky yarn typically works up faster and is more forgiving of small errors, making it ideal for huggable or floor pumpkins and quick results. It’s suitable for beginners, especially with rectangle/gather construction methods.
With a thoughtful approach to yarn, pattern, and basic techniques, a crochet pumpkin pattern can become one of your most satisfying seasonal projects. If you want ready-to-download instructions with clear lists and helpful formats, browse TwirlBloom’s collection of crochet PDF patterns for your next pumpkin or holiday make.