Crocheting pumpkins is a cozy, approachable project loved by beginners and seasoned makers alike. This guide unpacks everything you need to follow a crochet pumpkin pattern—from the essential stitches and common methods to choosing yarn (including chunky for statement pumpkins), basic troubleshooting, and when a downloadable PDF pattern is truly helpful. You’ll find practical, fact-checked tips to confidently start and finish your pumpkin, whether you’re after a tiny garland accent or a squishy, super‑chunky floor pumpkin for fall decor.
Key Takeaways
- Most crochet pumpkin patterns use only a few basic stitches and simple construction methods, making them ideal for beginners.
- Chunky and super‑chunky yarns create large, bold pumpkins but require attention to hook size, fabric density, and stuffing methods.
- Choosing the right pumpkin size, yarn, and construction approach helps ensure your first pumpkin is enjoyable to make and turns out as planned.
- What this guide covers and a quick decision checklist
- Essential stitches and beginner techniques for pumpkin shapes
- Materials & tools: yarn weight, fiber, hooks and stuffing — what to consider for pumpkins (including chunky yarn)
- Choosing your pumpkin size: small vs large — time, difficulty, and intended use
- How yarn weight, fiber and hook size change texture, shape and sturdiness — practical guidance (with recommendations for chunky yarn)
- Construction methods compared — in-the-round, folded rectangles, and flat panels (beginner-friendly options)
- Finishing techniques that make pumpkins look polished (stuffing, shaping, stems, leaves, closing)
- Most common beginner mistakes and how to avoid or fix them
- Visuals and extras patterns often leave out — what to include (and when a downloadable PDF helps)
- Next steps and project suggestions (what to try after your first pumpkin)
- Frequently Asked Questions
What this guide covers and a quick decision checklist
This guide breaks down the steps and decisions needed to successfully make a crochet pumpkin: which materials to use (and why), essential stitches, how construction methods compare, finishing techniques, and troubleshooting practicalities for small and chunky pumpkins. If you’re looking to follow a free crochet pumpkin pattern for beginners or decide if a downloadable PDF would help, start here.
- Skill level: Can you make a chain and basic stitches? (If not, a beginner-friendly stitch guide like this crochet stitch tutorial may help first.)
- Time available: Small pumpkins can often be finished in an evening; chunky/floor pumpkins need more time and stuffing.
- Project goal: Table accents, garlands, or keyrings? Or a statement pumpkin for décor?
- Yarn preference: Do you have chunky yarn or want a bold, cozy look?
- Pattern format: Do you prefer step-by-step photos and printable instructions (PDF), or is a basic blog pattern enough?
If you value extra photos, printable checklists, and consolidated step-by-step visuals (especially UK/US terms), a downloadable PDF pattern can be especially helpful, as discussed in the Visuals and PDF Patterns section below.
Essential stitches and beginner techniques for pumpkin shapes
Almost all popular crochet pumpkin patterns rely on just a handful of stitches and simple finishing steps, making them especially suitable for beginners. Here’s what you’ll most often need:
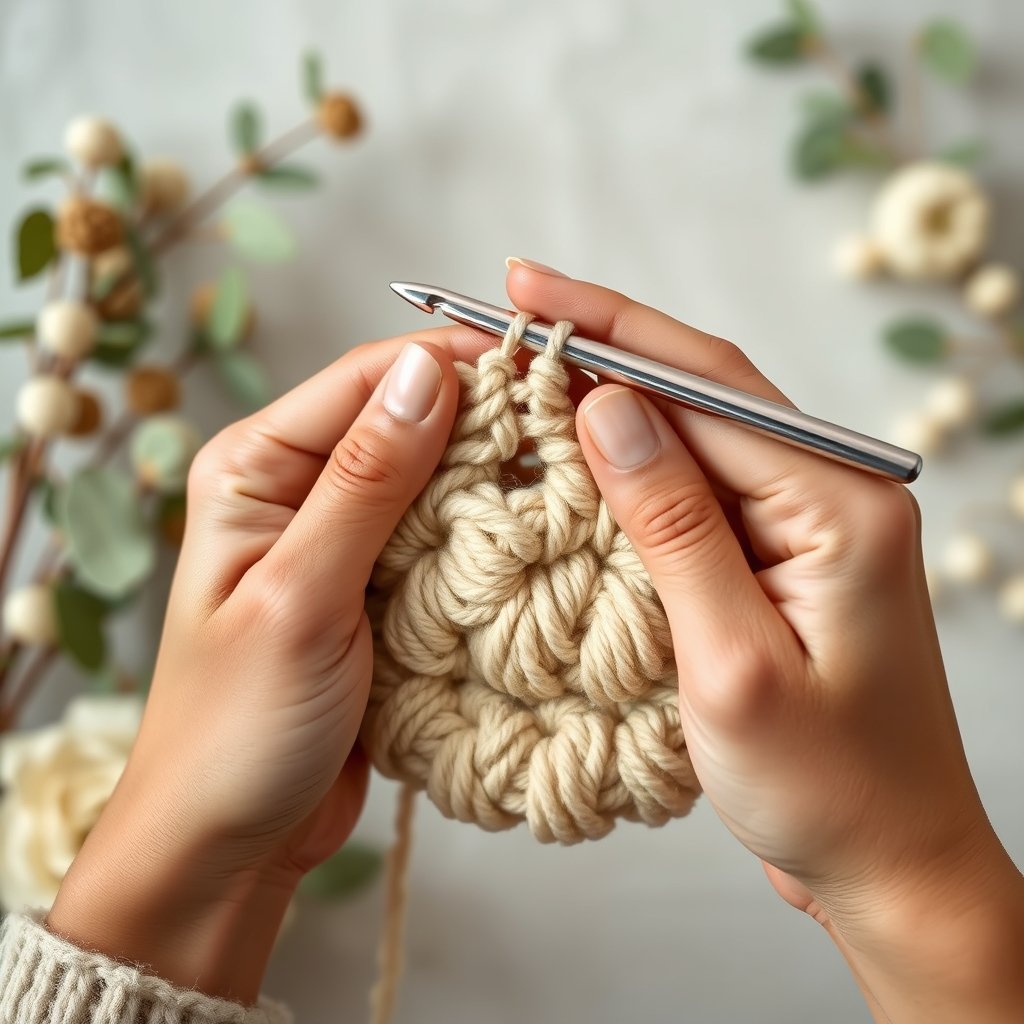
- Magic ring/circle: Used to start pumpkins worked in the round, providing a tight, adjustable center.
- Single crochet (sc, US) / double crochet (dc, UK): Most beginner pumpkin patterns use these stitches, either in rounds or rows, for the main body. (See TwirlBloom’s step-by-step guide for help.)
- Slip stitch (sl st): Joins rounds, closes openings, or creates neat edges.
- Basic gathering/closing: Sewing through the edge stitches and pulling tight to form the tapered top and bottom.
Essential tools typically include:
- Yarn needle (for sewing/gathering and weaving in ends)
- Scissors
- Stitch markers (to keep track of rounds or row counts)
These techniques cover the core moves in both classic round pumpkins and beginner-friendly folded-rectangle designs (source). Brush up on chain, single crochet/double crochet, and basic seaming before starting if you’re new to crochet.
Materials & tools: yarn weight, fiber, hooks and stuffing — what to consider for pumpkins (including chunky yarn)
Your project’s look and feel come down to yarn choice (weight and fiber), hook size, and stuffing. Here’s what to consider:
Yarn weight
- DK/Light worsted: Classic choice for small pumpkins and garlands—creates a medium density, palm-sized shape. (source)
- Worsted/aran: Slightly thicker; often used for centerpiece pumpkins. Stitches are more visible, fabric is firmer.
- Chunky/super-chunky: Best for large statement pumpkins (e.g., floor cushions, doorstops). These yarns create bold, plush pumpkins but require large hooks and lots of stuffing. (source)
Yarn fiber
- Cotton: Holds shape, crisp stitch definition, less stretch—good for neat ribs or motifs.
- Wool/acrylic: Softer, squishier pumpkins; hides minor tension mistakes; often used for stuffed plush pumpkins (source).
Hook size
- Follow your chosen crochet pumpkin pattern’s notes, especially for chunky yarn. Some sources suggest a hook a size or two smaller than the yarn’s label for dense fabric, others recommend testing swatches to avoid gaps (source).
- Always make a small swatch to check that your stuffing won’t show through.
Stuffing and accessories
- Polyester toy stuffing (polyfill): Common, affordable, and easy to shape. Clean pillow stuffing or fabric scraps also work for larger pumpkins.
- Stems: Try a real twig, a pipe cleaner covered in yarn, or a tight roll of leftover yarn.
- Stitch markers & large yarn needle: Keep rows/rounds organized and make closing/gathering easy.
Tip: Always check your fabric before final stuffing. Large holes can allow stuffing leaks—if you notice gaps, try a smaller hook or denser stitch (source).
Choosing your pumpkin size: small vs large — time, difficulty, and intended use
The size and style of your pumpkin dramatically affects how quickly you’ll finish and how much material you’ll need. Match your project to your skills and goals with these points:
| Size | Best for | Time & Materials | Difficulty |
|---|---|---|---|
| Small (DK/worsted) | Quick décor, garlands, keychains | Minimal yarn; often one evening | Easiest — less sewing, less shaping |
| Large/Chunky | Statement pumpkins, floor cushions, doorstops | Bulkier yarn; requires more stuffing, time, and handling | Intermediate — more to stuff/shape; might need seam reinforcement |
- First-timer tip: Start with a small crochet pumpkin pattern or a rectangle-fold method to build confidence.
- Ambitious makers: Large chunky pumpkins are fun and impactful but need extra stuffing and shaping care.
Many makers enjoy building a set—start with one small pumpkin, then expand to chunky floor pumpkins once you’re comfortable with construction.
How yarn weight, fiber and hook size change texture, shape and sturdiness — practical guidance (with recommendations for chunky yarn)
The yarn and hook you choose will determine not just the look but the durability of your pumpkin. Here’s what changes as you switch materials:
- Texture & stitch visibility: Cotton gives a crisp, clearly defined edge—best for tidy ribs or motif pumpkins. Wool and acrylic are softer and more forgiving, but stitches will look puffier and may hide minor errors (source).
- Structure and stuffing control: Denser yarns and a smaller hook produce firm fabric that holds stuffing better. Loose fabric (from large hooks or soft yarns) can mean visible gaps or a floppy, collapsing shape.
- Chunky yarn pumpkins: Most successful patterns use super-chunky yarn (such as Paintbox Wool Mix Super Chunky) and a hook that creates dense, gap-free fabric (source). There is disagreement between sources about precise hook sizing—some say to size down for firmness, others to test and adapt. The safest approach is to create a quick test swatch with your chosen yarn/hook and check for gaps before committing.
Always follow your pattern for hook/yarn pairing and test before starting. Adjust as needed to ensure the fabric is dense, especially if you’re making a stuffed pumpkin with chunky yarn.
Construction methods compared — in-the-round, folded rectangles, and flat panels (beginner-friendly options)
There are several popular ways to make a crochet pumpkin. Each approach has pros and cons for beginners:
- In the round: You’ll crochet a series of rounds to build the pumpkin shape directly. This gives the smoothest, most seamless pumpkin, but it can be slightly trickier to track your rounds and stitches when you’re new (source).
- Folded rectangle: This beginner favorite involves crocheting a long rectangle, seaming it into a tube, and then gathering the ends to make the pumpkin. It’s a forgiving method, easy to count, and works beautifully with chunky yarns for “huggable” pumpkins (source). The main tradeoff is a visible seam (which can usually be hidden at the back or disguised with careful gathering).
- Flat panels/motifs: Used for small decorations and appliques. These are just as approachable as rectangle pumpkins—perfect for garlands and embellishing.
Seaming options: Whip stitch, mattress stitch, or single crochet seams are all common. Choose what works best for your yarn thickness and desired look (see more about these in this stitches guide if needed).

Finishing techniques that make pumpkins look polished (stuffing, shaping, stems, leaves, closing)
The magic of a great crochet pumpkin is in the finishing! Focus on these practical steps for a clean result:
- Stuffing: Add stuffing in small handfuls, distributing evenly for a firm but squishy pumpkin. Overstuffing can stretch stitches; understuffing results in a floppy shape.
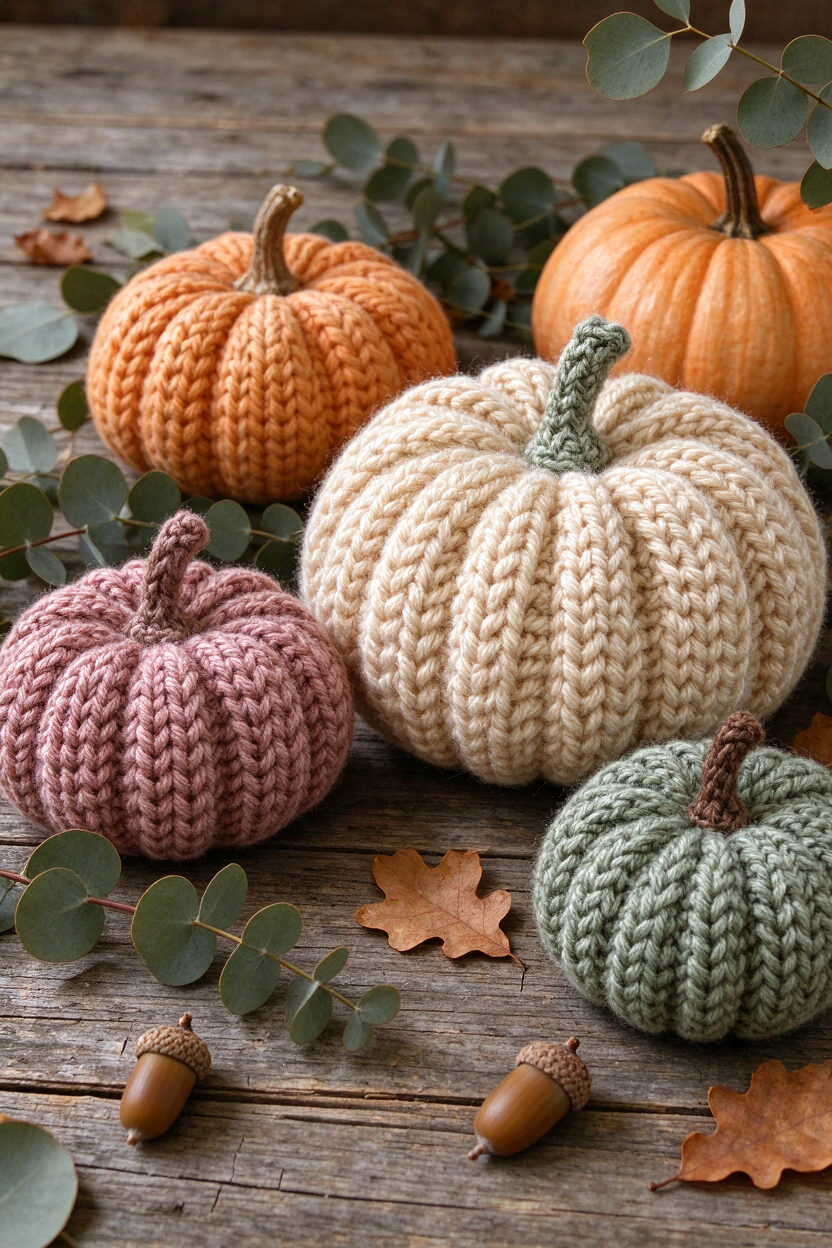
- Shaping: Most patterns use gathering stitches to cinch the top and bottom, creating the signature “pumpkin rib” look. Pull yarn securely and adjust gathers for balanced ridges.
- Stems & tendrils: For a quick stem, try inserting a twig or pipe cleaner. Roll a strip of brown or green yarn into a coil, or crochet a few chains for a tendril.
- Closing & weaving in ends: Use a yarn needle to close any remaining gaps, tuck the final end securely, and weave in loose threads for a tidy finish.
Finishing can make the difference between a pumpkin that looks handmade with love and one that feels unfinished. Don’t rush this step—shaping and stem placement are worth a few extra minutes for a display-ready result.
Most common beginner mistakes and how to avoid or fix them
Even simple pumpkin projects can hit a few snags. Here’s how to troubleshoot the most frequent issues:
- Too-tight starting chains or stitches: Loosen your grip, consider using a slightly larger hook for the first row, or practice with a test swatch.
- Inconsistent tension: Practice makes progress; use stitch markers to keep rounds even and pause to check your work every few rows.
- Stuffing errors: Understuffed pumpkins will collapse; if you overstuff, stitches may stretch and expose the filling. Add/remove stuffing as needed before final closure.
- Gaps and holes: If stuffing starts poking out, try a smaller hook, switch to a denser stitch, or add a thin piece of fabric as a liner.
- Pattern confusion (US/UK terms): Double-check whether your pattern uses US or UK terminology, as “double crochet” means different stitches. Refer to abbreviation guides or pattern notes.
Take your time, check each step, and know that even experienced crocheters need to adjust mid-project sometimes. For a deeper dive into beginner projects, see TwirlBloom’s beginner crochet project guide.
Visuals and extras patterns often leave out — what to include (and when a downloadable PDF helps)
Some of the most helpful resources for finishing a pumpkin smoothly are often missing from free blog posts. As you choose a crochet pumpkin pattern, look for (or add yourself):
- Close-up photos of key steps: magic ring, rounds vs rows, tension examples, gathering process
- Step-by-step join and closure photos
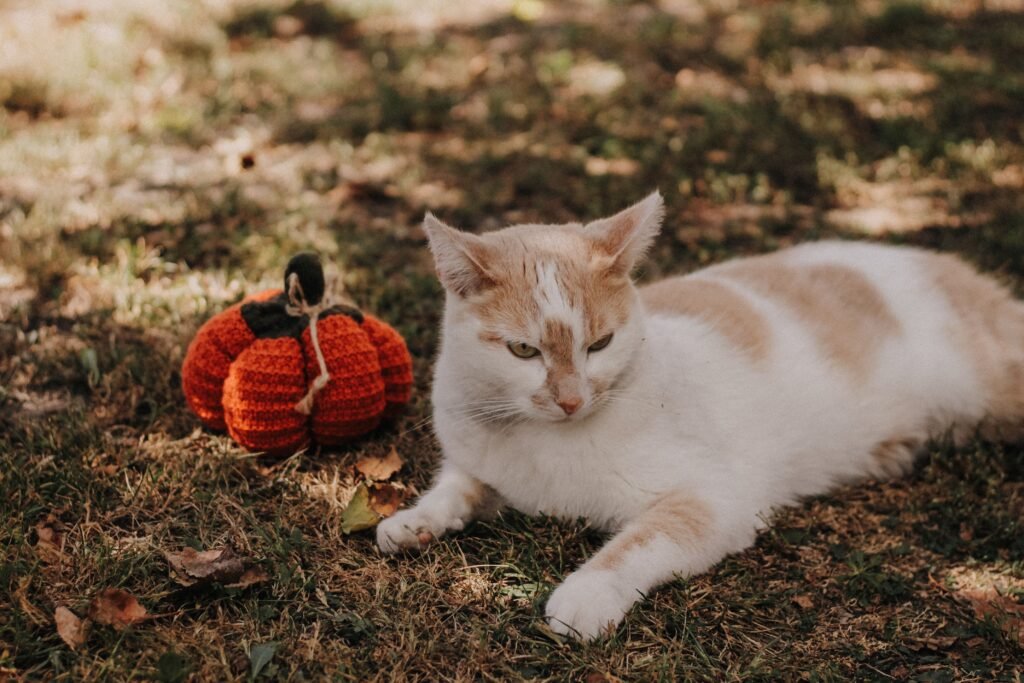
- Finished-pumpkin gallery showing different sizes for comparison
- Printable materials checklist and yarn substitution notes
- Quick troubleshooting table for common errors, and (if possible) video clips or GIFs for tricky steps
When does a downloadable PDF pattern help?
- If you want to print instructions and work offline
- If you value having all photos, diagrams, and tips in one place
- If the pattern offers both US and UK terminology or multiple size options in an organized format
- When you need to reference materials, troubleshooting, or finishing steps at a glance
Many designers bundle these extras into their PDF crochet patterns. Visit the TwirlBloom shop to see which pumpkin and seasonal patterns are available as downloadable PDFs.
Next steps and project suggestions (what to try after your first pumpkin)
Once you’ve finished your first pumpkin, there are plenty of natural ways to build your skills and enjoy seasonal crochet:
- Make a set of small pumpkins for a garland or as place-setting accents
- Try a chunky yarn crochet pumpkin pattern for a larger floor cushion or bold center display
- Make pumpkin keychains with cotton yarn for gifts or autumn bags
- Experiment with different fibers or create pumpkins in non-traditional colors
- Test leaf and vine add-ons for variety
You can find more approachable beginner ideas and inspiration in our beginner crochet patterns guide.
Frequently Asked Questions
What basic stitches do I need to know to make a beginner crochet pumpkin?
Most beginner pumpkin patterns use chain, single crochet (US) or double crochet (UK), slip stitch, and basic gathering with a yarn needle. Practicing the magic ring or adjustable loop is also helpful.
Is chunky or super‑chunky yarn a good choice for a first pumpkin?
Chunky yarn creates bold, cozy pumpkins and is popular for “huggable” or floor pumpkins. It’s approachable for beginners if you’re comfortable handling thick yarn and a large hook. Test your gauge to ensure the fabric is dense and stuffing won’t show through.
How do I stop stuffing from showing through my stitches?
Use a smaller hook, denser stitch, or firmer tension to eliminate gaps. You can also add a thin fabric liner inside your pumpkin if needed.
Should I crochet my pumpkin in the round or make a rectangle and gather it?
Both methods are beginner-friendly. The folded rectangle is easiest for starting out and works well with chunky yarn, while in-the-round gives a seamless, classic pumpkin shape. Choose the method that fits your comfort level and pattern instructions.
Can I use cotton yarn for a pumpkin or is wool/acrylic better?
Cotton gives crisp stitch definition and firmer shape, ideal for small or flat pumpkins. Wool and acrylic are better for plush, squeezable pumpkins due to their softness and elasticity. Both fibers work—choose based on your desired look.
When is it worth downloading a PDF pattern instead of following a free blog tutorial?
A downloadable PDF is helpful if you want step-by-step photos, a printable checklist, both US/UK term options, or prefer an organized, easy-to-read format for offline use.
In summary: Any confident beginner can complete a crochet pumpkin pattern with just a few stitches, basic tools, and a little planning around materials and size. Even with chunky yarn or a large pumpkin, testing your fabric and following finishing best practices makes for a rewarding result. If you need additional visual support, printable instructions, or want to try new seasonal projects, you’ll find options in the TwirlBloom pattern shop.
If you’d like more inspiration or want to find your next seasonal project, browse TwirlBloom’s crochet PDF patterns.