Looking for a clear, practical crochet pumpkin pattern you can use as a confident beginner? You’re in the right place. This guide covers what to expect from free beginner pumpkin patterns, the essential stitches and techniques you’ll need, smart advice on choosing yarn and hooks (including chunky and small options), step-saving assembly tips, and simple finishing methods for a result you’ll love displaying each autumn. Along the way, you’ll find honest troubleshooting advice and see why a downloadable TwirlBloom PDF can make your first pumpkin easier to complete—no matter your skill level.
Key Takeaways
- Beginner crochet pumpkin patterns require only basic stitches and techniques that most new crocheters have already learned.
- Choosing the right yarn and hook size dramatically affects the finished pumpkin’s size, shape, and ease of assembly—chunky yarns are fastest but need careful stuffing.
- Using a printable crochet PDF pattern helps prevent confusion and reduces beginner mistakes compared to piecing together web tutorials.
- What to expect from a “free crochet pumpkin pattern for beginners”
- Essential stitches and techniques every beginner must know
- Choosing yarn and hook: small pumpkins vs classic vs chunky statement pumpkins
- Construction options and which are easiest for beginners
- Finishing for a polished, realistic pumpkin
- Common beginner mistakes and troubleshooting (with quick fixes)
- Sizing expectations and how to adjust a pattern safely
- Beginner tips and overlooked warnings from existing patterns
- How a downloadable TwirlBloom PDF pattern can help a beginner
- Quick project checklist (materials and prep before you start)
- Frequently Asked Questions
What to expect from a “free crochet pumpkin pattern for beginners”
A free crochet pumpkin pattern for beginners typically includes clear, step-by-step row or round instructions—with terms and abbreviations explained. Most are designed to use just one or two basic stitches, often worked “in the round” to form a ball, or as a simple rectangle that gets gathered and cinched into shape. Good beginner-friendly crochet patterns will:
- Lay out each step or round in detail, listing both the stitch and stitch count for each row or round.
- Provide a list of required materials (yarn, hook, stuffing, needle, etc.) and note the best yarn weights or fiber types for the project.
- Include clear photos or images of key stages (in many—but not all—free versions).
- List all abbreviations and specify if the pattern uses US or UK crochet terms.
In most cases, expect a first pumpkin project to focus on visual learning and basic 3D assembly rather than elaborate shaping. Time to finish varies based on yarn, hook, and experience, but it’s best to plan for a relaxed pace—mistakes and redo’s are common as you gain confidence.

Essential stitches and techniques every beginner must know
Most beginner-friendly pumpkin patterns rely on a handful of common stitches and basic techniques. If you’re comfortable with these, you’re ready for your first pumpkin:
- Chain (ch): The foundation of most projects; used to start rows and rounds.
- Single Crochet (sc): The most frequent stitch for pumpkin bodies. Creates a dense, solid texture.
- Slip Stitch (sl st): Used to join rounds or finish edges neatly.
- Half-Double Crochet (hdc), Double Crochet (dc), Treble Crochet (tr): Sometimes used to add height or shape to the pumpkin.
Key techniques include:
- Working in the round: Crocheting in a continuous spiral or joined circles to create a tube or ball.
- Turning chains: Chaining at the start of a row or round to achieve the desired stitch height.
- Using removable stitch markers: Essential for tracking the beginning of rounds or rows—prevents accidental increases or skipped stitches.
- Counting stitches and rows: Prevents shape distortion (narrowing or widening).
- Seaming: For rectangle-based pumpkins, learning to sew sides together with a simple whipstitch or slip stitch join.
- Stuffing and cinching: Filling the pumpkin and cinching segments to mimic natural ribs.
- Weaving in ends, basic blocking: For a tidy, polished look.
Pattern language: Always double-check if your pattern uses US or UK stitch names. What’s called “double crochet” (dc) in UK terms is a “single crochet” (sc) in US terms. Many beginner patterns provide a conversion or explainer up front (see example).
If you want a refresher on the basic stitches, our guide to crochet stitches may help.
Choosing yarn and hook: small pumpkins vs classic vs chunky statement pumpkins
Your choice of yarn and crochet hook affects not just the look and size of your pumpkin, but also how easy the project feels as a beginner. Here’s a comparison of typical options:
| Pumpkin Size | Yarn Weight | Recommended Hook* (see pattern/yarn label) | Best for | Notes for Beginners |
|---|---|---|---|---|
| Small Tabletop Pumpkin | DK (Light) | 3.5–4mm | Practice, decorative bowls, garlands | Tighter fabric; takes a bit longer but stuffing is easier to control |
| Classic Centerpiece | Aran/Worsted | 4–5mm | General seasonal decor | Good balance of size, speed, and stitch visibility |
| Chunky “Statement” Pumpkin | Chunky/Super-Chunky | Follow pattern; typically larger than yarn band | Quick makes, bold display | Larger stitches, finishes fast; fabric can stretch if stuffing is too loose |
*Always check your specific pattern or the yarn label for guidance. Working with a hook one or two sizes larger than the yarn band can help with chunky pumpkin projects (source).
- Fiber choices: Smooth, light or plain-colored yarns (especially acrylic or cotton blends) are easiest for learning as stitches show more clearly. Cotton yarns make shapes crisp but can highlight uneven tension, while wool blends often feel more forgiving (source).
- Avoid: Dark, textured, or fuzzy yarns for your first attempt—they can hide errors and make stitch counting difficult.
For more on yarn and hook selection, there’s a detailed rundown in our beginner patterns guide.

Construction options and which are easiest for beginners
Crochet pumpkins come together by one of two main construction styles. Understanding the options makes it easier to pick a free crochet pumpkin pattern that matches your comfort level and available yarn.
1. Worked in the round (sphere or cylinder method)
- The most common approach.
- Start with a magic ring or chain loop, work in continuous spirals or joined rounds to create a tube or ball shape.
- Stuff, then close both ends, drawing yarn through to form the characteristic pumpkin “ribs.”
- Advantage: Seamless look, no sewing required except cinching and attaching the stem/leaf. Very beginner-friendly after a few practice rounds.
2. Rectangle, folded and gathered
- Work a flat rectangle, then seam short edges to form a tube.
- Gather and cinch one (or both) open ends, stuff, and segment to shape.
- Advantage: Rows are easier to count, and no increasing or decreasing stitches.
- Tradeoff: Visible seam (often hidden by segmenting), and sewing is needed.
Both methods adapt well for small pumpkins (think place-setting sized) and chunky statement pumpkins. For large, chunky yarn pumpkins, the rectangle-and-gather method can be quicker, as bigger stitches work up rapidly and there’s less shaping.
Beginners often find the rectangle method a gentler first step if working back-and-forth feels more comfortable than crocheting in the round.
Finishing for a polished, realistic pumpkin
How you finish your crochet pumpkin makes a huge difference in how it looks and holds up over time. Here’s what to keep in mind for a truly seasonal, display-worthy result:
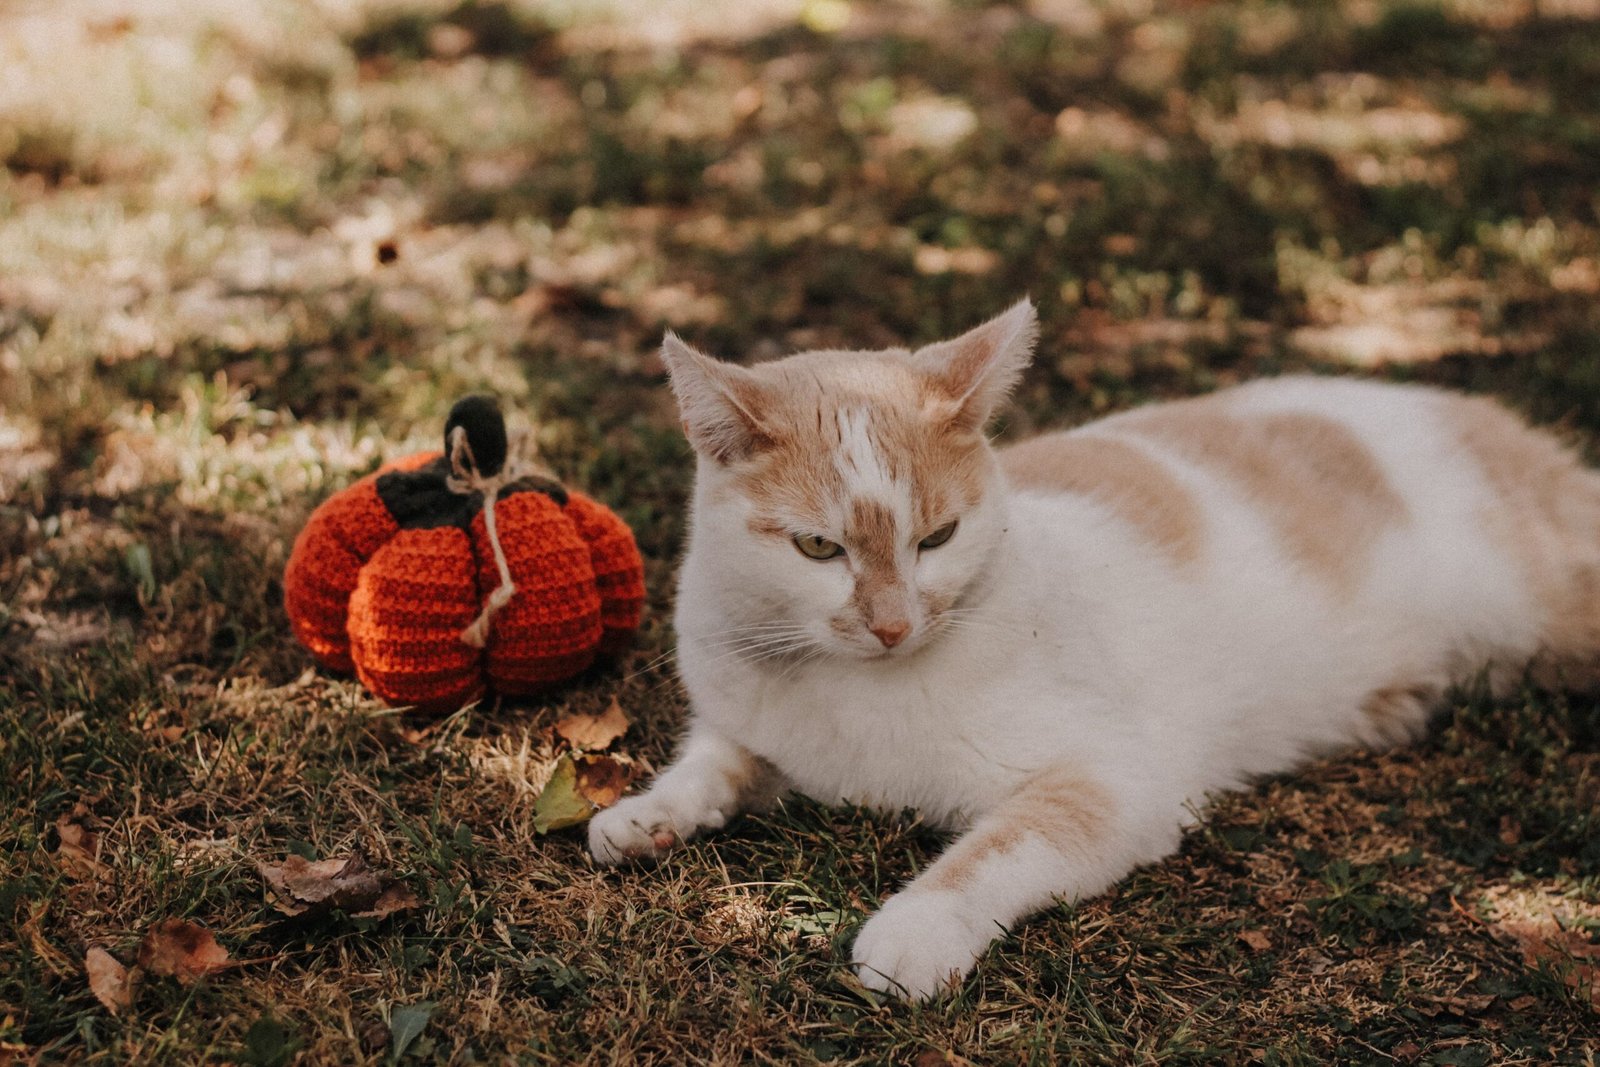
- Stuffing: Use soft, washable fiberfill or leftover yarn scraps. Stuff firmly but not so full that the stitches gap or bulge.
- Cinching/Segmenting: Use a long, strong piece of yarn and a tapestry or doll needle to anchor at the base, then loop up and over the sides several times, pulling tight to create valleys (ribs). For best results, cinch evenly around the pumpkin’s circumference after stuffing but before closing the top completely.
- Stem: You can crochet a small stem, wrap and sew a piece of yarn, or use a real twig for a rustic look—secure it well so it doesn’t wobble.
- Leaves and tendrils: Optional, but easy to add with a few chain stitches or surface crochet.
- Weaving in ends and blocking: Tidy up all yarn tails and gently steam or reshape if necessary, especially if the pumpkin looks lopsided (source).
Common beginner mistakes and troubleshooting (with quick fixes)
No beginner escapes a few hiccups—pumpkin or not. Here are the most frequent issues (and how to fix them):
- Narrowing or trapezoidal shape: Usually caused by missing the first turning chain or the last stitch in rows. Fix: Always count every row or round and double-check the pattern’s turning chain instructions (source).
- Accidentally increasing width: Picking up extra stitches when turning or joining. Fix: Use removable stitch markers to mark the first and last stitch of each round; refer carefully to the pattern’s rules about turning chains.
- Curling or pulling at the edges: Often the hook is too small or tension is too tight. Fix: Try using a larger hook, or relax your grip and tension.
- Uneven tension: Creates inconsistent sizing and a “lumpy” look. Fix: Choose smooth, light-colored yarn so your stitches are easy to see; practicing and gentle blocking afterward can help.
- Stuffing poking out: Gaps between stitches from loose tension. Fix: Use a smaller hook (tighter fabric), or add a thin fabric liner inside for extra security.
- Losing track of rounds/rows: Beginners often miss when to join or where to place stitches. Fix: Place a removable stitch marker at the start of each round and count regularly.
Sizing expectations and how to adjust a pattern safely
The size of your finished pumpkin will depend on your yarn choice, hook size, personal tension, and stuffing. Finished measurements often vary between makers—even with identical patterns. Here’s how to manage expectations:
- Yarn and hook matter: Lighter yarn and smaller hooks make smaller, denser pumpkins; chunky or super-chunky yarn with a bigger hook creates a much larger, puffier result.
- Stuffing amount: More stuffing makes the pumpkin rounder but risks stretching stitches; less stuffing can lead to a droopy look.
- Gauge: If the pattern gives a “gauge” (stitch size per inch), make a small swatch to check if your tension matches, especially if you care about the size.
- Adjusting size: The easiest way is to follow the pattern as written, accepting some size variation. To make deliberate changes, use a different yarn weight or change your hook size—just know it may affect the texture and stuffing needs.
Beginner tips and overlooked warnings from existing patterns
- Read your entire pattern before starting. Unexpected stitch terminology or missing materials can create confusion later.
- US vs UK terms: Many free crochet pumpkin patterns are written in US crochet language; always confirm (and use an abbreviations glossary if needed).
- Gather all tools (yarn, hook, stuffing, tapestry needle, markers, scissors) before you sit down—pausing mid-project can break your rhythm.
- Choose light, smooth yarn so you can spot and fix errors quickly.
- Test a small swatch if you’re not sure about how tight or loose your stitches will be, especially with a new yarn or hook.
- Don’t overstuff before cinching—the pumpkin should feel firm, but still compress when you push down on it for segmenting.
- Patterns with step photos are easier; look for patterns that include images of key steps or assembly, especially if you’re new to working in the round or stuffing soft shapes.
For broader tips on following crochet patterns, our step-by-step patterns guide covers essential reading and decoding pattern language.
How a downloadable TwirlBloom PDF pattern can help a beginner
Many new crocheters start with online tutorials pieced together from blogs, videos, and images. While these can help in a pinch, there are real advantages to using a single, downloadable crochet PDF pattern—especially for your first pumpkin:
- All-in-one printable file: No more flipping between web pages—just print or view your pattern and tick off rounds as you go.
- Consolidated materials and instructions: Everything you need (tools, yarn, clear steps) is laid out in one place, making it easier to prep.
- Consistent symbols and terminology: Reduces confusion and helps you learn “crochet language” faster than hopping between different tutorials.
- Easy offline access: Keep your PDF open on a device or printed beside you for reference while working—no need for a WiFi connection or a second screen.
For new makers, this clarity can reduce the most common beginner errors. If you want to try PDF patterns designed for easy printing and clear progress tracking, explore TwirlBloom’s crochet PDF patterns for more seasonal inspiration.
Quick project checklist (materials and prep before you start)
- Chosen pattern (digital or printed copy; check terms and abbreviations)
- Yarn (DK, aran/worsted, or chunky/super-chunky, in the color you want)
- Crochet hook (suitable for your yarn and pattern)
- Stuffing (fiberfill or clean yarn scraps)
- Tapestry (darning or doll) needle for sewing and cinching
- Removable stitch markers (or scrap yarn in a contrasting color)
- Scissors
- Optional: A real twig or extra yarn for the pumpkin stem; green yarn for leaves or tendrils
- Prep steps:
- Read through your pattern before starting
- Check if it’s in US or UK terminology
- Work a small swatch if you’re not sure about your tension
Frequently Asked Questions
What basic stitches do I need to make my first crochet pumpkin?
Most patterns use the chain stitch (ch) and single crochet (sc). Sometimes, slip stitches (sl st), half-double crochet (hdc), double crochet (dc), or treble crochet (tr) are included, but usually only for shaping or adding details.
What yarn and hook should I choose for a small tabletop pumpkin versus a chunky statement pumpkin?
For small pumpkins, DK or aran/worsted weight yarn with a matching hook (about 3.5mm–5mm) works well. For chunky statement pumpkins, use chunky or super-chunky yarn with a larger hook, following your pattern’s recommendations or the yarn label.
Why is my pumpkin curling or narrowing and how do I fix it?
Curling often happens when your hook is too small or your tension is tight. Try using a larger hook and aim for looser stitches. Narrowing usually means you missed a stitch or turning chain—count your stitches each row and use stitch markers.
How do I make the pumpkin ribs (segments) and add a stem?
After stuffing, use a long tapestry or doll needle to pass a yarn strand up and over the outside of the pumpkin several times, pulling slightly tight each time to create ribs. Stems can be crocheted or made with a twig, and attached by sewing them securely to the top center.
How firm should I stuff my pumpkin, and when should I stuff it during assembly?
Stuff the pumpkin firmly so it holds its shape, but not so full that the stitches stretch or stuffing pokes through. Add stuffing after most of the body is complete, before fully closing the top or bottom.
Are downloadable PDF patterns easier for beginners than free web tutorials?
A single PDF pattern puts all instructions, materials, and photos in one printable file, which can be easier to follow and reduces the chance of missing steps compared to piecing tutorials from different sources.
Conclusion: Starting your first crochet pumpkin pattern is a fun, skill-building project—even if you stumble through a few rounds. By choosing beginner-appropriate techniques, materials that suit your comfort level, and following a clear, consolidated pattern, you’ll not only make a festive seasonal pumpkin, but also set yourself up for future crochet success.
Ready to make your first pumpkin? Explore Crochet PDF Patterns from TwirlBloom to find clear, printable patterns with material lists and step‑by‑step photos.