If you’re just starting your crochet journey and want to understand crochet patterns step-by-step, this guide is made for you. Here, you’ll learn what makes a pattern truly beginner-friendly, how to read essential instructions and abbreviations, which skills matter most before you start, and how to identify—and avoid—the common snags that stop first projects. Whether you’ve just mastered chains or want to complete your first simple design, you’ll walk away ready to pick, read, and finish a pattern with confidence.
Key Takeaways
- Small, quick projects like dishcloths, simple scarves, and granny squares are ideal step-by-step crochet patterns for true beginners.
- Focus your learning on the chain, slip stitch, and single crochet, and use visual teaching aids such as photos or videos when possible.
- Choosing smooth, light-colored, medium-weight yarn and the right hook size greatly increases your chance of success and enjoyment.
- Best step-by-step crochet patterns for true beginners
- Essential crochet stitches every beginner should master (and how to teach them clearly)
- Yarn and hook choices that make beginner projects succeed
- Most frequent beginner mistakes with step-by-step patterns — how to prevent and fix them
- Realistic time expectations for beginner projects
- How to choose between easy crochet patterns to match your skill level and preferences
- Practical teaching aids and visuals that make step-by-step patterns beginner-friendly
- Beginner explanations often missing from other guides (reading patterns, finishing, and care)
- Frequently Asked Questions
Best step-by-step crochet patterns for true beginners
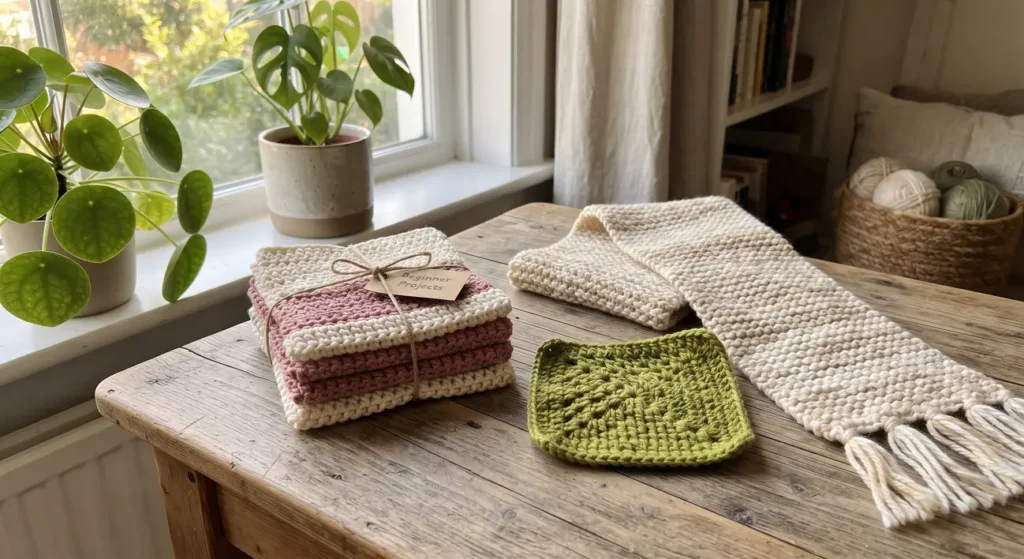
When learning crochet patterns step-by-step, project choice can make or break your experience. Small, quick projects help you practice the basics, avoid overwhelming instructions, and see results fast.
According to beginner guides from Lion Brand and LoveCrafts, these types of projects are the most reliable for absolute beginners:
- Dishcloths & squares: Simple shapes to practice stitch repetition, counting rows, and finishing edges.
- Single-crochet scarf: A long rectangle that lets you get comfortable with turning, row counting, and consistent tension.
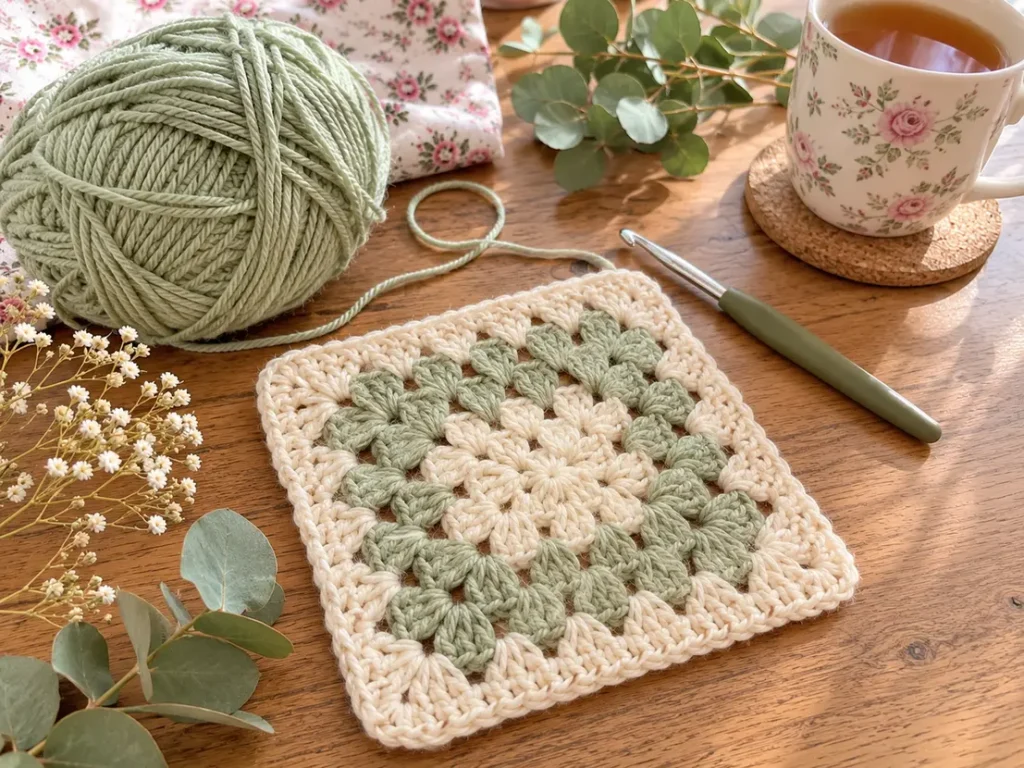
- Granny squares: Work in the round, learn basic pattern structure, and start experimenting with color.
- Basic crochet hat (in the round): Introduction to shaping and increasing, plus working with rounds instead of rows.
- Small tote or bag: Practice assembly, seaming, and practical finishing.
- Baby-blanket square: Same principles as a dishcloth, often used as building blocks for larger projects.
What core skills do these teach? Expect to practice the slip knot, foundation chain (ch), turning rows, working in the round, and the single crochet (sc). Some patterns add the half-double (hdc) or double crochet (dc) stitches as your next steps.
To set yourself up for success, choose your first pattern based on these goals:
- If you want to master stitch repetition: Start with a square dishcloth, baby blanket square, or scarf.
- If you’re curious about shaping or working in the round: Try a granny square, hat, or small bag.
Many guides suggest you begin by practicing a 4-inch swatch or five full rows in your chosen stitch before jumping into your main project (source).
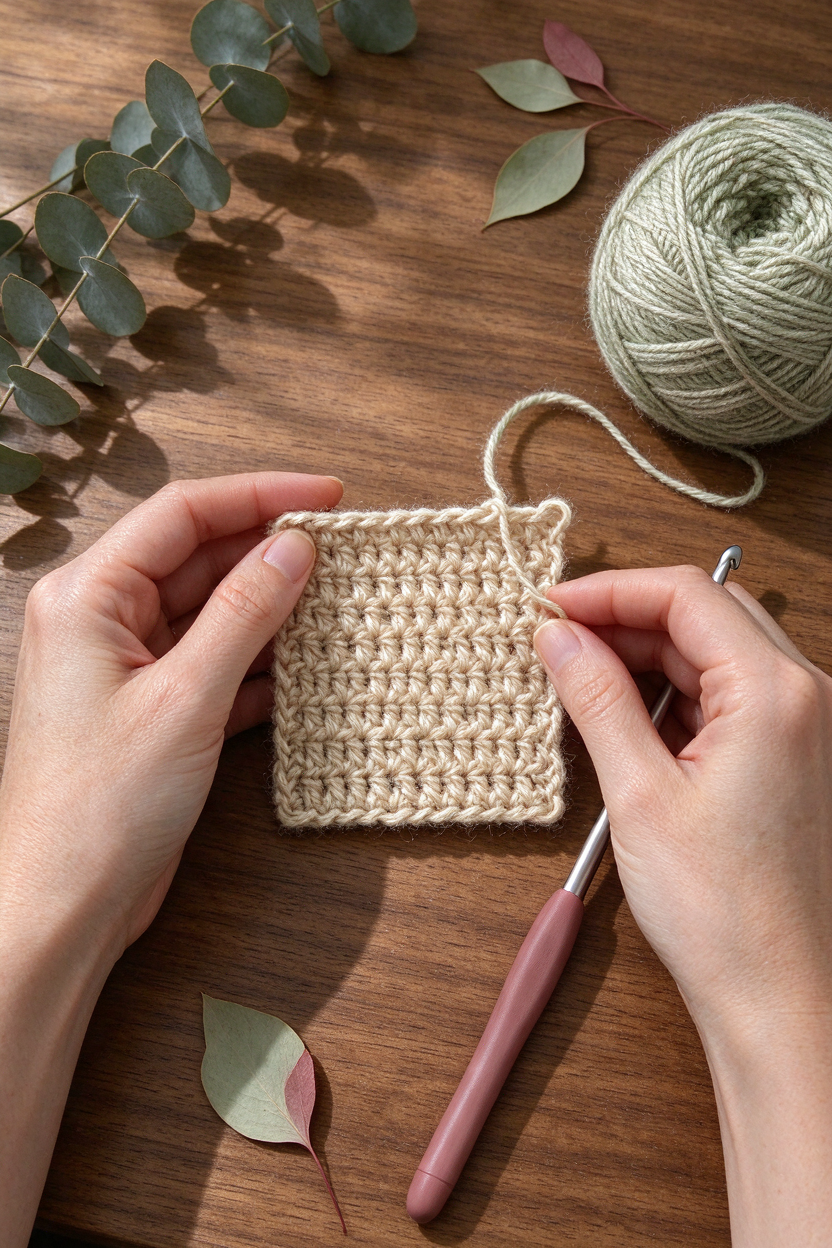
If you’d like ready-to-go project ideas, see our collection of simple crochet patterns for beginners for practical inspiration you can start today.
Essential crochet stitches every beginner should master (and how to teach them clearly)
Most beginner crochet projects—and nearly all simple crochet patterns for beginners—rely on a handful of foundational stitches. Learning these step-by-step, and in the right order, will unlock almost every beginner pattern you come across.
- 1. Chain (ch)
Every crochet project starts here, creating your foundation row. - 2. Slip stitch (sl st)
Used to join pieces, work in the round, and sometimes finish edges. - 3. Single crochet (sc)
Shortest, most commonly used beginner stitch—forms a solid, dense fabric. - 4. Half double crochet (hdc)
Slightly taller, works up faster than single crochet and is common in simple patterns. - 5. Double crochet (dc)
Even taller; standard in many scarf, hat, and granny square patterns. - 6. Treble crochet (tr)
(Optional for advanced beginners) Used occasionally in lacy or decorative projects.
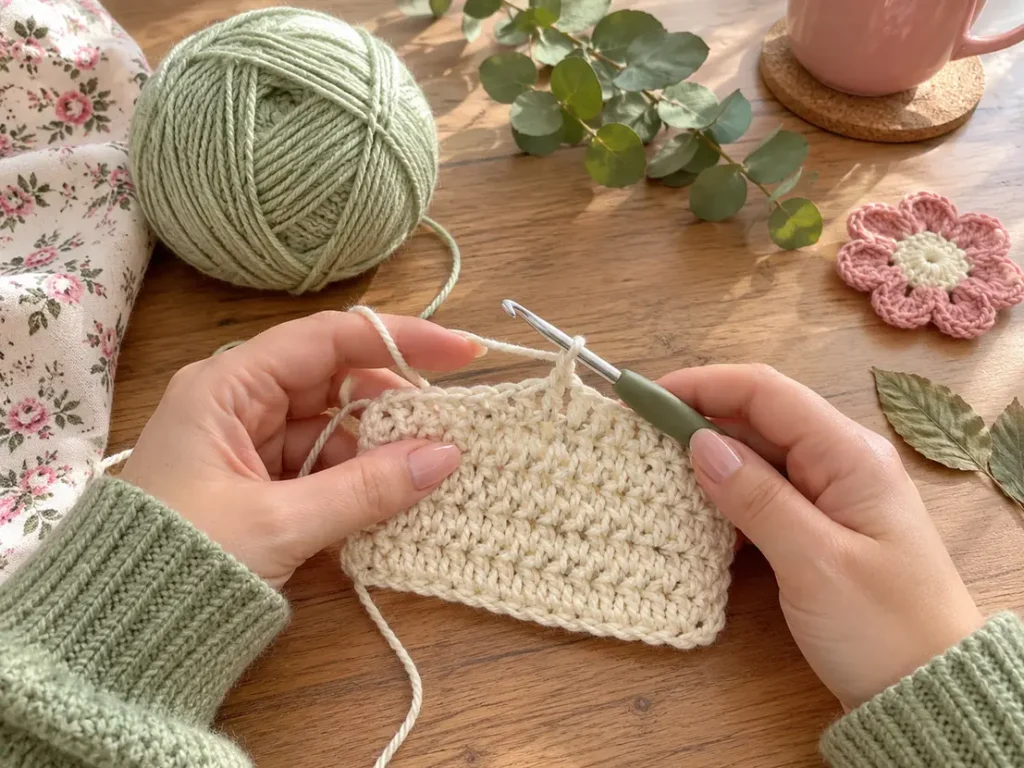
Recommended learning order (supported by Lion Brand’s beginner stitch guide): chain, slip stitch, single crochet—then add half double and double crochet as you gain confidence. Many sources recommend you create a short practice chain, then work five rows of single crochet as an exercise to develop hand tension and stitch recognition.
Teaching (and learning) formats that work:
- Step-by-step written instructions: With abbreviations shown and explained.
- Close-up photos: Show each motion, especially for trickier stages like “yarn over” or pulling through two loops.
- Short looped video clips: Watching the movement up close is especially helpful for visual learners.
- Sample swatch practice: Make a small square (swatch), count your stitches and rows, and compare to the pattern’s instructions.
For extra clarity on basic stitches, our step-by-step crochet stitches visual guide explains single, half double, and double crochet with images and terminology for beginners.
Yarn and hook choices that make beginner projects succeed
Choosing the right materials is just as important as selecting the right pattern. The best yarn and hook for beginners are those that make stitches easy to see and handle—not necessarily the fanciest or softest.
- Yarn: Look for a smooth, non-fuzzy, solid or light-colored medium-weight yarn (often labeled as “worsted weight” or category 4). Avoid dark colors or novelty textures, which can hide your stitches and make tracking rows difficult. For more details, check the Lion Brand beginner checklist.
- Hook: Most beginner guides suggest starting with a 5.0—5.5 mm hook (sizes H-8 to I-9 in US standards), which pairs well with worsted weight yarn for visible, easy-to-control stitches.
- Notions: Prepare a tapestry needle (weaving in ends), sharp scissors, a few stitch markers (for tracking your starting chain or rounds), and a measuring tape (for practicing swatches or checking progress).
Pro tip: When buying supplies for anything larger than a dishcloth, purchase one extra skein in the same dye lot. This simple prep avoids the frustration of running out and being unable to match your yarn if stores have sold out your exact color (supported by advice on Lion Brand).
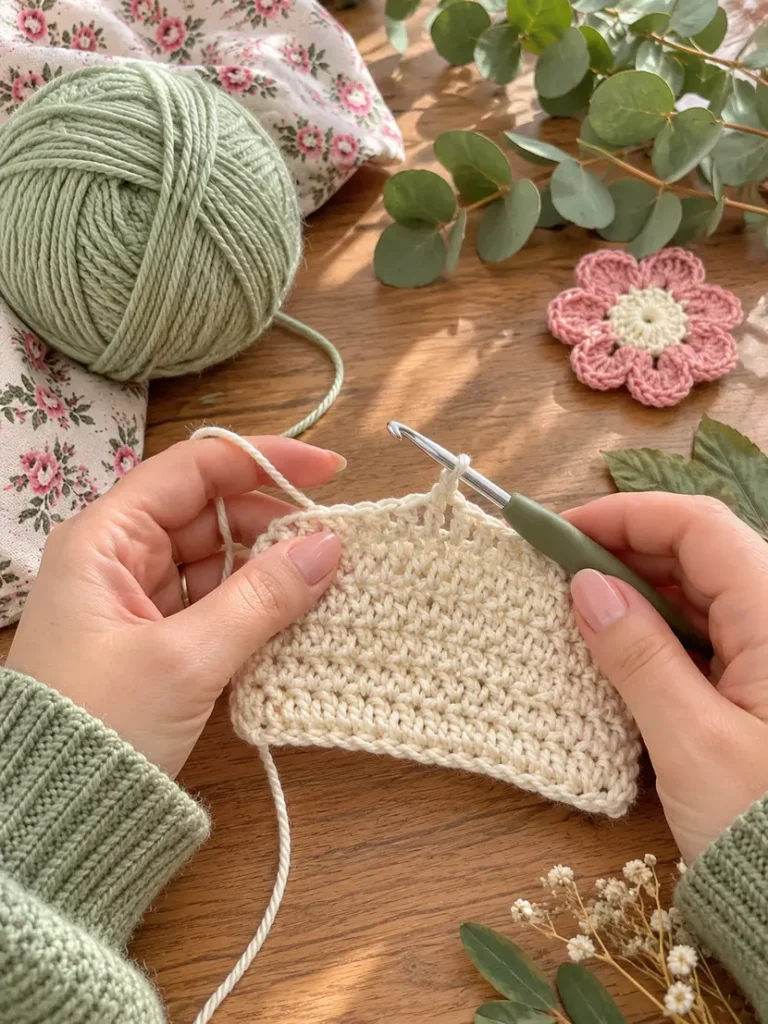
For a complete breakdown of essential beginner tools, this crochet for beginners guide goes into more detail about choosing hooks, yarn, and must-have accessories.
Most frequent beginner mistakes with step-by-step patterns — how to prevent and fix them
Almost every crocheter makes early mistakes—it’s a natural part of the learning curve. Awareness and gentle troubleshooting keep first projects enjoyable instead of frustrating. Here are the most common beginner pitfalls, plus easy, research-backed fixes:
- Uneven tension (too tight or loose): Hand tension affects how your fabric looks and measures. Solution: Make a 4-inch swatch before starting, adjust your grip as you practice, and don’t worry if early work looks wonky—steadiness comes with repetition.
- Skipping the swatch: Forgoing a gauge-checking swatch means finished sizes may differ from the pattern. Solution: Practice several rows to test your personal stitch size, and compare with your pattern—guides recommend always checking with a swatch first.
- Miscounting chains or stitches: Leads to slanted edges or lumpy shapes. Solution: Use stitch markers, count stitches at the end of each row, and place a marker at the start of each round or row if you lose your place easily.
- Losing track of the turning chain or last stitch: Skipped or extra stitches can add unintentional shaping. Solution: Refer to diagrams or photos of the stitch and turning chain positions. Mark the first and last stitches of each row when learning.
- Running out of yarn/different dye lots: Your finished piece looks mismatched. Solution: Always buy an extra skein in the same dye lot, especially before starting a scarf, hat, or blanket square (see external guide).
Quick recovery tips
- “Frogging” (ripping back): Gently pull your yarn out to reach the mistake, stop before knots, and rework carefully from there.
- Rejoining yarn: Leave a short tail, overlap slightly with the new strand, and weave in both ends securely during finishing.
Realistic time expectations for beginner projects
Setting reasonable expectations keeps motivation high, especially for absolute beginners. Project size is the number one predictor of completion time—smaller items mean quicker gratification and less discouragement.
- Small projects are fastest: Dishcloths and small squares can often be finished in about 1 to 1.5 hours, according to guidance from Lion Brand.
- Estimate your own speed: Time yourself making a test swatch before starting a bigger piece; compare your results to the project’s requirements.
- Bigger items take more time: Scarves, hats, or bags may take several sessions—don’t worry about perfection, and enjoy the process.
Building consistent habits (a few rows per session) is the best way to see progress and avoid abandoned “works in progress.”
How to choose between easy crochet patterns to match your skill level and preferences
Not all “easy” or “beginner” crochet patterns are created equal. Use this decision checklist for finding genuinely step-by-step patterns that support learners at your current level:
- Stitch count: Look for patterns using only 2–3 basic stitches (typically just chain, single crochet, and occasionally half-double or double crochet).
- Instruction clarity: Prefer patterns that list each row or round fully, not just in chart or shorthand. Photos at key stages help spot trouble zones.
- Finished size: Choose small projects first (dishcloths, squares, coasters, simple scarves) to build momentum and confidence.
- Yarn color and texture: Light, plain shades and smooth yarns show your stitches clearly, making corrections much easier.
- Pattern support: Row-by-row instructions, step captions, or available demo videos offer tremendous help when you’re learning.
For a collection of approachable options, explore our list of easy crochet patterns for beginners.
Practical teaching aids and visuals that make step-by-step patterns beginner-friendly
Clear visuals and structured instructions remove uncertainty and unlock faster learning. The following aids are repeatedly recommended by trusted crochet learning sources:
- Numbered written steps: Every row or round spelled out, with clear labels for new rows and shaping turns.
- Close-up, labeled photos: One photo per major motion—especially for beginners, seeing a “yarn over” or “pull through” is as valuable as reading about it.
- Schematic diagrams: Simple outlines clarify project shaping and assembly (such as piecing granny squares).
- Short looped videos: For stitches, magic rings, or joining yarn.
- Swatch example photos: Displaying correct stitch/row count, serving as a visual benchmark for your own work.
- Abbreviation captions and mini-legends: Explain ch, sc, hdc, dc, and any others used, right next to the pattern instructions.
For accessibility: Make sure all images have clear alt text and that any tutorial videos include a brief transcript, so learning is open to everyone.
Learn more about step-by-step visuals and stitch breakdowns in our crochet stitches step-by-step visual guide.
Beginner explanations often missing from other guides (reading patterns, finishing, and care)
Many crochet patterns step-by-step forget to explain the little things that make finishing, caring for, and reading crochet a breeze for newcomers. Don’t overlook these essentials:
- Pattern abbreviations: Almost every pattern uses standard crochet shorthand. Always include or consult a legend explaining ch (chain), sc (single crochet), sl st (slip stitch), hdc (half-double crochet), dc (double crochet), and tr (treble crochet) as needed.
- How to finish neatly: Basic finishing includes weaving in yarn ends with a tapestry needle. Learn where to tuck tails securely. Light blocking—gently shaping and letting your item dry—is sometimes suggested, but always check for project and yarn suitability. Don’t assume all projects need heavy blocking.
- Assembly and seaming: Projects with multiple pieces (such as granny squares or bag panels) often call for simple seaming—match ends together and whip stitch or crochet seam as shown.
- Care basics: Always follow the washing and blocking instructions on your yarn label. For larger projects, remember to buy one extra ball in the same dye lot, as shades can vary between batches.
For more support on understanding pattern terms and finishing, watch for our upcoming guides on TwirlBloom.
Frequently Asked Questions
What are the first crochet stitches I should learn for step-by-step beginner patterns?
The foundation chain (ch), slip stitch (sl st), and single crochet (sc) are the three stitches most beginner patterns use. These let you create basic shapes and practice row-by-row instructions confidently.
Which small projects are best to practice when I’m brand new to crochet?
Dishcloths, granny squares, simple single-crochet scarves, baby blanket squares, and small totes are ideal beginner projects because they’re quick to finish and teach core techniques like turning rows and counting stitches.
What yarn and hook should I buy for my first crochet project?
Most beginner guides recommend smooth, solid-colored worsted weight (category 4) yarn and a 5.0 to 5.5 mm crochet hook. This combination makes stitches easy to see and control as you learn.
How do I know if a beginner pattern is truly “easy” and step-by-step?
Look for patterns using only 2–3 simple stitches with full row or round instructions, clear photos, or step captions. Smaller Finished sizes and light-colored yarn tend to be more manageable for first projects.
What should I do if my stitches look too tight or too loose?
This is common for learners. Practice making a 4-inch swatch and adjust your hand tension. If your stitches remain tight, try a larger hook; if too loose, a smaller hook may help. Tension consistency improves with practice.
Do I need a swatch before I start a beginner crochet project?
Yes, making a swatch is strongly recommended—especially to check your personal tension and match the pattern’s stitch count. It helps ensure your finished item will be the intended size and shape.
If you’re feeling ready to put your new skills into practice, browse TwirlBloom’s crochet PDF patterns and find your next project to download and try at home.