If you want to crochet a pumpkin for your seasonal décor but aren’t sure where to start, this practical guide explains exactly what makes a crochet pumpkin pattern accessible for beginners, how to choose the right project type and yarn, what stitches and shaping to expect, and how to avoid common frustrations along the way. You’ll find up-to-date advice for adapting free crochet patterns—whether you want a small pumpkin for table décor, a chunky cushion pumpkin, or a quick coaster—and a checklist for downloading patterns that actually support new crocheters. Use this guide to confidently choose your next crochet pumpkin project and understand the steps before you even pick up your hook.
Key Takeaways
- You can start with a truly beginner-friendly crochet pumpkin pattern using just 2–3 basic stitches and clear step instructions, as supported by reputable crochet sources.
- Yarn choice—especially chunky vs. smoother lighter weights—affects your pumpkin’s size, look, ease of learning, and speed of the project.
- Review pattern features (photos, stitch lists, clear terms) before downloading any free pattern PDF to avoid confusion and frustration.
- Most popular beginner-friendly crochet pumpkin types
- Stitches and techniques beginners should master
- Yarn types and weights — picking for small vs chunky pumpkins
- Typical methods for shaping, stuffing, and assembling a crochet pumpkin
- Common beginner mistakes and how to fix them
- Realistic time expectations for small and chunky pumpkins
- Where to find reliable free crochet pumpkin patterns and what to look for in downloadable PDFs
- Quick starter projects & simple customisations
- Frequently Asked Questions
Most popular beginner-friendly crochet pumpkin types
Crochet pumpkins come in many forms, but some patterns are consistently rated as the best entry point for new makers. Here are four main styles you’re likely to encounter in free crochet pumpkin pattern searches:
- Simple pumpkin motif: A flat or slightly stuffed round worked in basic stitches (often starting with a magic circle), easily adapted to coasters, garlands, or small table toppers. Beginner-friendly because the construction is repetitive, quick, and typically uses only 2–3 core stitches (source).
- Quick pumpkin coasters: Small flat or lightly raised rounds made in the round, perfect for party décor or easy gifts. Patterns emphasize quick results, very manageable for beginners (source).
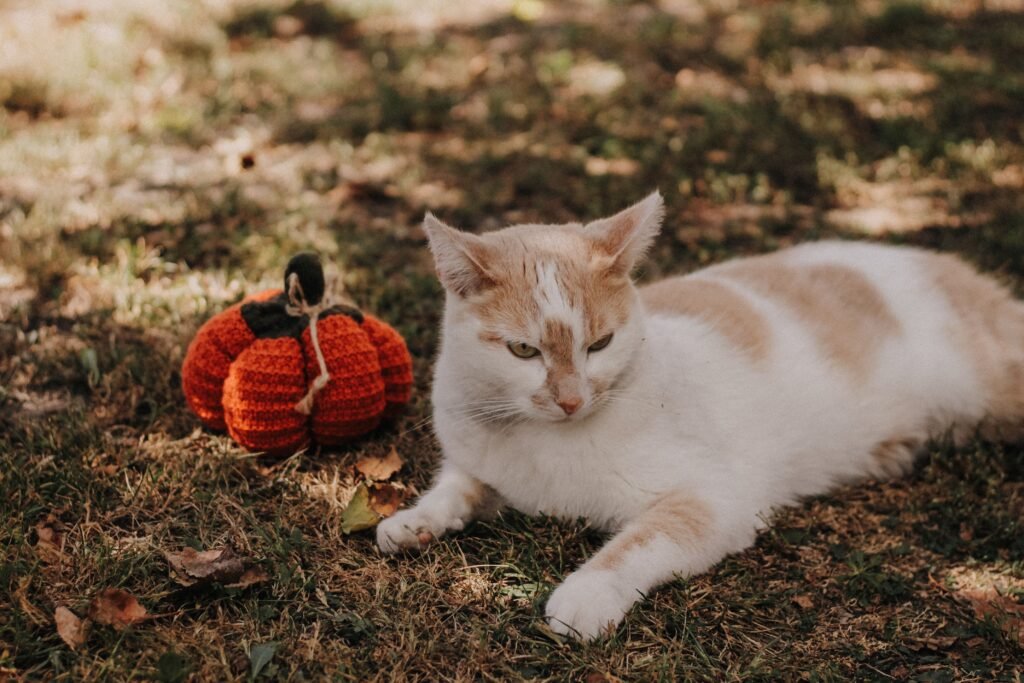
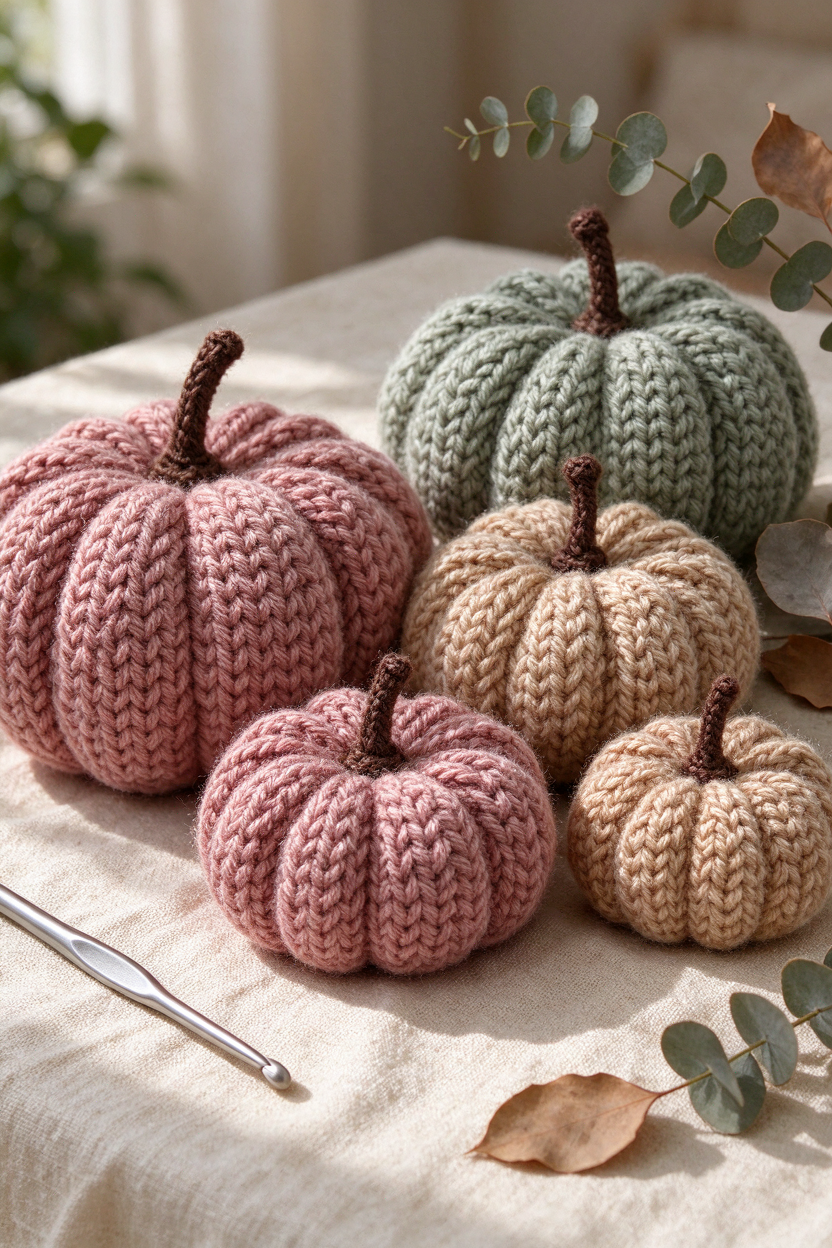
- Huggable/squishy pumpkins: Soft, round pumpkins made by crocheting in the round or by stitching a rectangle and gathering the ends. Chunky yarns make these pumpkins faster to complete and give a plush, decorative result (source).
- Pumpkin granny-square or patch variants: Incorporates easy granny square construction, either as a motif with pumpkin colours or by assembling patches for pillows or wall hangings. Beginner-friendly as the granny square method is well-supported and repetitive.
Each style can be tailored to your available time and yarn. Flat motifs and coasters are fastest; squishy or granny-square pumpkins work well for larger or more tactile projects. Look for patterns that list themselves as a free crochet pumpkin pattern for beginners and include clear step-by-step support.
If you’re ready to browse downloadable options, explore TwirlBloom’s collection of crochet PDF patterns to find pumpkin and other seasonal projects suited to your style.
Stitches and techniques beginners should master
Most beginner-friendly crochet pumpkin patterns use only a small set of basic stitches and construction techniques, making them perfect for practicing your crochet fundamentals. Here’s what you’re likely to encounter:
- Core stitches:
- Chain (ch)
- Single crochet (sc, US) or double crochet (dc, UK): check pattern terms.
- Slip stitch (sl st)
- Half-double crochet (hdc) and sometimes double or treble crochet
- Techniques:
- Magic circle: creates a neat, adjustable center for worked-in-the-round projects.
- Working in the round: building up rounds to form flat or 3D shapes.
- Simple increases/decreases: add/remove stitches to create shaping, often explained stepwise in patterns for beginners.
- Stitch counting and joining: keeping track of your stitch total to ensure even shaping, and closing rounds neatly.
Patterns labeled as a free crochet pumpkin pattern for beginners are likely to include step-by-step photos or even video links. If you’re unsure about any stitch or term, preview the pattern or consult TwirlBloom’s crochet stitch tutorials for side-by-side guides on the essential moves. Mastering these stitches covers the vast majority of beginner projects (source).
Yarn types and weights — picking for small vs chunky pumpkins
Choosing the right yarn will affect your finished pumpkin’s size, the clarity of your stitches (especially for learning), and the time it takes to finish. Here’s how different yarns impact your project:
- Chunky yarn crochet pumpkin pattern:
- Chunky or super-chunky yarns create bigger, plumper pumpkins with fewer rounds and stitches.
- Projects work up faster, and the stitches are much more visible — great for beginners who want to see their progress and shape as they go.
- Requires bulkier stuffing and highlights the surface texture of your stitches.
- Small crochet pumpkin pattern:
- Uses DK or worsted/aran weight yarn — these are thinner than chunky.
- Perfect for small tabletop décor, garlands, or ornament-sized pumpkins.
- Lighter colours and smooth yarns are widely recommended (especially acrylic or cotton) as they make stitches easier to see and count (source).
Whatever your project scale, opt for yarns that are smooth and in lighter shades if you’re just starting out. These make learning—and fixing mistakes—much easier. If you’re unsure which yarn weight to select, preview the pattern’s material notes or test your stitch sample to see how big your pumpkin will turn out. Patterns from reputable sources often provide suggestions but encourage you to adapt based on what’s available (source).
Typical methods for shaping, stuffing, and assembling a crochet pumpkin
Despite the range of pumpkin projects available, most crochet pumpkin patterns use two main construction techniques, both suited to beginners:
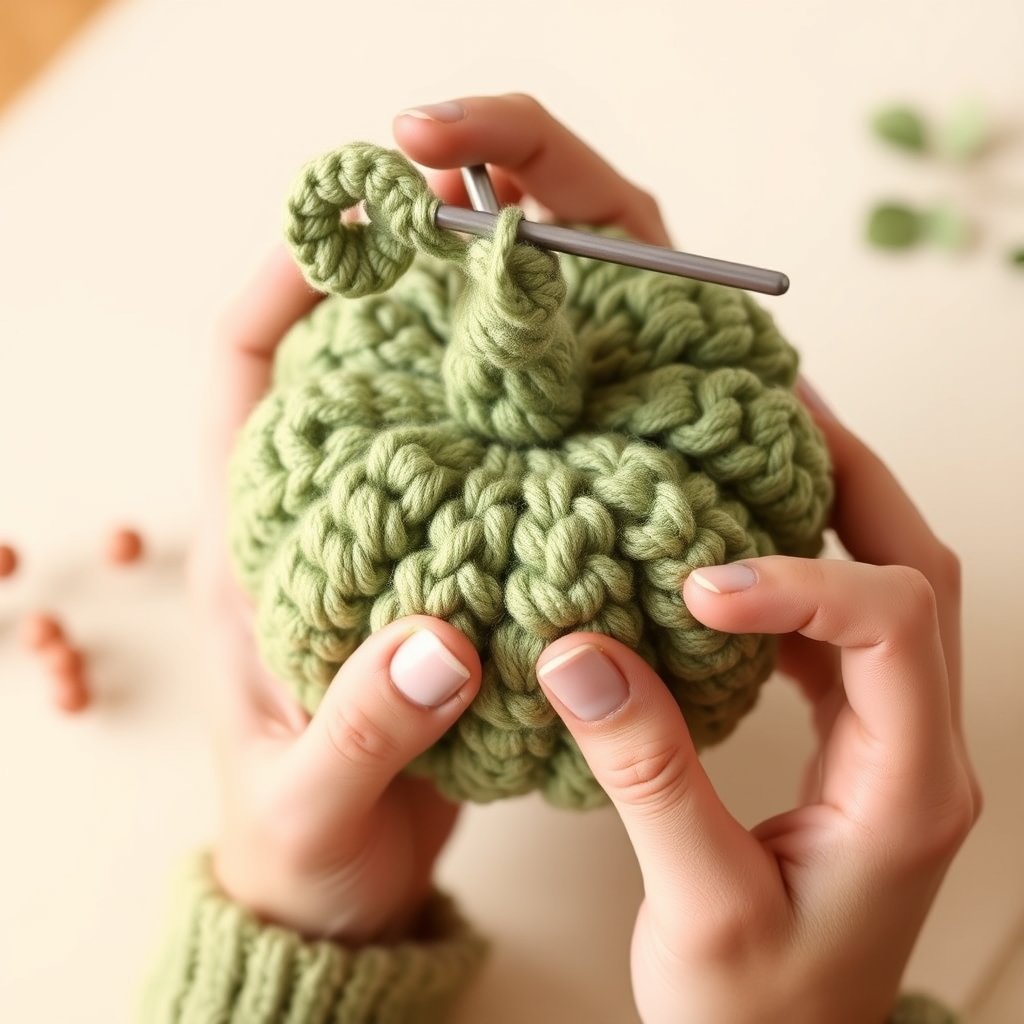
- Worked in rounds: Start with a magic circle, crochet outward in rounds, gradually increasing and then decreasing (or closing off) to form a round, stuffed pumpkin. This approach is common for small and medium pumpkins as well as coasters and motifs.
- Rectangle gathered and joined: Crochet a rectangle in straight rows using basic stitches, then seam the short ends to form a tube. The tube is gathered at both ends (drawstring-style), stuffed, and shaped into a pumpkin. This method is especially common in huggable, chunky pumpkin patterns (source).
Beyond basic shaping, many free patterns show how to create surface ridges for a realistic pumpkin look. Ridges might be formed by gathering tightly with yarn, crocheting post stitches for texture, or using simple surface stitching. These finishes are usually described conceptually and may vary—confirm that the pattern includes a finishing step if this detail matters to you.
Assembly steps typically include:
- Stuffing the pumpkin evenly (not too tight or loose).
- Adding a stem—sometimes crocheted, sometimes made from a stick or thick yarn.
- Optional decorative additions: a crocheted leaf or spiral tendril, attached after main assembly.
- Securing seams and weaving in loose yarn ends for a neat finish.
Choosing patterns with clear assembly instructions and step-by-step visuals will make these processes much easier.
Common beginner mistakes and how to fix them
Even simple pumpkin projects present some learning curves. Here are the most common pitfalls in free crochet pumpkin patterns for beginners—plus practical tips to troubleshoot them:
- Stitch count confusion: Working in rounds makes it easy to lose or add stitches. Fix: Use stitch markers to mark the start of each round and recount your stitches frequently.
- Hard-to-see stitches: Dark, fuzzy, or textured yarn hides stitches, frustrating new crocheters. Fix: Begin with light, smooth yarn in DK or worsted weight; wait to experiment with texture until you’re confident in the basics.
- Stuffing issues: Overstuffed pumpkins become stiff, under-stuffed ones collapse. Fix: Add stuffing gradually, pause to check shape, and gently press to mold the pumpkin—adjust as needed.
- UK/US terminology mix-ups: Patterns sometimes switch between UK and US stitch terms. Fix: Read the pattern introduction carefully and double-check the definition of “sc” and “dc”; don’t hesitate to consult a stitch conversion reference.
If you want more troubleshooting tips, TwirlBloom’s beginner crochet guide addresses pattern reading, term checks, and basic problem-solving skills that will help with pumpkin projects and beyond.
Realistic time expectations for small and chunky pumpkins
Crocheting a pumpkin can be a fast, confidence-building project—but the time investment can vary based on your yarn, hook, size, and comfort with foundational stitches.
- Small projects (coasters and motifs): These are quick—often a single evening or short session, especially with DK or worsted yarn. The small scale makes them ideal for true first-timers.
- Chunky or huggable pumpkins: Using super-chunky yarn and a larger hook, you may complete a medium or even large pumpkin over a few sessions. The fewer, bigger stitches mean you see progress quickly.
- Personal speed: Your pace will improve as you become familiar with the stitches; expect to go slower initially, especially if you pause to review tutorials.
Always look for the designer’s suggested skill level and estimated size before selecting a pattern. If the pattern gives a row or round count, preview this to estimate your time commitment (source).
Where to find reliable free crochet pumpkin patterns and what to look for in downloadable PDFs
The quality of a free pattern PDF can make or break your confidence with a new technique. Before downloading, use this quick evaluation checklist:
- Clear terminology: Does the pattern state whether it uses US or UK stitch terms?
- Complete stitch and material list: Are all abbreviations defined and are yarn/hook suggestions provided (even if optional)?
- Photos or video support: Do you see step-by-step process photos or links to video walkthroughs?
- Skill level and finished size: Is the intended size mentioned, and does the project type (coaster, huggable, small pumpkin) match your skillset?
- Yarn weight adaptability: Is it clear if different yarn weights can be used, or are instructions rigid?
Red flags include: missing images, ambiguous shaping steps (“gather tightly” with no further explanation), no abbreviation key, or only charted instructions with no written explanation. When searching, try terms like free crochet pumpkin pattern for beginners PDF or “pumpkin pattern with photo tutorial” and favor reputable craft sites and established designers (source).
Quick starter projects & simple customisations
If you want instant creative gratification or ways to personalise your pumpkins, try these easy options:
- Quick starter projects:
- Small pumpkin coaster or motif — speedy and uses minimal yarn.
- Mini gathered pumpkin — simple rectangle, gathered closed and stuffed.
- Pumpkin granny square — classic layout, swap in orange and green for a seasonal effect.
- Simple customisations:
- Change yarn weight and hook size to create anything from delicate ornaments to chunky table toppers.
- Add a contrasting yarn for the stem or leaves.
- String together multiple small pumpkins as a garland for festive decoration.
Many pumpkin patterns encourage you to play with size and finishing details, so don’t be afraid to add your own twist.
Frequently Asked Questions
Can absolute beginners make a crochet pumpkin? What should I pick for my first project?
Yes—many pumpkin patterns are designed for beginners and use only basic stitches like chain and single crochet. For your first project, look for small coasters or simple gathered pumpkins with clear step-by-step instructions and photos.
What yarn weight is best for a small pumpkin versus a chunky pumpkin?
DK or worsted (aran) yarn is well-suited for small pumpkins, while chunky or super-chunky yarn creates larger, squishier pumpkins with more visible stitches. Choose smooth, light-coloured yarns to make learning easier.
Which basic stitches do I need to know for beginner pumpkin patterns?
Most beginner pumpkin patterns use chain (ch), single crochet (sc; or double crochet in UK terms), and slip stitch. Some patterns incorporate half-double crochet or double crochet as well.
How do I adapt a pattern written for worsted or DK yarn to chunky yarn?
You can usually substitute chunky yarn for a pattern written for lighter weights, but your pumpkin will turn out larger and require fewer rounds or rows. Check if the pattern allows for yarn weight adaptation, and make a sample to see if you like the fabric and scale.
How are pumpkin ridges made and how do I add a realistic stem and leaf?
Ridges are often made by shaping (gathering with yarn, working post stitches, or surface stitching). Stems and leaves are typically crocheted separately and sewn on. Look for patterns with step-by-step visuals if you want a realistic finish.
What should I check in a free PDF pattern before I download it?
Ensure the pattern lists what stitches are used and which terminology (US/UK), has clear images or video support, provides measurements or size notes, and clearly explains finishing steps before you download.
Creating your first crochet pumpkin doesn’t have to be complicated. With a pattern that matches your skills, a yarn weight you enjoy, and clear, photo-supported instructions, you’ll quickly see how fun and achievable seasonal crochet can be. If you’re feeling inspired to try a new pumpkin or autumn pattern, browse TwirlBloom’s crochet PDF patterns for creative seasonal options and more projects suited to every crochet level.