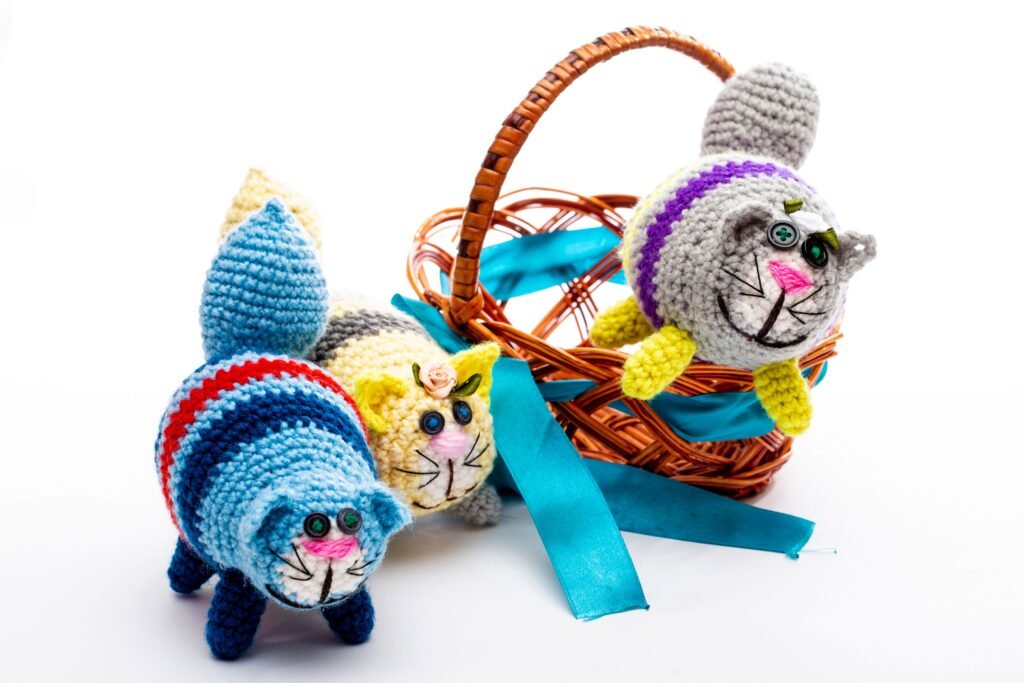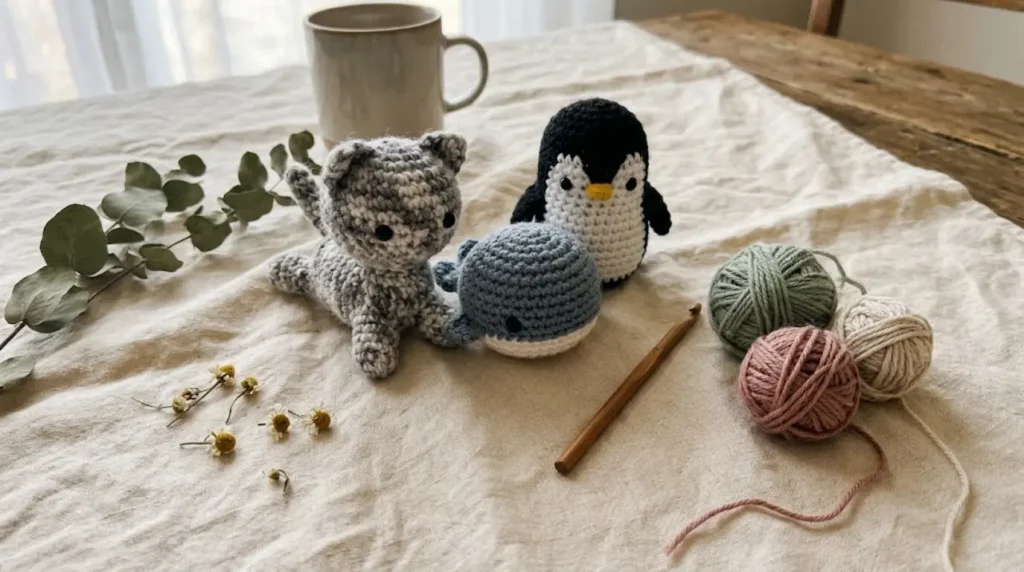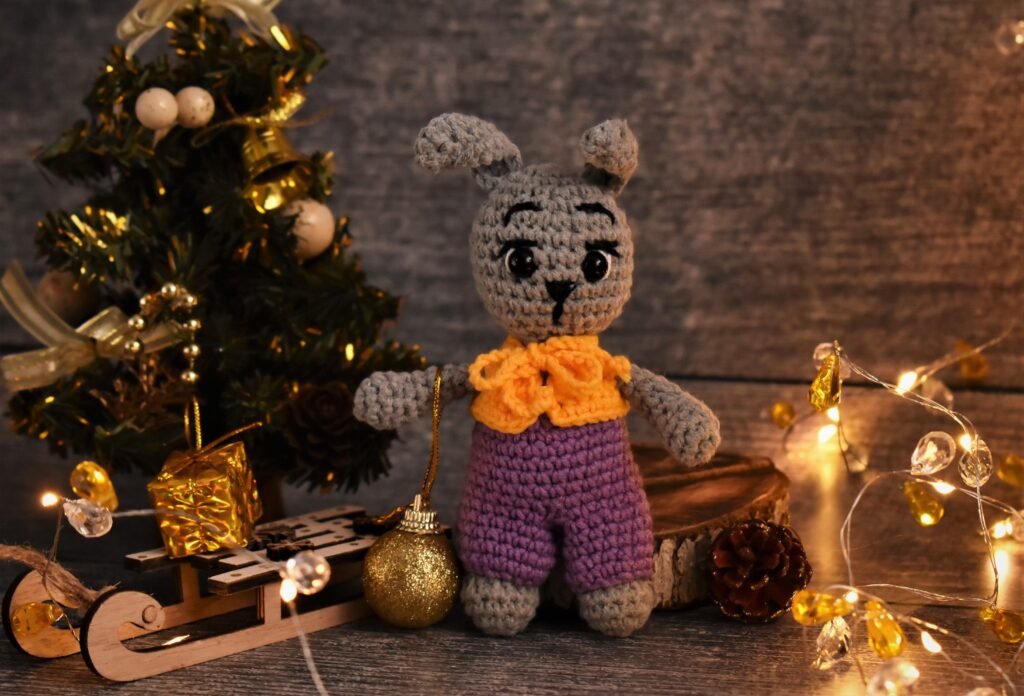
If you’re dreaming of making your first crochet toy, you’ve probably looked up crochet amigurumi patterns for beginners and wondered where to start. This guide will help you figure out which beginner animal patterns are truly within reach, which foundational skills come first, what you’ll really need in your yarn basket, and how to avoid common beginner pitfalls. Whether you’re brand new to crochet or looking to move beyond scarves and squares, you’ll learn realistic steps for choosing and completing your first amigurumi—so your finished toy looks tidy, feels safe, and fills you with handmade pride.
Key Takeaways
- The simplest crochet amigurumi patterns for beginners focus on basic shapes (like spheres) and require only a few core stitches and techniques.
- Clear pattern instructions, the right yarn choice, and practicing foundational stitches make a huge difference in your first toy’s neatness and success.
- It’s best to start small—select patterns labeled for beginners, warm up on simple practice pieces, and troubleshoot common issues as you go.
- What is “beginner” amigurumi (and how it differs from “easy”)
- Essential skills and foundation stitches to learn first
- Easiest crochet animals for beginners—specific project suggestions and why they work
- Materials primer—yarn types, weights, and hooks
- Typical construction methods used in beginner amigurumi
- Common beginner mistakes and quick troubleshooting tips
- Where to find highly recommended free beginner amigurumi patterns
- Pattern assessment checklist—how to tell if a pattern is truly beginner-friendly
- Key finishing steps and trusted strategies for neat, safe results
- A short practice plan to build skills before your first full amigurumi
- Frequently Asked Questions
What is “beginner” amigurumi (and how it differs from “easy”)
Amigurumi is the Japanese-inspired craft of crocheting small stuffed figures and animals. When searching for crochet amigurumi patterns for beginners, it’s important to understand the difference between “beginner” and “easy” patterns:
- Beginner patterns typically use straight rows\, very few stitch types, and focus on flat projects like scarves or granny squares. True beginner amigurumi often relies on the simplest three-dimensional shapes: spheres or cylinders, worked in single crochet, to introduce rounds in the gentlest way.
- Easy patterns introduce new elements—crocheting in the round (spiral), simple increases and decreases, minimal shaping, and sometimes basic color changes. These tend to be the starting point for beginner crochet animals and toys, even as your next step after flat projects.
If you’ve never worked in the round before, start with a sphere or simple ball-shaped animal to get used to the new motion and see quick results. As Lion Brand notes, beginner-friendly amigurumi keeps shape complexity very low and focuses on confidence-building techniques.
Essential skills and foundation stitches to learn first
Before starting your first crochet amigurumi animal, plan to practice these minimum stitches and techniques:
- Chain stitch (ch): Creates the base for many crochet projects.
- Single crochet (sc): The main stitch used for dense, sturdy amigurumi fabric.
- Slip stitch (sl st): For joining rounds or smoothing edges in some patterns.
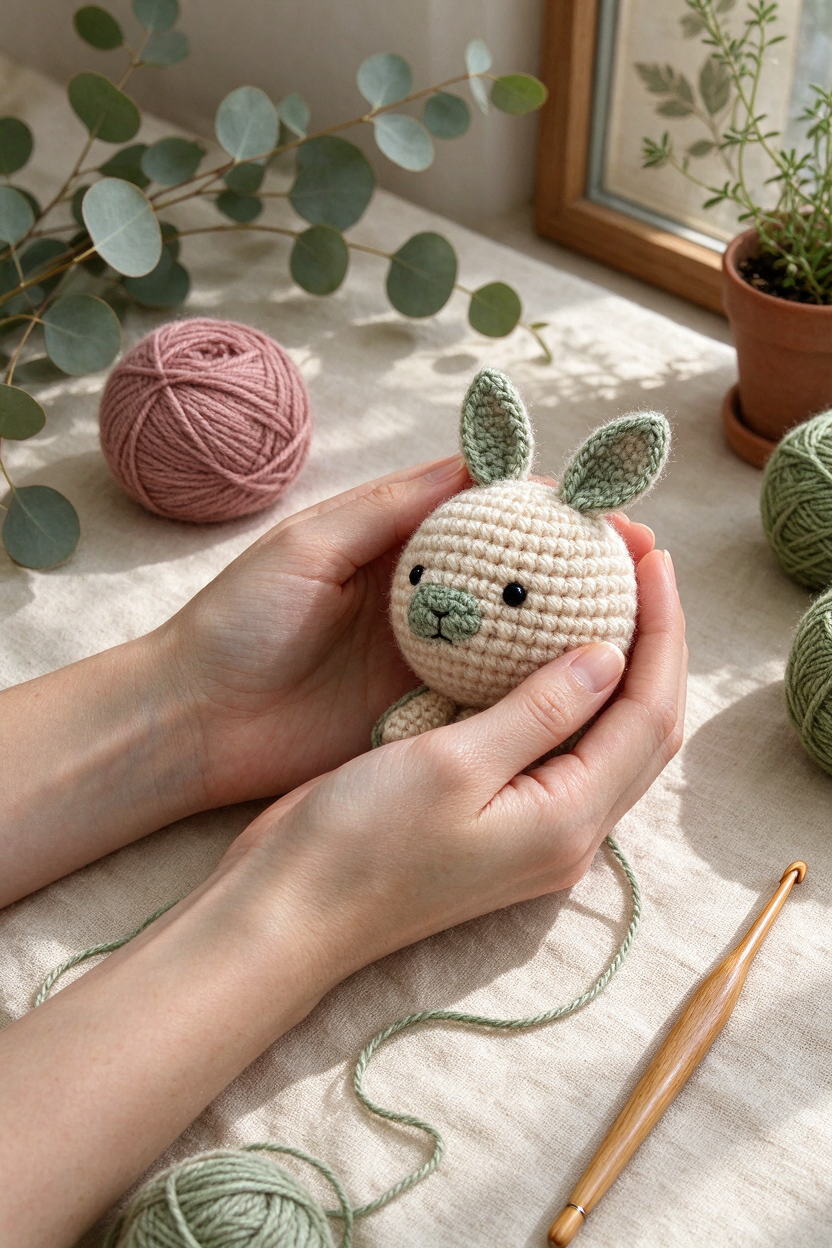
- Magic ring (magic circle): Lets you start crochet in the round with a tight, gap-free center—almost all amigurumi begin this way (source).
- Crocheting single crochet in a spiral: Most crochet animal patterns are worked in continuous rounds without joining.
- Basic increases and decreases: Adding or removing stitches for simple shaping.
- Using a stitch marker: Helps you track the start of each round (essential for avoiding lost stitches in spirals).
- Reading round counts: Understanding pattern instructions like “6 sc in next round.”
For step-by-step support on these stitches, you may find TwirlBloom’s crochet stitch guide for beginners helpful as you warm up.
Easiest crochet animals for beginners—specific project suggestions and why they work
If you’re deciding which crochet animals to start with, choose projects that keep everything straightforward—both in terms of shape and construction. Here are widely recommended beginner options:
- Simple sphere or ball-shaped animal: Excellent for practicing rounds; can be embellished as a chick, bear, or base for other animals.
- Mini whale: Uses single crochet in the round, has minimal shaping, and quick visual progress (source).
- Floppy cat or basic bear: Minimal increases/decreases, few pieces to sew, and often only one or two new stitches to learn.
- Basic penguin or owl: Compact bodies and simple construction; easy to personalize with felt or simple embroidery.
Why do these work so well as easy crochet animals for beginners step-by-step?
- Single crochet in the round (the only stitch for most of the body)
- Few pattern parts to sew together
- Quick to finish for a sense of achievement
- Stitch types and steps are often fully photo-supported in good patterns
When choosing your project, look for patterns with “beginner” or “easy” labels, close-up photos of each step, and minimal color changes. This will save you time, reduce confusion, and boost your first-toy confidence.
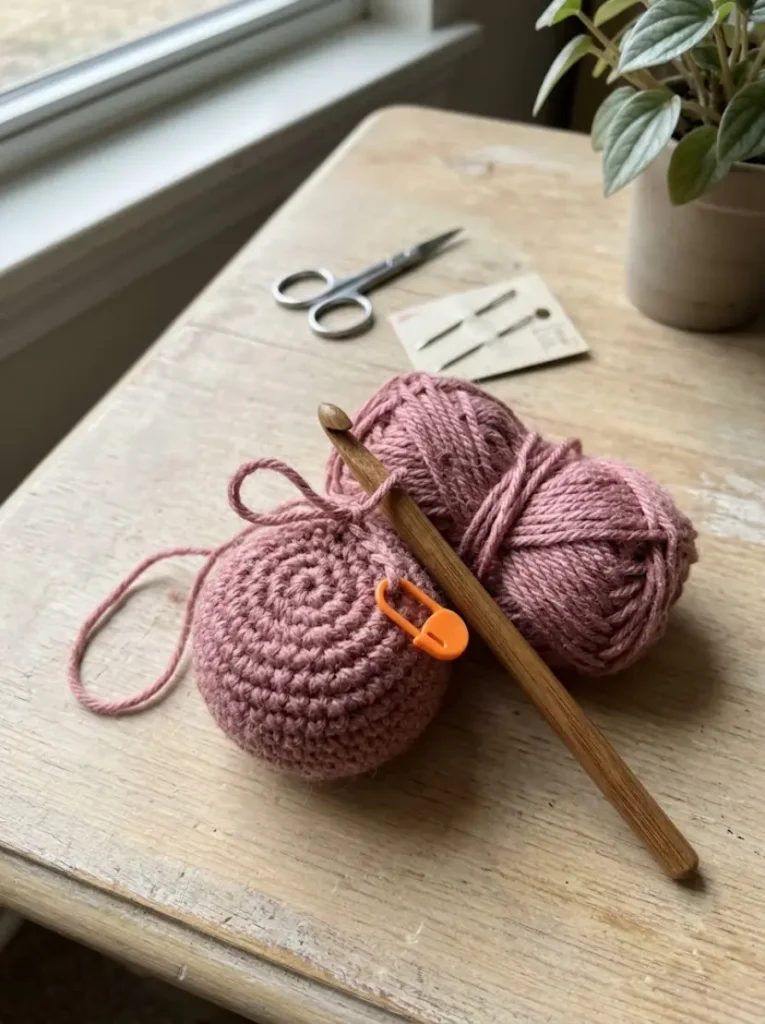
Materials primer—yarn types, weights, and hooks
Getting materials right from the outset makes crocheting—and fixing mistakes—much easier for beginners. For your first amigurumi projects, most reliable guides and designers suggest:
- Yarn type: Smooth acrylic yarns are forgiving, easy to unravel (if needed), and consistently recommended for first projects (source).
- Yarn weight: Worsted weight (usually labeled as Category 4) is beginner-friendly; it is easy to handle and allows you to see your stitches while working.
- Color choice: Go for light, solid colors. Stitches show up clearly, helping you to count and spot errors early.
- Hook recommendation: Lion Brand and other guides commonly suggest a 5.0 mm / H-8 hook with worsted weight yarn for best visibility and comfort, avoiding frustration for new makers (source).
- Avoid fuzzy or eyelash yarns: While adorable, they obscure stitches and can make sewing and error correction much harder. Save these for later projects.
You’ll also want some basic polyester fill (fiberfill) for stuffing, plus a large blunt tapestry needle for seaming. Safety eyes or simple embroidery floss work well for facial features—just remember, embroidery is safest if gifting to young children.
Typical construction methods used in beginner amigurumi
Understanding how a simple amigurumi comes together helps eliminate surprises mid-project. Most beginner-friendly crochet animal patterns use similar construction methods, explained step-by-step:
- Starting with a magic ring: The base shape (head or body) begins as a tight circle worked in single crochet.
- Working in spiral rounds: Amigurumi isn’t joined after each round—the work continues in a continuous spiral, so a stitch marker is essential for tracking your progress.
- Simple increases and decreases: Shaping is created by crocheting two stitches into one spot (increase) or crocheting two together (decrease).
- Making and attaching separate parts: Heads, bodies, ears, wings, or tails are often crocheted separately and sewn together with a yarn needle.
- Minimal finishing: Good beginner patterns guide you through stuffing, closing the final opening, and attaching features securely.
The best patterns for beginners include:
- Step-by-step instructions for each round or row
- Stitch count at the end of each round for easy checking
- Photos or diagrams to clarify tricky steps
- A section explaining abbreviations or techniques
Don’t be afraid to pause and review unfamiliar instructions, or warm up with smaller sphere practice pieces to get comfortable with rounds and stitch placement.
Common beginner mistakes and quick troubleshooting tips
Every crocheter makes mistakes, especially on their first amigurumi. Here are some typical problems—and quick ways to fix or avoid them:
- Inconsistent tension: Stitches that are tighter or looser than average can cause lumps or gaps. Practice the single crochet stitch in rows to build evenness before starting your toy.
- Missed or extra stitches: Losing or adding stitches accidentally affects the toy shape. Count at the end of each round and keep using a stitch marker to mark your starting point.
- Losing round position: Always place a removable marker at the first stitch of each round to track where to increase or decrease.
- Overstuffing or under-stuffing: Stuff in small amounts and check as you go to avoid bulges or sagging.
- Messy seams or joins: Take your time sewing on limbs; use the same yarn as your project for best results.
If you spot a mistake, don’t panic—one benefit of smooth acrylic yarn is that you can gently unravel (“frog”) rows to try again. If you’re struggling, make a warm-up sphere or cylinder to practice before returning to your animal pattern. Mistakes are part of every beginner’s journey to success.
Where to find highly recommended free beginner amigurumi patterns
You don’t have to spend a lot to get started—many reputable sites offer free crochet animal patterns for beginners and downloadable PDFs:
- Lion Brand’s free pattern library (patterns are sorted by skill level and include notes, abbreviations, and PDF downloads).
- LoveCrafts beginner pattern pages (look for patterns tagged “free,” with clear photos and technique sections).
- Crochet.com’s mini amigurumi animals collection (some are free or very low-cost, with simple starter ideas and a techniques section).
What makes a downloadable animal pattern trustworthy for first-time crocheters?
- Pattern is labeled as “beginner” or “easy” and lists required stitches
- Contains step-by-step photos
- PDF download option available
- Good reviews or blog comments confirm clarity
- Includes a section for abbreviations or special techniques
Start with patterns that use just one or two stitch types until you’re comfortable, then move on to projects with more pieces or color changes.
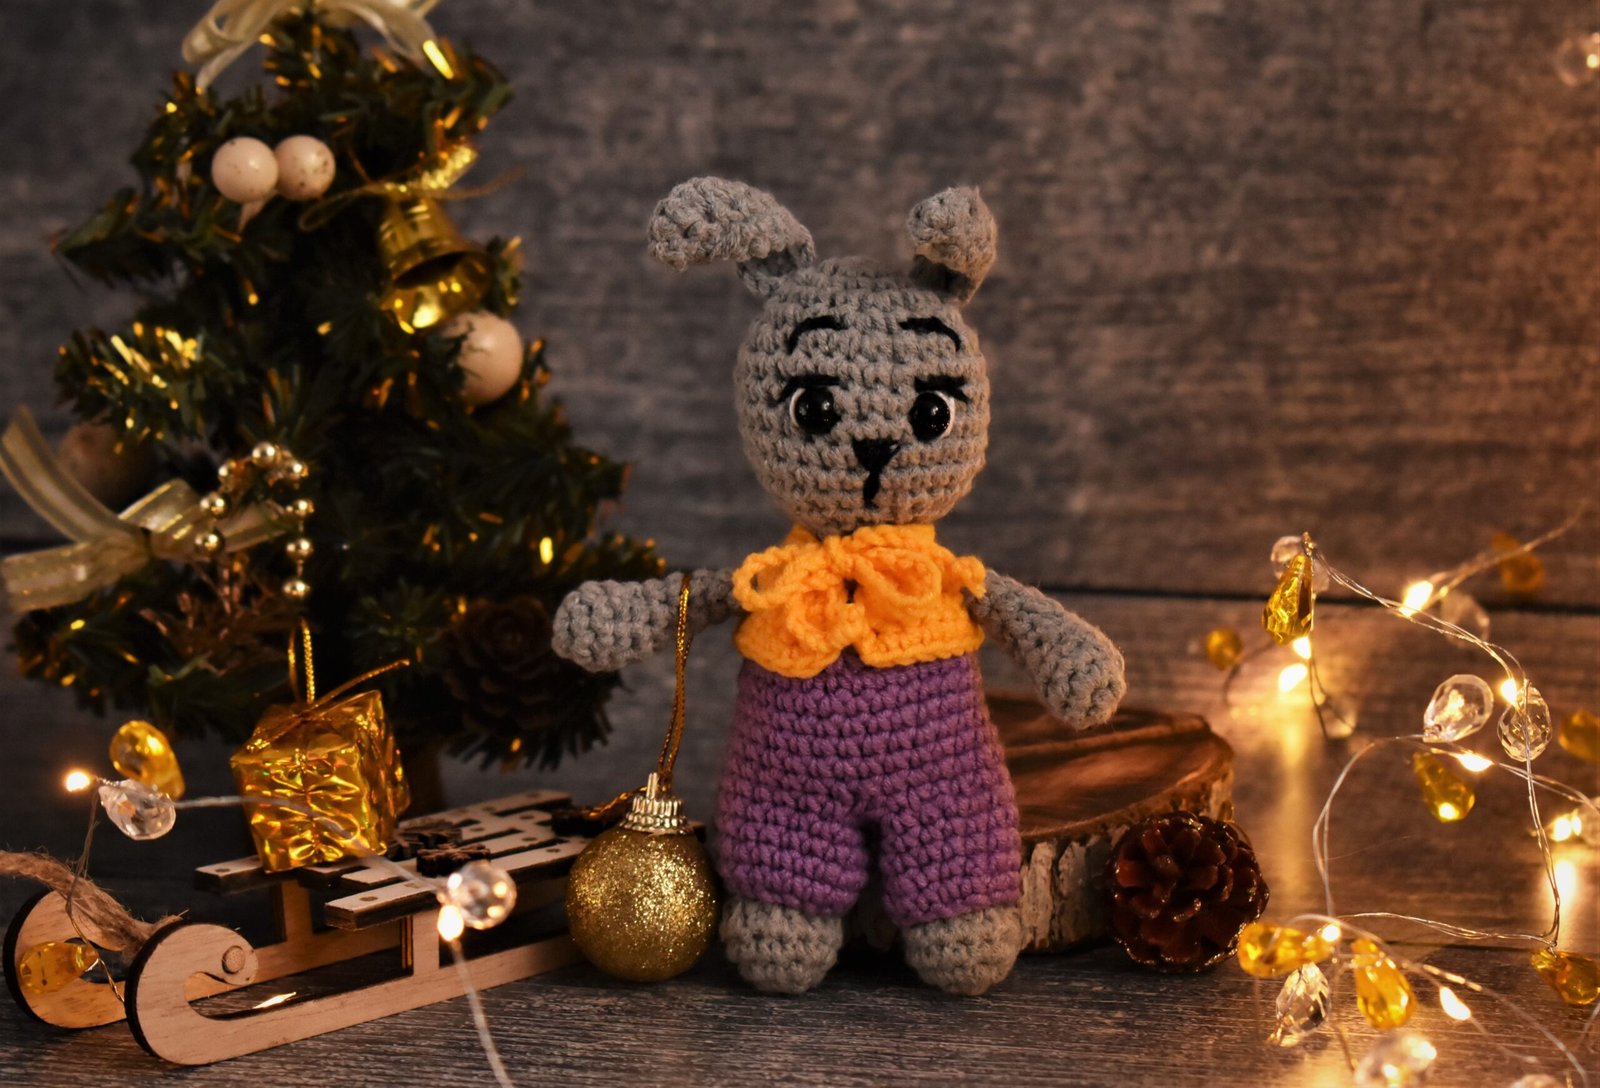
Pattern assessment checklist—how to tell if a pattern is truly beginner-friendly
Before you download or print a pattern, use this checklist to spot true beginner-friendliness:
- No more than 2-3 new stitch types: If you see lots of unfamiliar acronyms, look for a simpler project.
- Clear stage-by-stage photos: Good beginner patterns show close-ups of starting rounds, increases, finishings, and attaching pieces.
- Stitch count at the end of every round: Let’s you check progress and spot errors early.
- Techniques/abbreviations section included: Explained at the start or end of the pattern.
- Minimal sewing or color change: Fewer seams and simple shapes mean less confusion.
- PDF or printable format: Lets you highlight rows and check off steps.
- Pattern notes mention yarn, hook, and tension: Clear material recommendations help you gather supplies with confidence.
If a pattern lacks clear photos, omits round counts, or seems full of unfamiliar instructions, set it aside until you’ve gained more comfort with the basics. For more on matching your first projects realistically to your skill, see this beginner’s guide to crochet patterns.
Key finishing steps and trusted strategies for neat, safe results
When your last stitches are complete, a few careful moves will transform your work into a finished, giftable toy:
- Stuffing: Add polyester fill in small increments and adjust shape gently with your fingers—too much stuffing can stretch stitches, while too little causes sagging.
- Closing the opening: Use neat decreases to finish the last round, then weave in any yarn ends.
- Attaching limbs and features: Securely sew pieces together using matching yarn and a blunt needle. Pull stitches tight, but not so much they distort the fabric.
- Features and facial details: Use surface embroidery to create eyes, noses, and mouths if giving to babies or young children. Safety eyes can be used with caution on toys for older children and adults—always follow pattern notes for safety guidance.
- Final tidying: Check seams for gaps, trim any loose fibers, and gently shape the toy with your hands for a finished appearance.
While most beginner patterns give basic finishing instructions, learning to check your seams and features for neatness and safety is part of developing your crochet confidence. For an in-depth look at amigurumi finishing, watch for future guides on TwirlBloom’s blog.
A short practice plan to build skills before your first full amigurumi
It’s normal to feel nervous before your first three-dimensional crochet animal. Try this brief practice path to make your first pattern feel more familiar:
- Warm up by making a chain, then single crochet a small square or rectangle to build stitch consistency.
- Learn the magic ring: Practice over and over until you can start a round smoothly and tightly.
- Crochet a tiny sphere or cylinder: This can be stuffed, finished, and kept as a “stress ball” or used as a base for eyes or noses in later toys.
- Work in short daily bursts: A consistent 20–30 minutes each day does more for your muscle memory and tension than marathon sessions (source).
- When ready, select a free beginner animal with 1–3 pieces before progressing to animals with more complex shapes or several sewn limbs.
This gentle approach keeps frustration low and your motivation high—ensuring your first finished animal feels like an achievement.
Frequently Asked Questions
Do I need to know many stitches to start amigurumi?
No—most beginner amigurumi patterns use only three main stitches: chain, single crochet, and slip stitch, plus the magic ring and easy increases/decreases. If you master these, you have enough skill to start.
Which animals are easiest for absolute beginners to crochet?
Simple sphere-based shapes like mini whales, ball-shaped cats, basic penguins, and floppy bears are considered the most approachable for first-timers.
What yarn and hook should I buy for my first amigurumi?
Smooth, light-colored worsted weight acrylic yarn and a 5.0 mm (H-8) hook are commonly recommended for beginners because they’re easy to work with and show stitches clearly.
Can I use fuzzy or novelty yarn for amigurumi as a beginner?
It’s best to avoid fuzzy or eyelash yarns for your first project. They make it very difficult to see stitches and correct mistakes. Stick to smooth, solid yarn until you build confidence.
How do I fix a mistake in a round or lost stitch count?
Use a stitch marker to keep track of rounds, count your stitches regularly, and don’t hesitate to carefully unravel (“frog”) a few rows if needed—smooth acrylic yarn can handle it.
Where can I find free downloadable beginner amigurumi patterns?
Reliable options include Lion Brand’s free pattern library, LoveCrafts’ free pattern pages, and Crochet.com’s collections of mini amigurumi animals—all offer downloadable PDFs and beginner-sorted patterns.
Ready to try your first easy crochet animal or toy? Browse Crochet PDF Patterns at TwirlBloom for new inspiration and step up your handmade journey one stitch at a time.