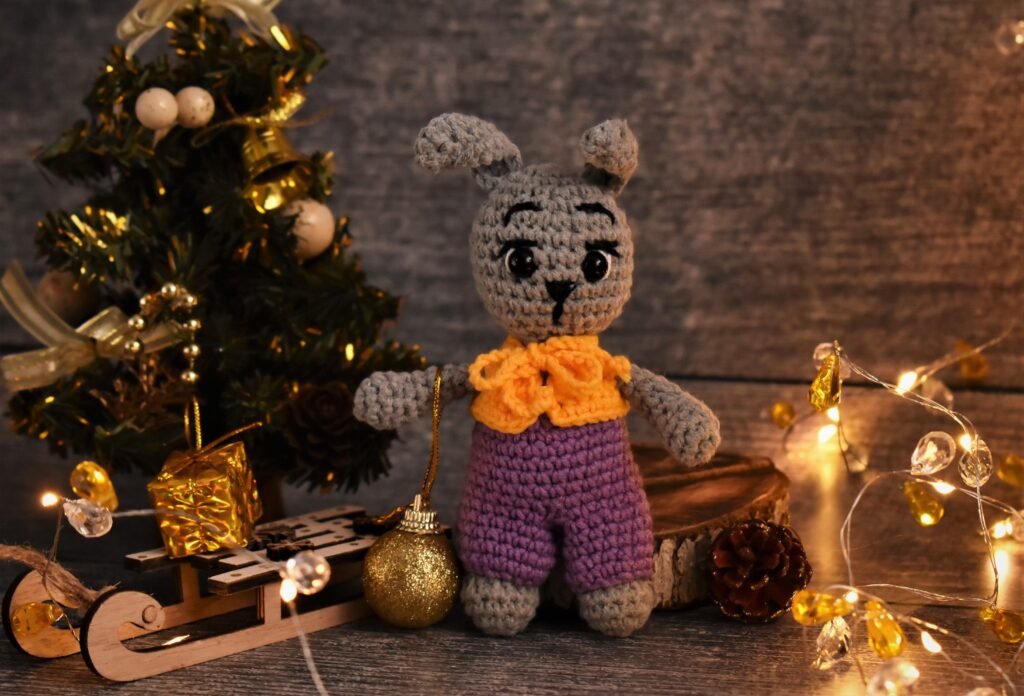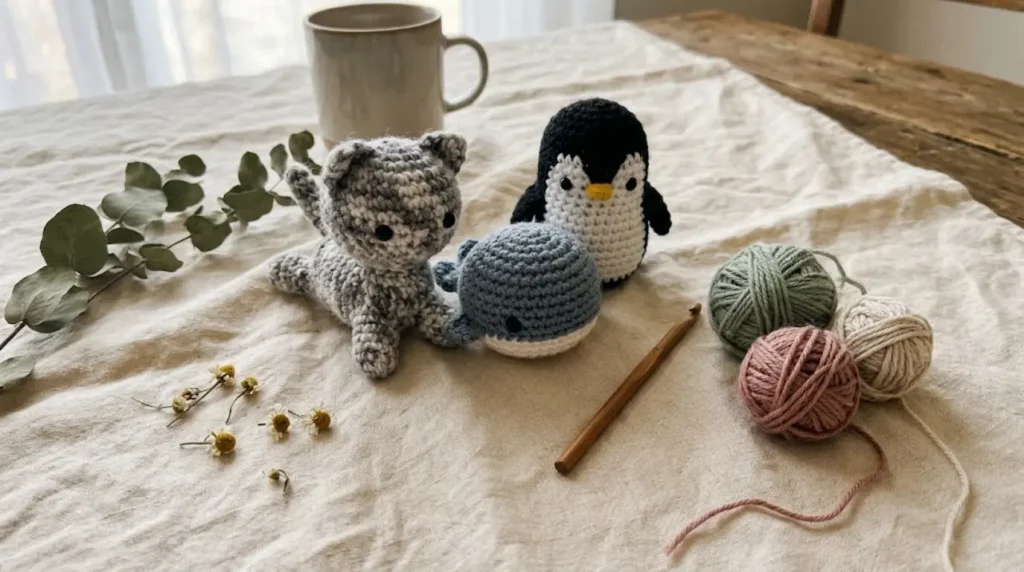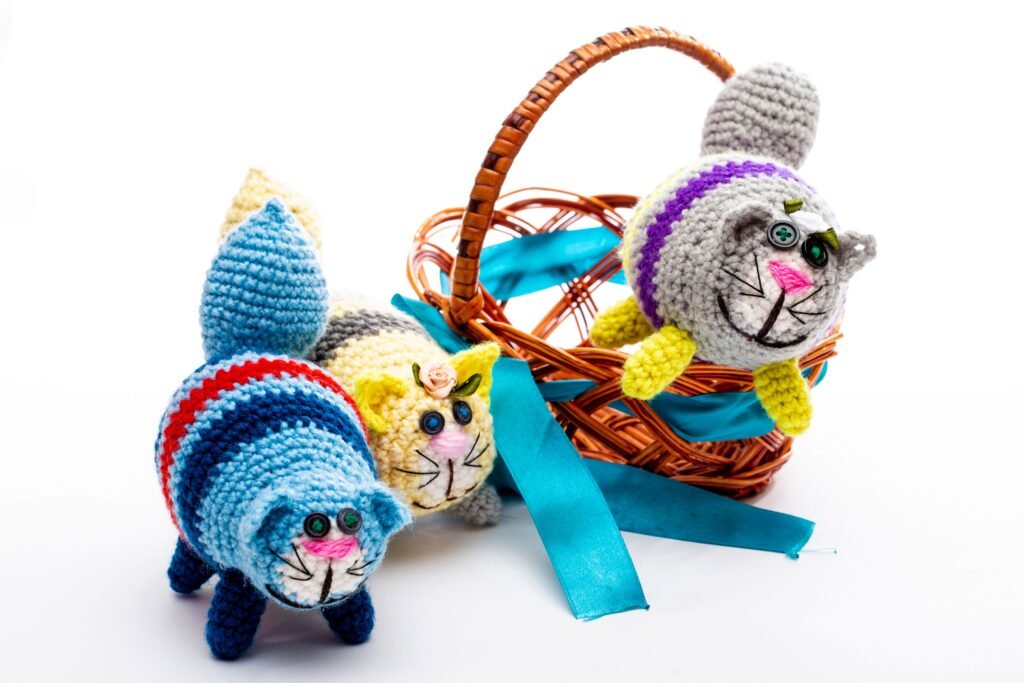
Crochet animals, also known as amigurumi, are one of the most inviting projects for new crocheters looking to create something charming, compact, and full of personality. This practical guide will show you exactly what to practice, which supplies to pick, how to identify truly beginner-friendly amigurumi patterns, and how to avoid common beginner frustrations that can stall your progress or sap your confidence. Whether you’re searching for easy crochet animals for beginners step-by-step or looking for tips before you pick up your hook, you’ll find clear, trustworthy advice that helps you move smoothly from first stitches to a lovable finished toy.
Key Takeaways
- Amigurumi projects use a short set of essential stitches—practice a simple ball to build confidence before tackling animal shapes.
- Choose smooth, non-fuzzy yarn and basic tools to make learning easier and avoid frustration with hidden stitches or lumpy stuffing.
- Start with beginner-rated patterns featuring simple, repeatable shapes and clear instructions to boost your chance of finishing happily.
- What is amigurumi — a quick introduction
- Essential skills and stitches every beginner should learn first
- Choosing yarn, hooks, and stuffing for your first crochet animal
- How to spot beginner-friendly crochet animal patterns
- Common beginner mistakes and how to avoid them (troubleshooting guide)
- Simple animal shapes and pattern features that build confidence
- Finishing techniques for durability and child safety
- How long your first crochet animal might take and what to expect
- What free pattern listings often leave out (and how to fill the gaps)
- Next steps and practice plan
- Frequently Asked Questions
What is amigurumi — a quick introduction
Amigurumi is the Japanese word for crocheted or knitted stuffed animals—or more broadly, any small, stuffed figure worked in yarn. Unlike flat crochet projects like scarves or blankets, amigurumi is all about three-dimensional shapes created almost entirely with single crochet and basic increases/decreases, usually worked in the round for a sculpted, seamless effect.
Typical crochet animals made with amigurumi techniques are compact, cute, and have simple, repeatable forms. These qualities make them approachable and rewarding, especially for new crocheters who want to complete a project quickly and see progress at every stage. For a deeper background, LoveCrafts provides an excellent overview of amigurumi.
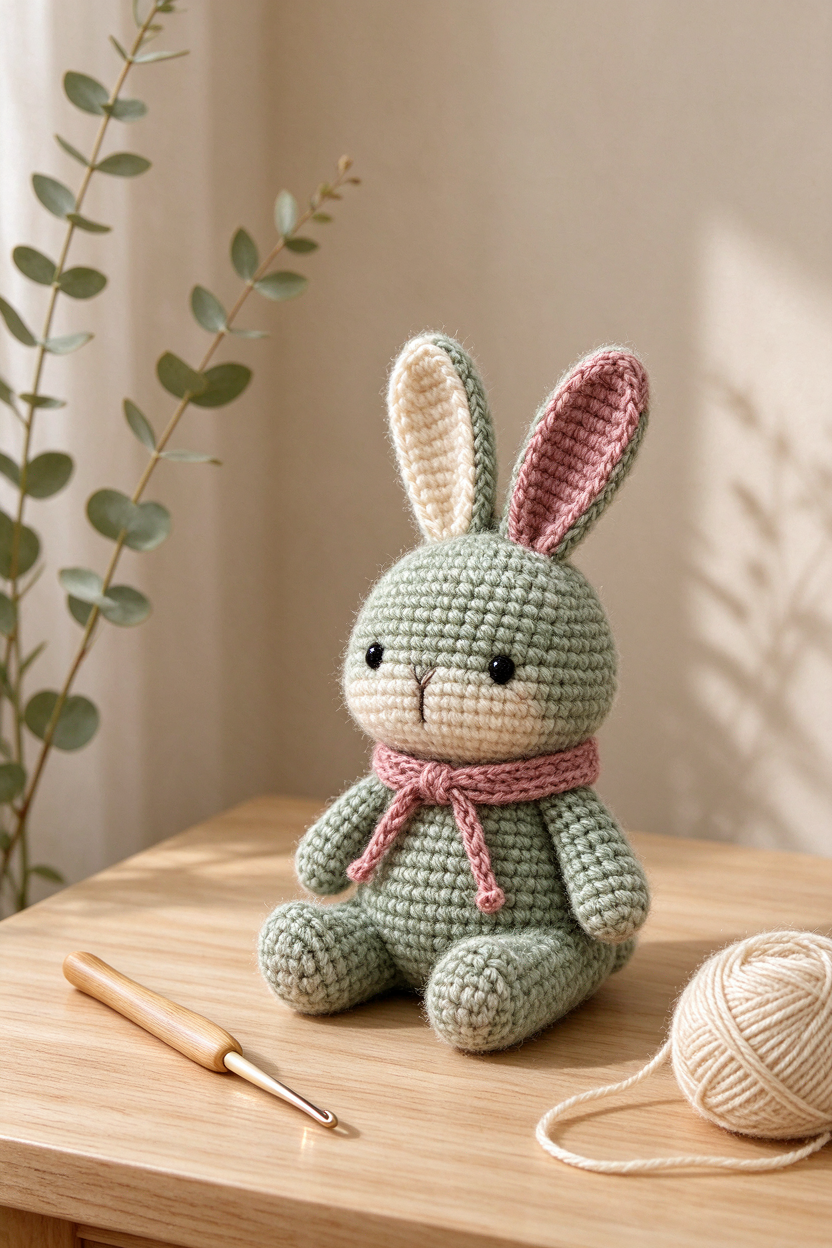
Essential skills and stitches every beginner should learn first
Before starting your first crochet animal, it helps to practice a few core techniques that appear in nearly every amigurumi pattern. Here’s what to focus on:
- Chain stitch: The foundation of starting rounds and rows.
- Slip stitch: Used to join rounds and finish shapes neatly.
- Magic ring (magic circle): The seamless way to start most amigurumi; essential for closed, round shapes without a hole in the middle. Learn more about the magic ring technique.
- Single crochet (sc): The primary stitch for almost all amigurumi—creates a dense, sturdy fabric.
- Increase: Usually two single crochets into one stitch. Used to make the piece wider or “grow” the shape.
- Decrease: Crocheting two stitches together to make a shape narrower or taper. Used for shaping and closing up the rounds.
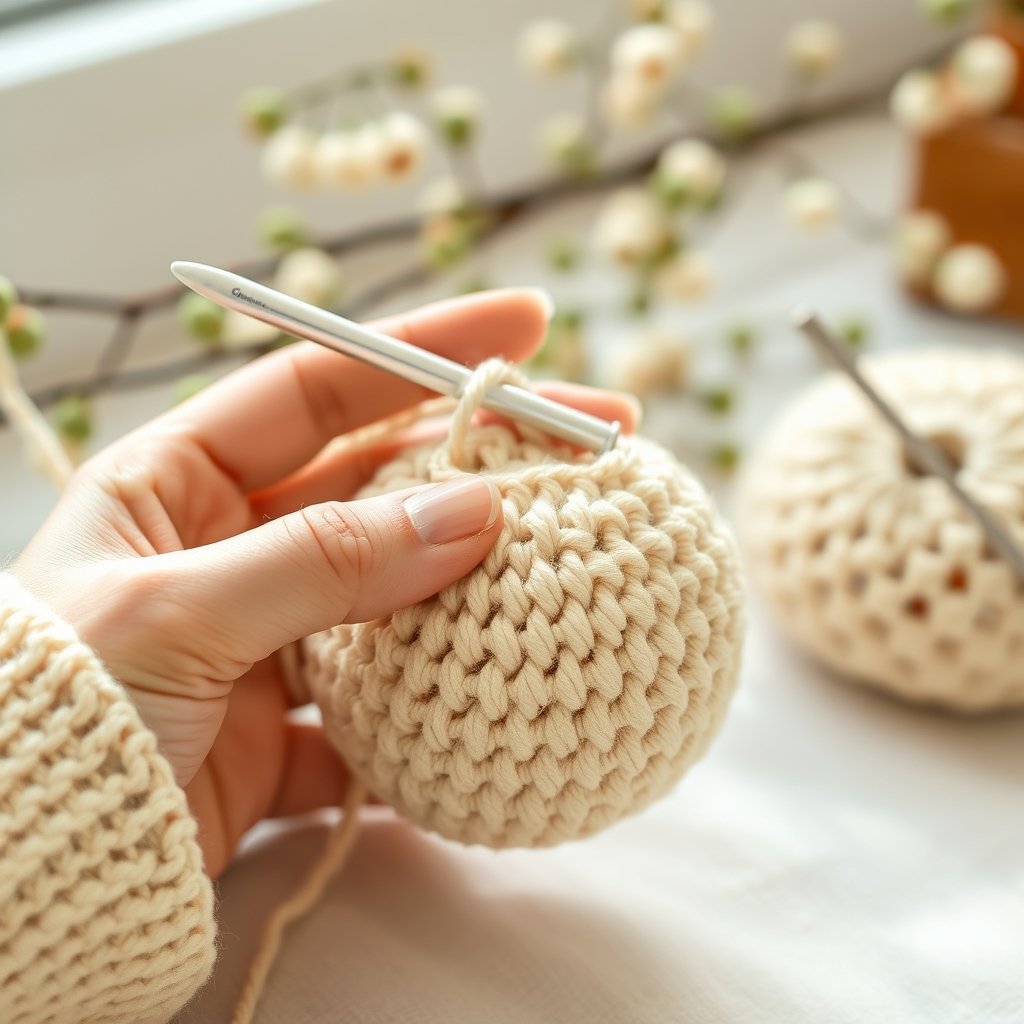
Practice recommendation: Make a simple crocheted ball. This combines all the above skills—increases, single crochet, continuous rounds, decreases, and stuffing—so you’ll feel more comfortable tackling animal shapes.
If you want more background on the basic stitches, the TwirlBloom beginner stitch guide is a helpful companion.
Choosing yarn, hooks, and stuffing for your first crochet animal
Materials can make the difference between a fun first try and a frustrating experience. Here are some recommendations to make learning easier and keep stitches visible:
- Yarn: Choose a smooth yarn with high stitch definition. Cotton yarn gives crisp results, while simple acrylic is easy to care for and forgiving for practice. Avoid fuzzy, furry, eyelash, or mohair-blend yarns at first—these hide stitches and make it much harder to see where to place your hook or spot mistakes.
- Hooks: Use the type specified on the yarn label but try a slightly smaller hook than recommended for your yarn to create a firm, gap-free fabric (which helps hide stuffing). Adjust as needed to achieve a fabric that feels supportive rather than floppy.
- Stuffing: Polyester fiberfill, available from craft stores or online, is ideal because it’s soft, washable, and easy to distribute evenly. Avoid materials like pulled-apart cotton balls, which tend to create lumpy or uneven filling.
- Other tools: A yarn needle (for sewing parts and weaving in ends), stitch markers (to track your round starts), and small scissors round out your basic toolkit.
These choices will help you avoid the most common beginner problems: hidden stitches, snagging hook tips, and uneven or bumpy stuffing (Lion Brand source).
How to spot beginner-friendly crochet animal patterns
Not all crochet amigurumi patterns for beginners are equally accessible. Use this quick checklist to select an easy, confidence-building first project:
- Skill level: Look for a clear “easy” or “beginner” rating on the pattern—many designer sites and PDF downloads include this upfront.
- Supportive pattern features: Beginner patterns usually include:
- Short, repeatable sections (think: basic head, body, small limbs that use mostly single crochet)
- Clear list of stitch abbreviations
- Stitch counts for every round (so you can double-check your progress)
- Step-by-step assembly or photo guides
- Simple shapes and minimal parts: Fewer pieces to assemble means less opportunity for frustration and greater likelihood you’ll finish happily.
- Free vs paid patterns: Free crochet animal patterns for beginners can be a good starting point, but double-check if they include assembly photos or troubleshooting tips—these are more often found in paid/downloadable PDFs. If you choose a free pattern and get stuck, look for similar tutorials or images for help.
- Project size: Start with patterns that produce a small, simple animal—quick progress keeps motivation high!
For more inspiration, you can also browse TwirlBloom’s crochet PDF patterns and compare different pattern features at your own pace.
Common beginner mistakes and how to avoid them (troubleshooting guide)
Every new amigurumi maker hits a few bumps on their first crochet animal. Here’s how to avoid the most frequent problems:
- Miscounting increases or decreases: Place a stitch marker in the first stitch of every round and count your stitches at the end of each round. Writing down counts as you progress can also help.
- Tension problems (too loose or too tight): Loose stitches let stuffing peek out; tight stitches are hard to work. Practice holding the yarn consistently and consider changing hook size (up or down) if the fabric feels floppy or rigid.
- Using fuzzy yarns too soon: Stick to smooth, classic yarns until reading and inserting your hook into each stitch feels automatic. Fuzzy yarns obscure stitches and may discourage beginners.
- Poor stuffing technique: Add stuffing a little at a time and distribute it gently with a stuffing tool or back end of a crochet hook. Avoid overstuffing, which can stretch the fabric and create holes.
- Assembly problems: Keep pieces clearly labeled (small sticky notes work), temporarily pin or baste limbs in place before sewing to check placement. This helps prevent accidentally attaching parts upside down or off-center.
Many of these tips are echoed in expert guides, such as those found at Lion Brand and LoveCrafts.
Simple animal shapes and pattern features that build confidence
For your first projects, pick animal shapes that are forgiving, require fewer pieces, and emphasize basic forms. Great beginner choices include:
- Round or egg-shaped animals: Balls, simple birds, or chubby bears. Their basic construction means fewer shaping surprises, and small errors are less noticeable.
- Minimal separate pieces: Animals where limbs and ears are crocheted as part of the body, or attached as just one or two simple shapes.
- Few or no color changes: Projects in one main color reduce there’s less chance for awkward yarn joins or color mix-ups.
- Simple face embroidery: Eyes and noses worked with a few stitches of contrasting yarn are easier, safer for children, and less likely to fall off during play than glued features or complicated appliqué.
Starting with these approachable forms helps you finish your first project and build the skills needed for trickier patterns down the line.
Finishing techniques for durability and child safety
How you finish and assemble crochet animals is just as important as the crocheting itself—especially if the toy is intended for children. Here are essential tips:
- Sewing parts: Securely pin or baste limbs and features before final stitching. Attach with a yarn needle and sturdy seams (many crocheters use whipstitch or mattress stitch for a close join). Pass through each piece and the body multiple times for a firm hold.
- Eyes and features: For safety, embroidery or securely stitched yarn features are safest for young children. If using plastic safety eyes, check the manufacturer’s recommendations and only use them when appropriate for the recipient’s age.
- Weaving in ends: Thread all yarn tails through the inside of the work, knot securely if appropriate, and bury ends deep in the stuffing to prevent them working loose.
- Reinforce stress points: Areas that will be tugged (arms, legs, tails) benefit from a few extra stitches to keep joins durable with regular play.
Finishing with care helps ensure your crochet animals will stand up to cuddling and remain safe for gifting. For extra detail on safe toy finishing, always check your pattern’s notes and yarn or hardware manufacturer’s guidance.
How long your first crochet animal might take and what to expect
It’s natural to wonder how much time to set aside, but the real answer is: it depends—on the complexity of your project, your familiarity with the stitches, and how many separate parts the animal has. Focus on progress, not perfection.
- Allow a little extra time to practice magic rings, increases and decreases, and basic assembly before starting your main project.
- Break your crochet animal into small steps (head, body, limbs, assembly). Completing each milestone helps maintain momentum.
- Don’t worry if you need a few sessions—finishing a small animal over several sittings is completely normal and often more enjoyable for beginners.
Finishing your first amigurumi is less about speed and more about learning at your own pace. Enjoy the process and let each retry build your skill.
What free pattern listings often leave out (and how to fill the gaps)
Free crochet animal patterns for beginners are popular but may not include all the details new crocheters need. Here’s what’s often missing and how to work around it:
- Missing stitch counts per round: Count your stitches after each round and mark your place—this makes troubleshooting easier.
- Lack of progress or assembly photos: If the pattern has none, search for similar video tutorials or step-by-step images that show the assembly process. Even images from similar animal patterns can clarify where legs or ears are placed.
- Sparse material guidance: Refer to the yarn and stuffing advice above—avoid fuzzy yarns, pick smooth cotton or acrylic, and use polyester fiberfill for best results.
- No troubleshooting tips: Create a personal checklist as you work: double-check stitch counts, pause to check tension, and add stuffing gradually. Review troubleshooting sections of other guides if in doubt.
If you want patterns with more robust instructions, assembly photos, and tip boxes, consider exploring paid PDF downloads, where designers often include extra beginner support.
Next steps and practice plan
Ready to begin? Here’s a simple, stepwise plan to help you move from practicing stitches to making your first animal:
- Session 1: Practice chain stitch, single crochet, and slip stitch until each feels comfortable.
- Session 2: Learn the magic ring and practice making a closed round of single crochet stitches.
- Session 3: Practice working increases and decreases. Create a simple ball from start to finish, introducing stuffing and closing up the shape.
- Session 4: Pick a beginner-rated amigurumi animal pattern with only a few simple pieces (body, head, limbs) and assemble your first toy, following the steps you’ve practiced.
As you finish each session, jot down any tricky spots or lessons learned. Gradually introduce more complex patterns as your confidence grows. If you’d like broader beginner project inspiration, see our guide to easy crochet projects for beginners.
Frequently Asked Questions
What are the absolute essential stitches I must learn before trying amigurumi?
The key stitches and techniques are the chain stitch, slip stitch, magic ring, single crochet, basic increase (crocheting two single crochets into one stitch), and basic decrease (working two stitches together).
Which yarns and stuffing should I avoid as a beginner?
Avoid fuzzy and textured yarns (like mohair or eyelash yarns), which make it hard to see your stitches. For stuffing, avoid cotton balls; instead, use polyester fiberfill for an even and soft stuffing result.
How can I tell if a pattern is truly beginner-friendly?
Beginner-friendly patterns are usually labeled as “easy” or “beginner,” use basic stitches (mainly single crochet), have few color changes, and include clear stitch counts and step-by-step assembly instructions or photos.
What do I do if my amigurumi has holes or stuffing shows through?
This usually means your stitches are too loose or your hook is too large for your yarn. Try using a slightly smaller hook and make sure your stitches are consistent in tension.
Are safety eyes OK for toys for young children, or should I use embroidery?
For young children, embroidery or securely stitched yarn features are generally safest. If using plastic safety eyes, always check manufacturer’s recommendations and warnings for age suitability.
How do I join limbs so they stay attached during play?
Pin or tack limbs in place first, then securely sew them to the body using a yarn needle and multiple passes for strength. Weave in yarn tails thoroughly inside the body and consider reinforcing stress points.
Crochet animals offer a friendly, approachable introduction to three-dimensional crochet—and with a little preparation, your first amigurumi can be a delight to make and gift. Choose clear, supportive patterns, practice the essential skills, and let each project improve your skill and confidence.
If you’re ready to find your next project, browse TwirlBloom’s crochet PDF patterns for a variety of downloadable designs.