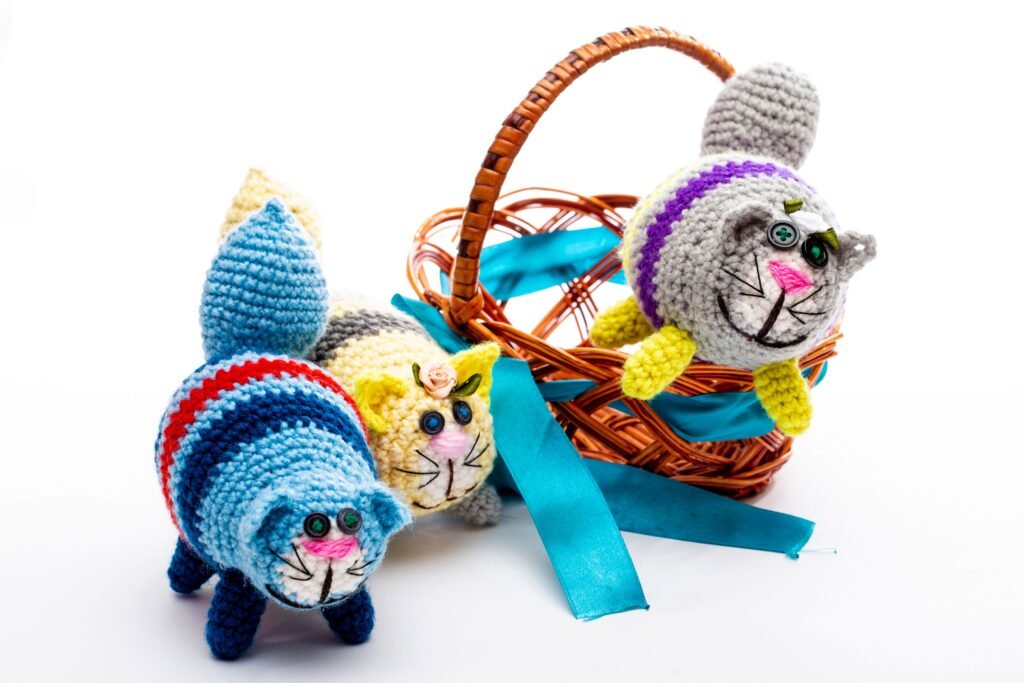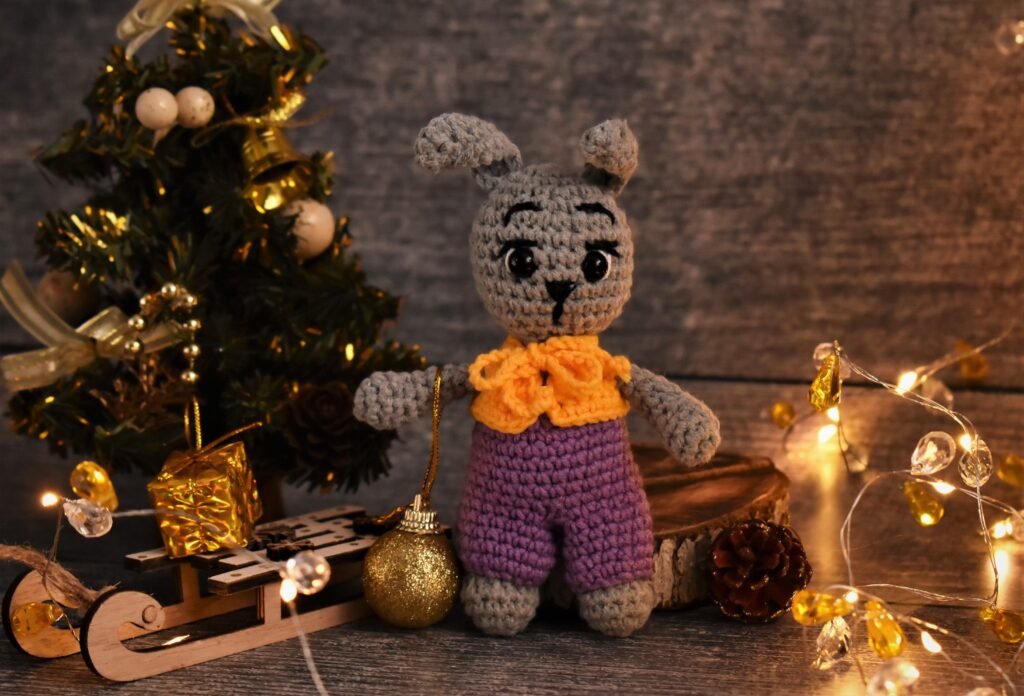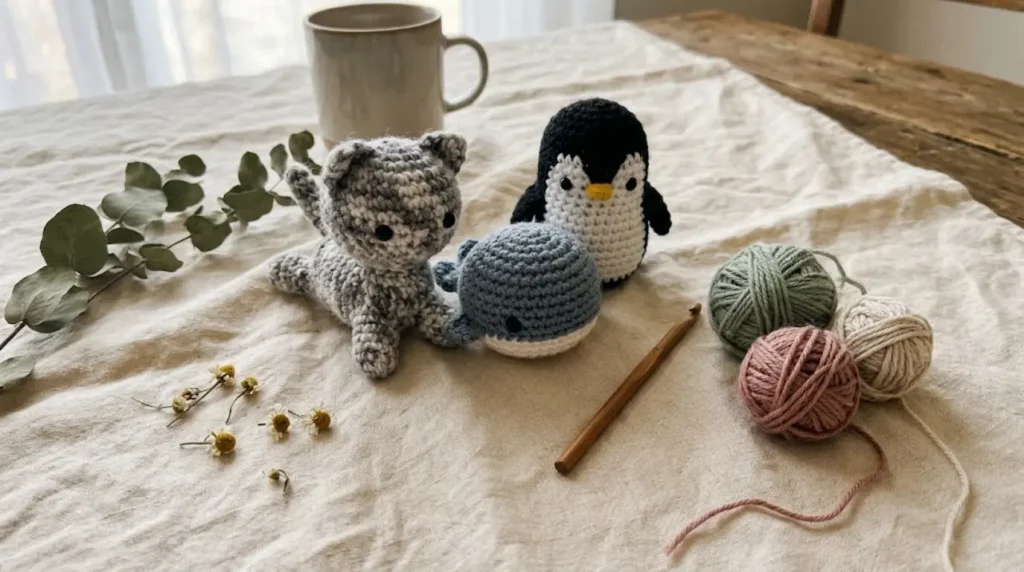
Learning to make easy crochet animals for beginners step-by-step can be one of the most rewarding ways to start crocheting. Amigurumi—the Japanese art of crocheting stuffed animals and creatures—lets new makers quickly see their progress and creates results that are fun and giftable. But not every pattern labeled “easy” is truly beginner-friendly. This guide uncovers which simple animals actually suit new crocheters, which stitches and materials you really need, what common pitfalls to avoid, and how to confidently pick patterns you can finish and feel proud of—even if you’ve never made a crochet animal before.
Key Takeaways
- Stick to proven beginner amigurumi shapes with simple construction and minimal sewing for your first projects.
- Master the basic stitches (especially single crochet), magic ring, and counting rounds before starting a crochet animal pattern.
- Choose patterns that offer step-by-step photos, round-by-round instructions, and clear beginner labeling for the best chance of finishing successfully.
- Quick overview — which easy crochet animals beginners can finish successfully
- Essential stitches and techniques every beginner must learn first
- Best materials and tools for easy crochet animals
- Common beginner mistakes and practical fixes
- What makes a free crochet animal pattern truly beginner-friendly
- Time expectations and staying motivated
- Finishing and assembly details beginners often overlook
- Reliable sources for downloadable beginner amigurumi patterns and how PDFs help
- Frequently Asked Questions
Quick overview — which easy crochet animals beginners can finish successfully
If you’re searching for free crochet animal patterns for beginners, you’ll quickly run into dozens of adorable options. But which ones do beginners actually finish, and why?
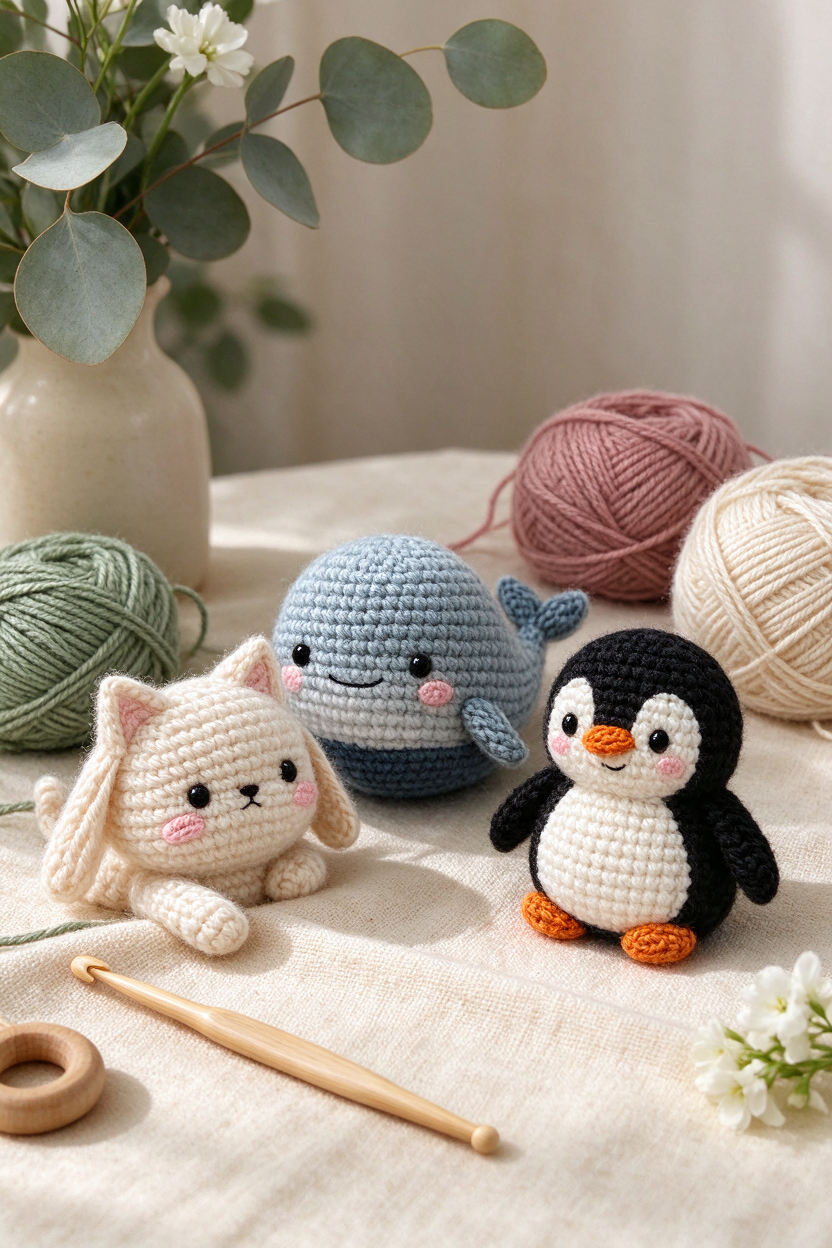
- Floppy Cat: Simple round shapes, minimal shaping, and large parts help you see stitches and avoid confusion.
- Mini Whale: Made almost entirely with continuous rounds of single crochet, often in one piece with little to assemble.
- Penguin: Oval or pear-shaped bodies and a few easy pieces; great for learning how to change color or add a few extra details.
- Owl: Spherical and easy to personalize, usually no difficult shaping or tiny limbs.
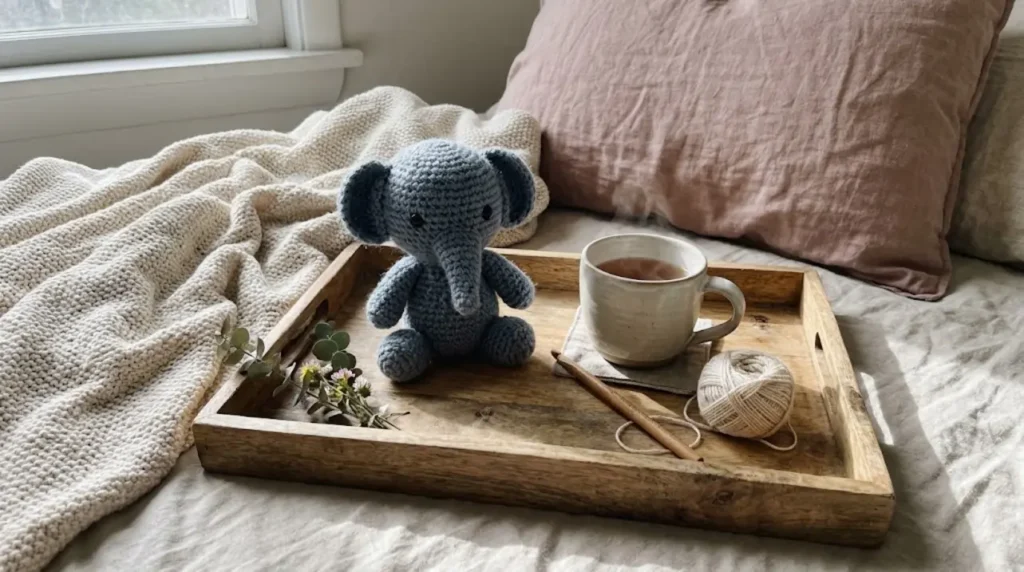
- Small Elephant: Classic rounded body with trunk and limbs, generally little more sewing than attaching the trunk, ears, and legs.
- Jellyfish: Simple bell body and fringe tentacles; many patterns worked in-the-round with little sewing at all.
- Simple Mermaid or Novelty Creatures: Basic ovals and tubes, minimal or optional hair/details, beginner-friendly shapes.
Projects like these recur across multiple major “beginner crochet animal” lists (see LoveCrafts’ beginner amigurumi roundups). They’re chosen because:
- They use mostly single crochet stitches in the round—making counting and progress tracking easier.
- They minimize assembly—less sewing means less chance for misaligned parts.
- Their shapes are forgiving and let you learn without worrying too much about exact proportions.
Choosing your first animal: If you want a fast finish, pick a mini whale or jellyfish with few pieces. If you prefer to practice assembling, try the floppy cat or penguin. Consider the size—bigger pieces are easier to see and work—and opt for patterns labeled “easy” or “beginner.”
Essential stitches and techniques every beginner must learn first
Don’t let long pattern lists overwhelm you—almost all beginner crochet animals are built from just a handful of basic stitches and techniques. Here’s what you should know before starting a new amigurumi animal:
Stitches to Practice
- Chain (ch): The foundation of most projects—creates the starting loops.
- Single Crochet (sc): The main stitch for amigurumi—produces a tight, dense fabric that holds stuffing well (source).
- Slip Stitch (sl st): Useful for neat joins or finishing parts of a project.
- Half-double (hdc), Double Crochet (dc), Treble (tr): Helpful for overall crochet knowledge, but rarely used in very simple animal patterns.
Core Amigurumi Techniques
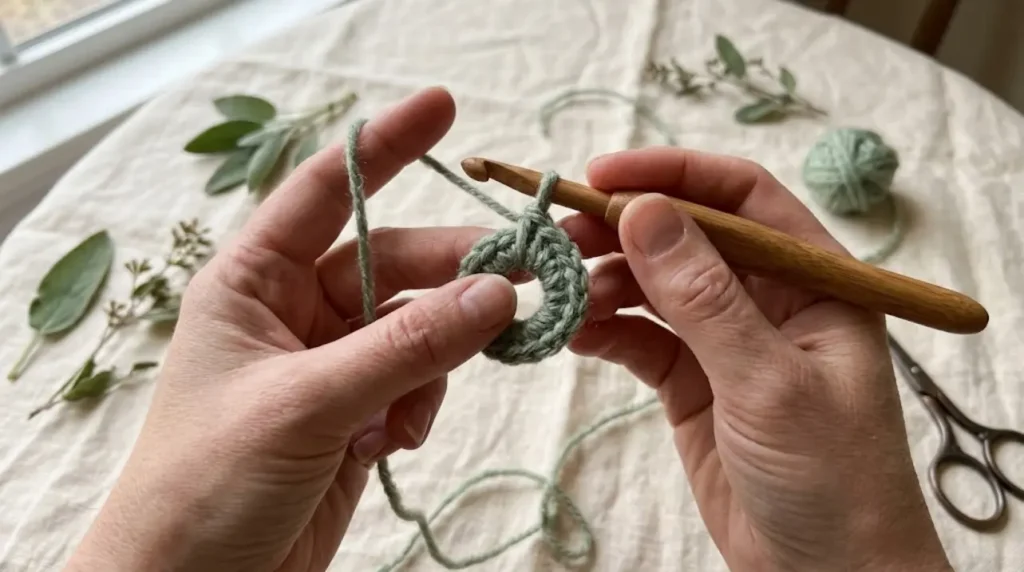
- Magic Ring (Magic Circle): A neat way to start crochet in the round. It keeps your animal’s starting hole tight and prevents stuffing from poking out.
- Working in Continuous Rounds: Most patterns for animals use this method, where you don’t join at the end of each round—use a stitch marker to keep your place.
- Increases & Decreases: Add or remove stitches to shape heads, bodies, and limbs.
- Using a Stitch Marker: Crucial for keeping track of where each round starts (source).
- Stuffing Technique Basics: Even, firm stuffing keeps shapes consistent. Insert a little at a time—don’t overfill.
Beginner Practice Tip: Make a small swatch using single crochet and a practice round in the magic circle to test your stitch count. Focus on keeping your stitches even and your tension consistent.
For a deeper dive into foundational stitches and pattern reading, you may also enjoy TwirlBloom’s guide for crochet beginners or this practical article on crochet stitches.
Best materials and tools for easy crochet animals
A well-chosen toolkit ensures your first animal comes together smoothly. Here’s what every beginner should have ready when starting:
- Crochet hook: Choose a size recommended by the pattern; tighter stitches are best for stuffing and shaping. (Avoid guessing hook size—always check the specific pattern or source.)
- Yarn: Look for smooth, medium-weight yarns in lighter colors so you can easily see your stitches. Many beginner patterns suggest yarn types that highlight stitch definition (see LoveCrafts animal pattern examples).
- Yarn Needle: For sewing parts together and weaving in ends.
- Stitch Markers: Essential for marking the start of rounds and preventing lost stitch count.
- Stuffing: Fiberfill or a similar clean stuffing suitable for toys. Stuff as you go for shaped areas like heads or limbs.
- Scissors: For trimming yarn and cutting loose ends.
- Safety Eyes or Embroidery Floss: Safety eyes create a professional finish, but embroidery is recommended if making for young children (to avoid choking hazards).
Optional Extras: A small blunt tool (like a chopstick) helps pack stuffing evenly in small areas. A pad for blocking is optional unless your chosen pattern recommends it.
Common beginner mistakes and practical fixes
Even with easy crochet animals, certain pitfalls can frustrate beginners. Here’s how to spot and fix them before they derail your project:
- Losing count of rounds: Always use a stitch marker at the start of the round and move it up each time. Don’t trust your memory—count stitches at the end of each round.
- Uneven duplicate pieces (ears, limbs): Make both matching pieces one after the other, using the same ball of yarn. Keeping a consistent tension through both prevents uneven sizing.
- Tension or gauge changes after breaks: If you return to your animal after a long pause, your hands may crochet tighter or looser. Try to finish duplicate pieces in one sitting, or practice a bit before picking up your project again.
- Assembly issues: Attach safety eyes before stuffing the head; leave long enough tails on your yarn for sewing. Sew parts on with tight, even stitches, and weave all loose ends neatly (~source).
For more tips on troubleshooting common crochet errors, see our beginner crochet patterns guide.
What makes a free crochet animal pattern truly beginner-friendly
Not all “easy” patterns are created equal. Use this checklist before picking or downloading new crochet amigurumi patterns for beginners:
- Beginner Labeling: The pattern should specifically state “Beginner” or “Easy.” Patterns with no skill rating can surprise you with unexpected techniques.
- Step-by-Step Photos or Diagrams: Look for visuals of tricky steps such as the magic ring, increases, or assembly. Good patterns explain not only what to do, but what your work should look like as you go.
- Minimal Separate Pieces: Patterns that minimize the number of parts mean less sewing and less that can go wrong.
- Clear Round-by-Round Instructions: The pattern should list how many stitches you should have after each round, and when to use a stitch marker.
- Downloadable PDF Option: Having the pattern as a PDF lets you print, make notes, and refer to instructions without scrolling on your phone. This is especially handy for beginners following crochet patterns step-by-step.
Many reputable yarn and pattern sites sort their patterns by skill level and offer PDFs for printing. See the recommendations in the final section for reliable links.
Time expectations and staying motivated
New crocheters often wonder “How long will this take?”—but it really varies by project size, your crochet speed, and how much time you spend learning the new techniques involved. Since every crocheter works at a different pace, it’s more useful to frame projects in achievable chunks.
- Break it down: Tackle one part (e.g., head, body, then limb) at a time—checking off completed sections is satisfying and keeps you moving forward.
- Short, regular sessions: Work in 20–30 minute blocks so you don’t get tired or lose count. This helps build skill through regular practice.
- Celebrate milestones: Finishing just one ear or completing the magic ring is a real win. Share your progress with friends or in an online “make-along” group for support.
- Pick smaller projects first: Mini animals or unstuffed shapes boost your confidence and let you see results quickly.
Finishing and assembly details beginners often overlook
It’s easy to get so excited about finishing your first animal that you rush past these key steps—but they matter just as much as crocheting the parts. Here’s what to focus on for a polished finish:
- Fastening off: Leave a tail long enough to sew pieces together if required by your pattern. Pull the yarn through the last loop securely.
- Weaving in ends: Use a yarn needle to weave loose yarn tails neatly into nearby stitches—this prevents unraveling and produces a tidy result.
- Attaching safety eyes: Secure them before stuffing, following the pattern’s advice. If eyes aren’t safe (for gifts to babies/children), embroider facial features instead.
- Stuffing: Use small pieces of stuffing inserted slowly, pushing it into shape but not overstuffing. Use a blunt tool to reach into small limbs.
- Sewing pieces: Pin parts in place first, then sew with small, even stitches. Always check placement against the pattern photos before making the join permanent.
Reliable sources for downloadable beginner amigurumi patterns and how PDFs help
Where can you find trustworthy free crochet animal patterns for beginners and beginner-friendly downloadable PDFs?
- Lion Brand: Offers a range of beginner-rated animal patterns, often with step-by-step photo guides and printable PDFs. Patterns are clearly labeled by skill level.
- LoveCrafts: Curates free and paid beginner amigurumi patterns, many suitable for first-timers and filterable by difficulty. Downloadable PDFs are available for easy offline use.
- Crochet.com: Hosts a learning center plus patterns aimed at beginners, including animal projects and essential stitch tutorials.
Why PDFs matter for beginners:
- They’re easy to print, highlight, and annotate while you work.
- Consistent formatting and charts help reduce confusion.
- You can follow along round by round—even offline or while traveling.
After reviewing a few options, download a clearly labeled “beginner amigurumi” PDF and set up your tools. Practicing with a PDF can build pattern-reading confidence you’ll use for more advanced projects down the line.
If you’re ready to choose your next project, explore crochet PDF patterns from the TwirlBloom shop. Start with a beginner-rated PDF you can print and follow step-by-step.
Frequently Asked Questions
What are the simplest crochet animals for absolute beginners?
Mini whales, jellyfish, and owls are often the simplest because they use continuous rounds of single crochet with minimal pieces and sewing. These shapes let beginners focus on counting and forming basic shapes without advanced assembly.
Which stitches should I master before attempting my first amigurumi?
You should know the chain (ch), single crochet (sc), and slip stitch (sl st). Single crochet is the main stitch for most beginner crochet animals, along with increases and decreases for shaping.
How do I stop losing my stitch count when working in rounds?
Use a stitch marker to mark the first stitch of each round and move it up every time you complete a round. Count your stitches at the end of each round to ensure accuracy.
What materials and tools do I absolutely need to finish a beginner amigurumi?
Essential tools include a crochet hook sized for your pattern, smooth medium-weight yarn, a yarn needle, stitch markers, scissors, stuffing, and either safety eyes or embroidery floss for facial details.
How can I make two matching ears or arms the same size?
Crochet both matching pieces back-to-back in the same session, using the same yarn ball and keeping your tension as consistent as possible. This reduces differences caused by breaks or hand fatigue.
Where can I find printable free beginner amigurumi PDF patterns?
Reputable sources include Lion Brand, LoveCrafts, and Crochet.com, all of which sort patterns by skill level and offer easy PDF downloads for printing and offline use.